Swift Push SDK
Fyno’s iOS (Swift) Push Notification SDK offers a comprehensive set of notification features within your app. It’s designed to efficiently deliver messages, ensuring optimal performance and user experience.
Prerequisites
In order to get started, there are a few prerequisites that needs to be in place:
- Fyno account: A valid Fyno workspace with at least one active API Key. For more info, refer Workspace Docs.
- Configuration: Configure your Fyno Push provider in Fyno App > Integrations.
- Swift iOS application: A working Swift iOS application in which you want to integrate the SDK.
- Apple developer account: Required details are mentioned in APNs Docs.
Installation
Install the SDK
Add pod 'fyno-push-ios', '~> 1.1' similar to the following to your Podfile:
Then run a pod install inside your terminal to download and install the fyno push sdk for iOS.
Add Required Capabilities
-
Inside Targets select signing and capabilities.
-
Click on +capabilities and add Push Notifications and Background Modes capabilities to your application.
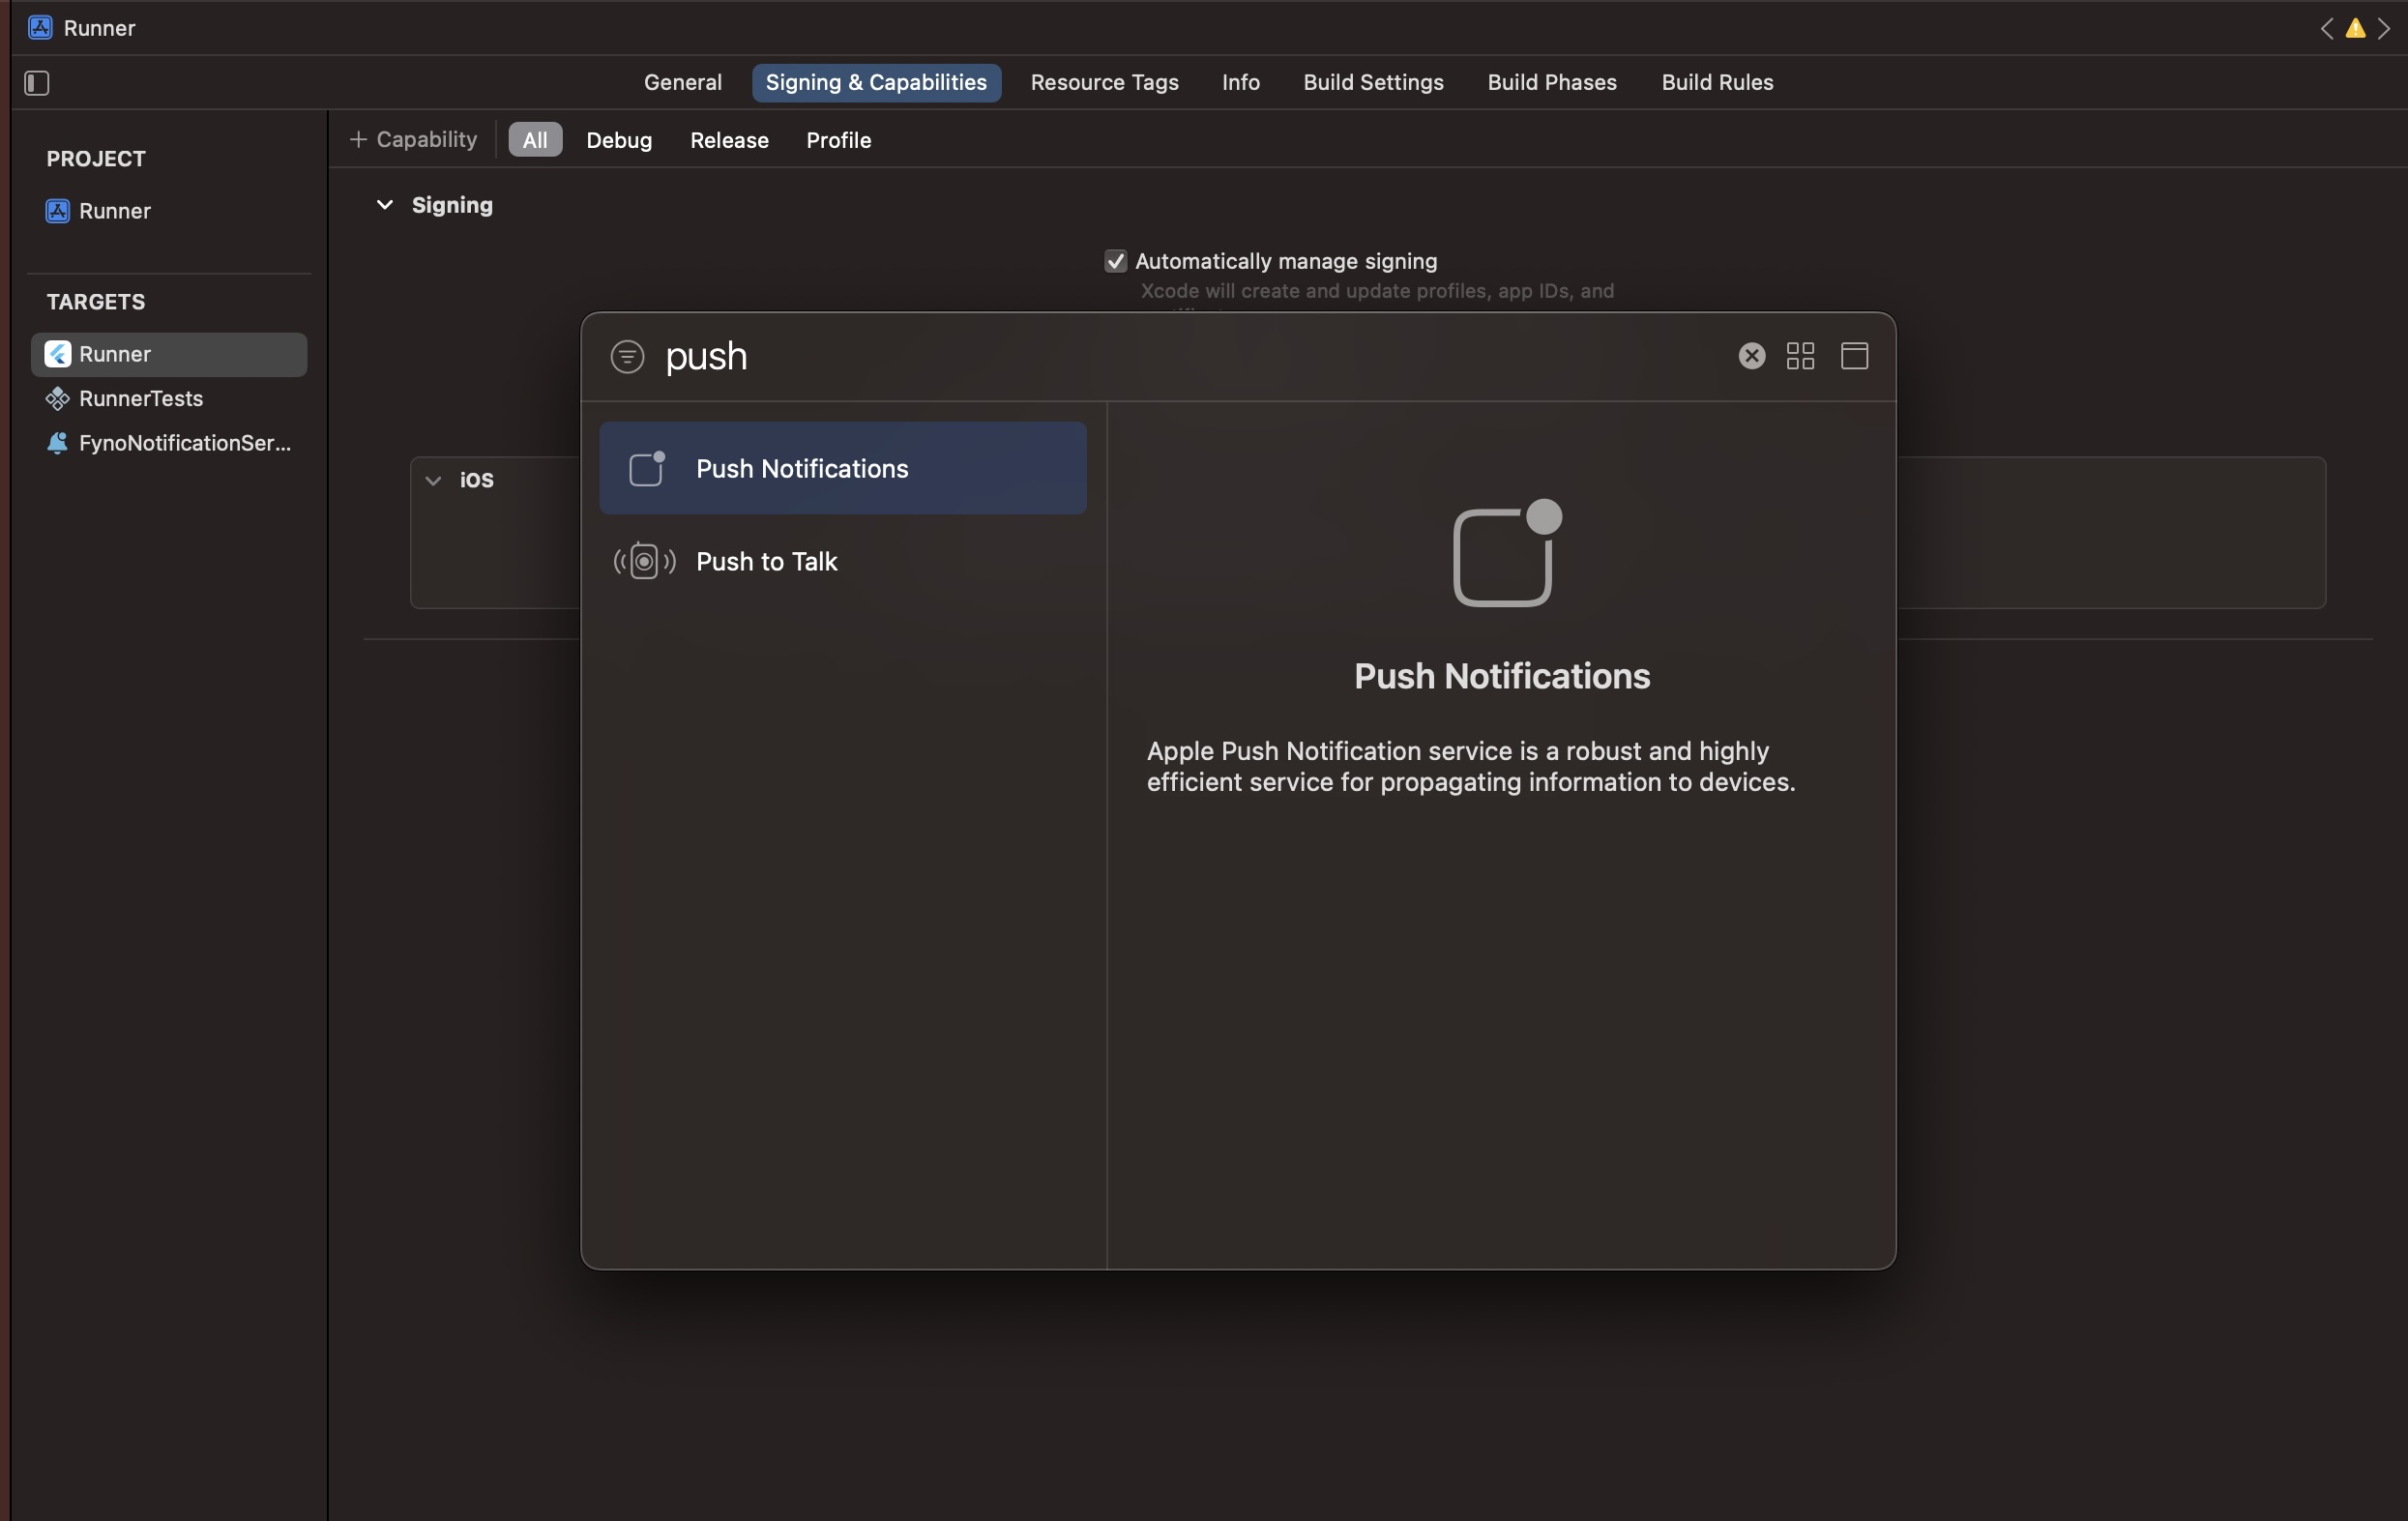
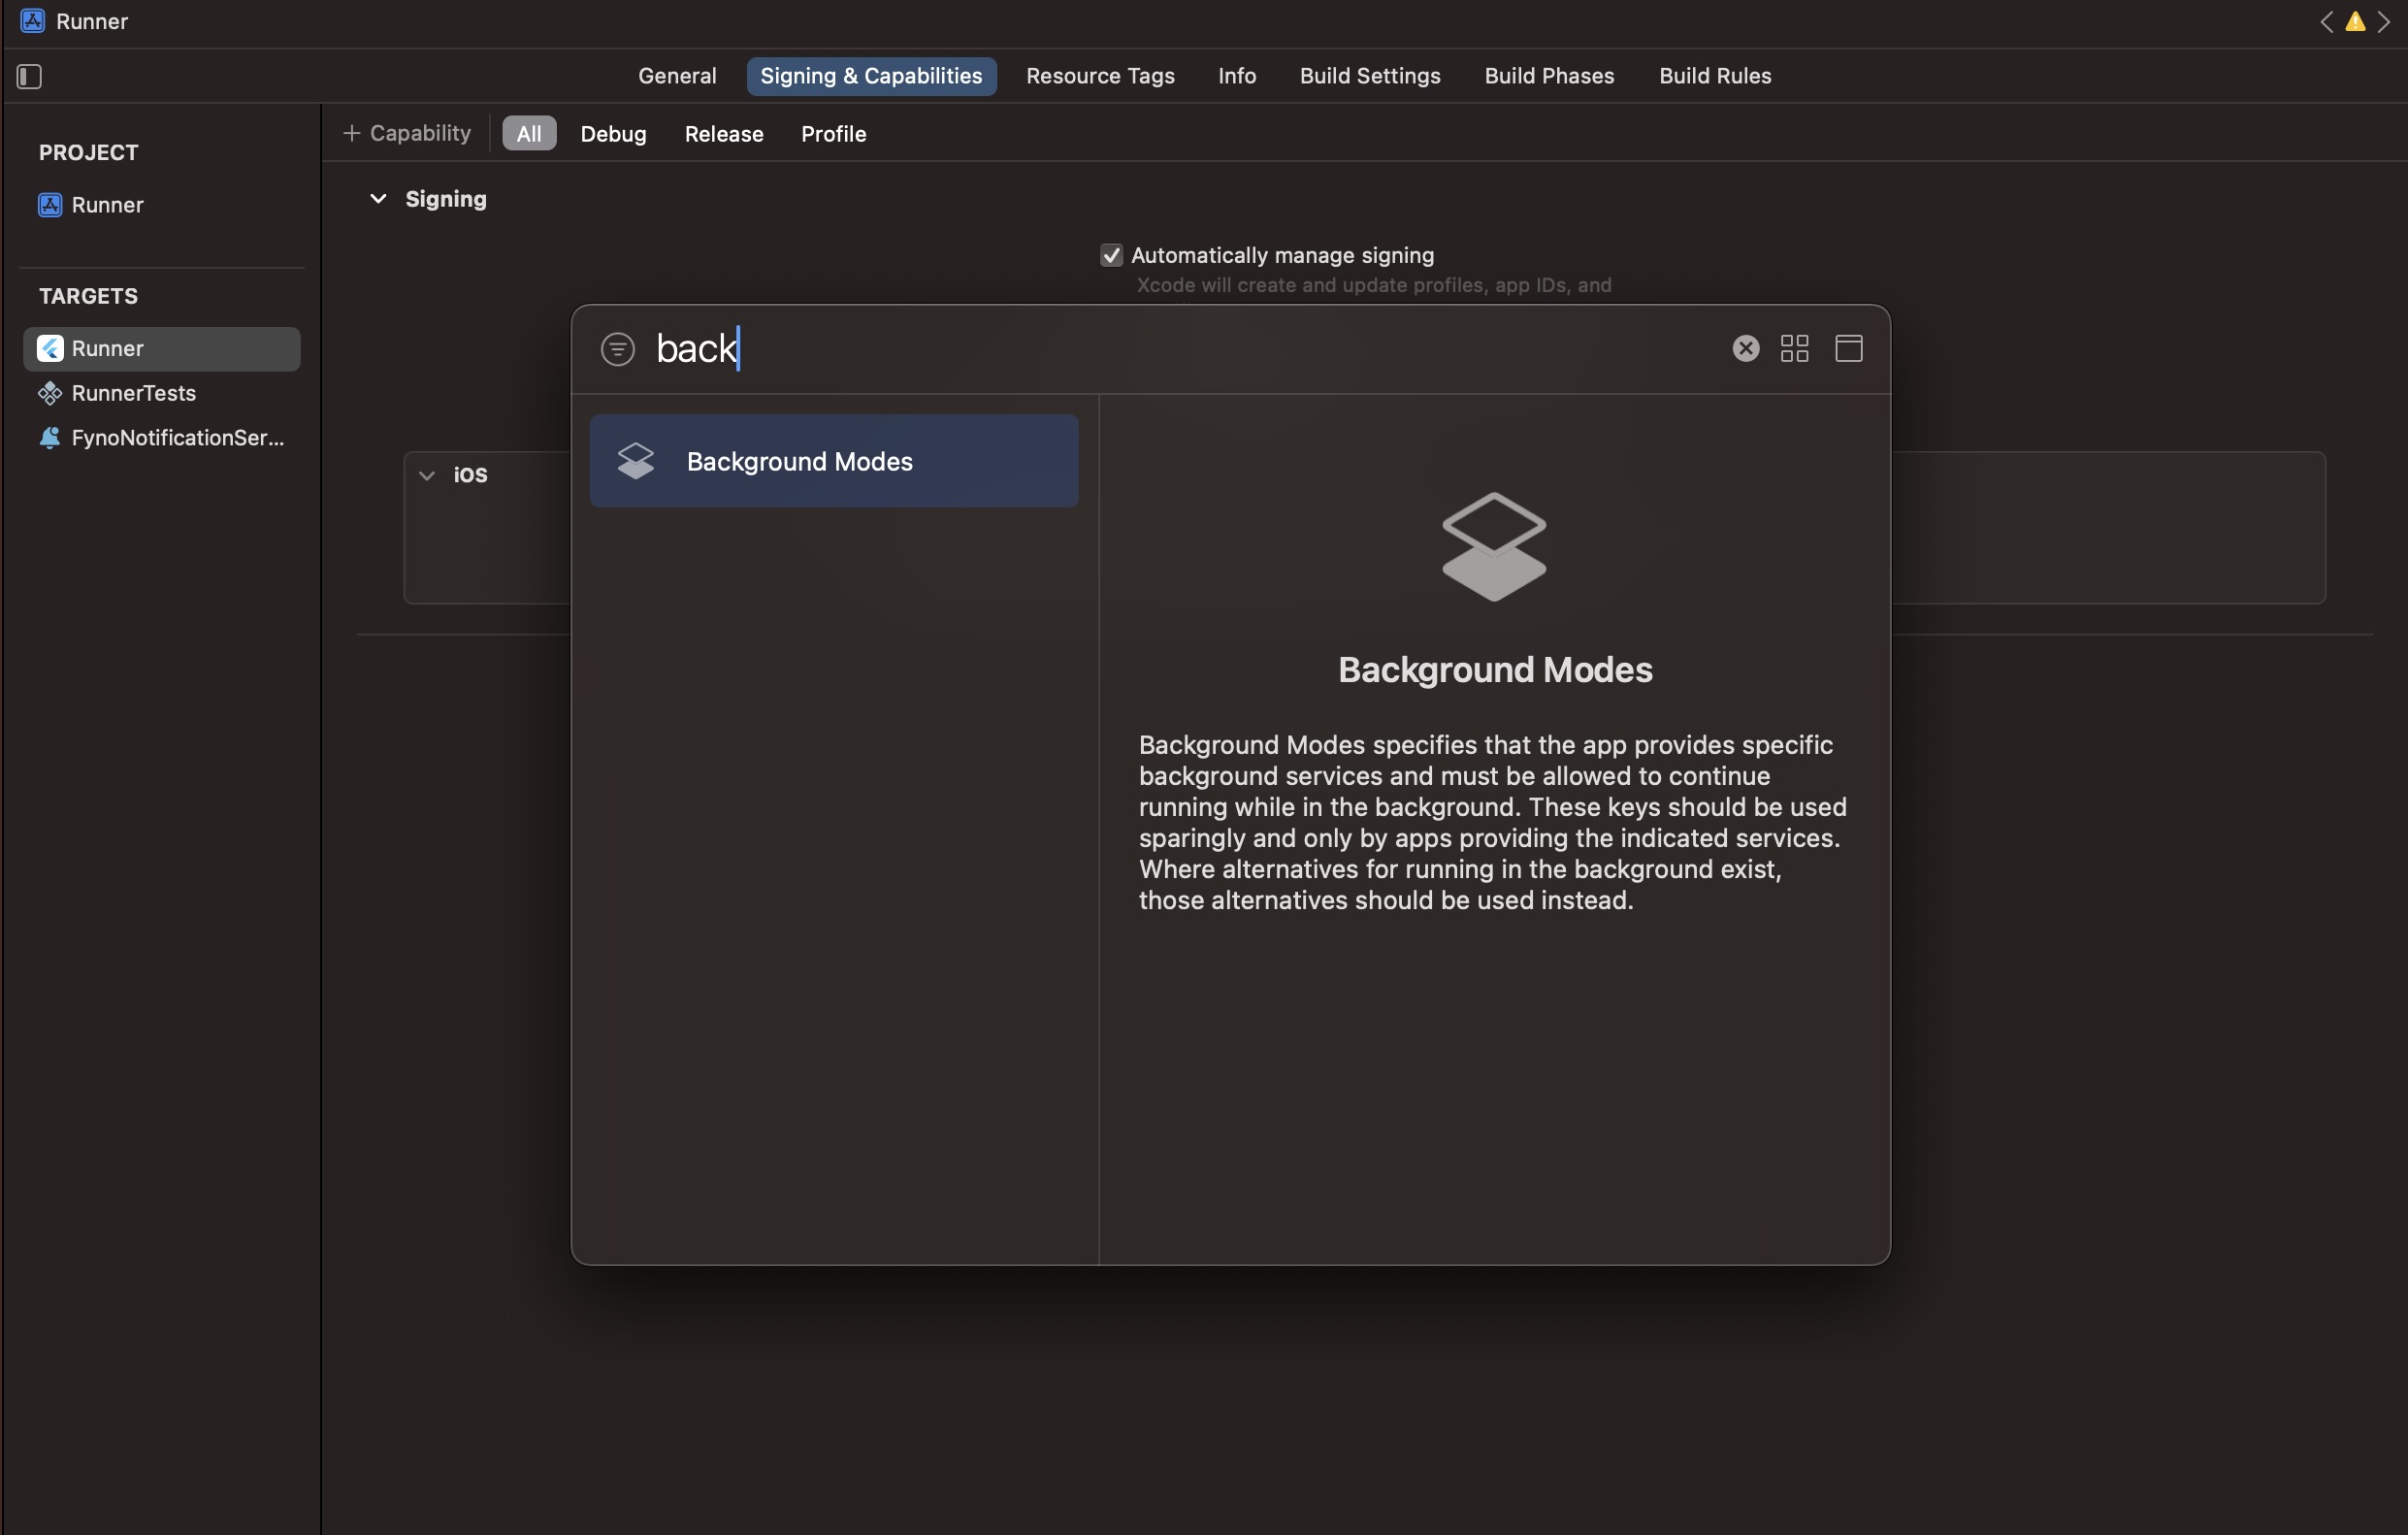
-
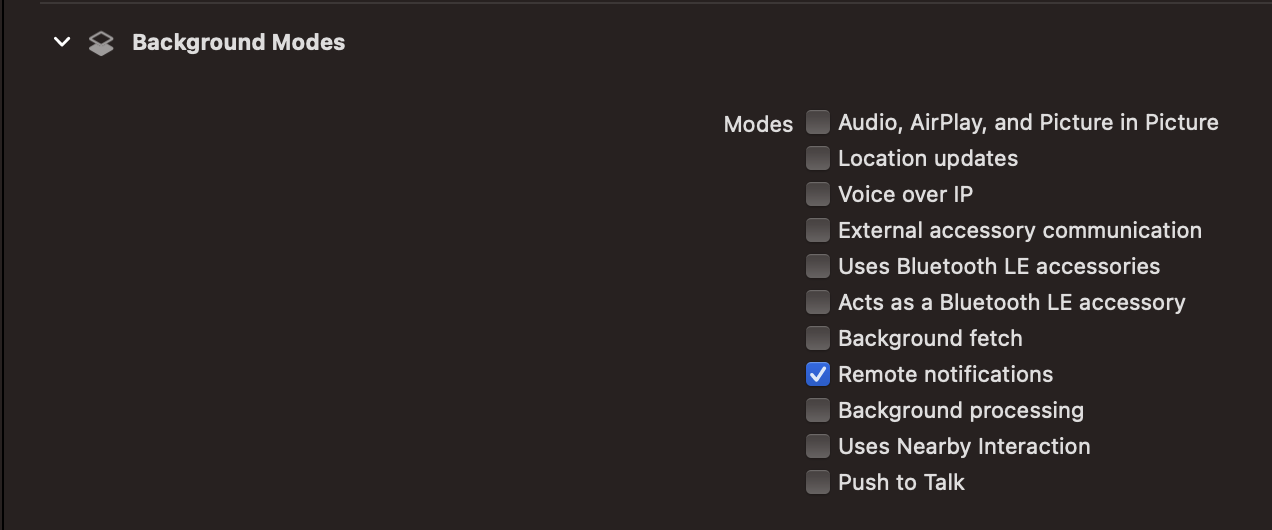
In Background Modes, select Remote Notifications option. We use background notifications to receive delivery reports when your app is in quit and background state. Refer doc to know more about background notifications.
Add Notification Service Extension to your application
-
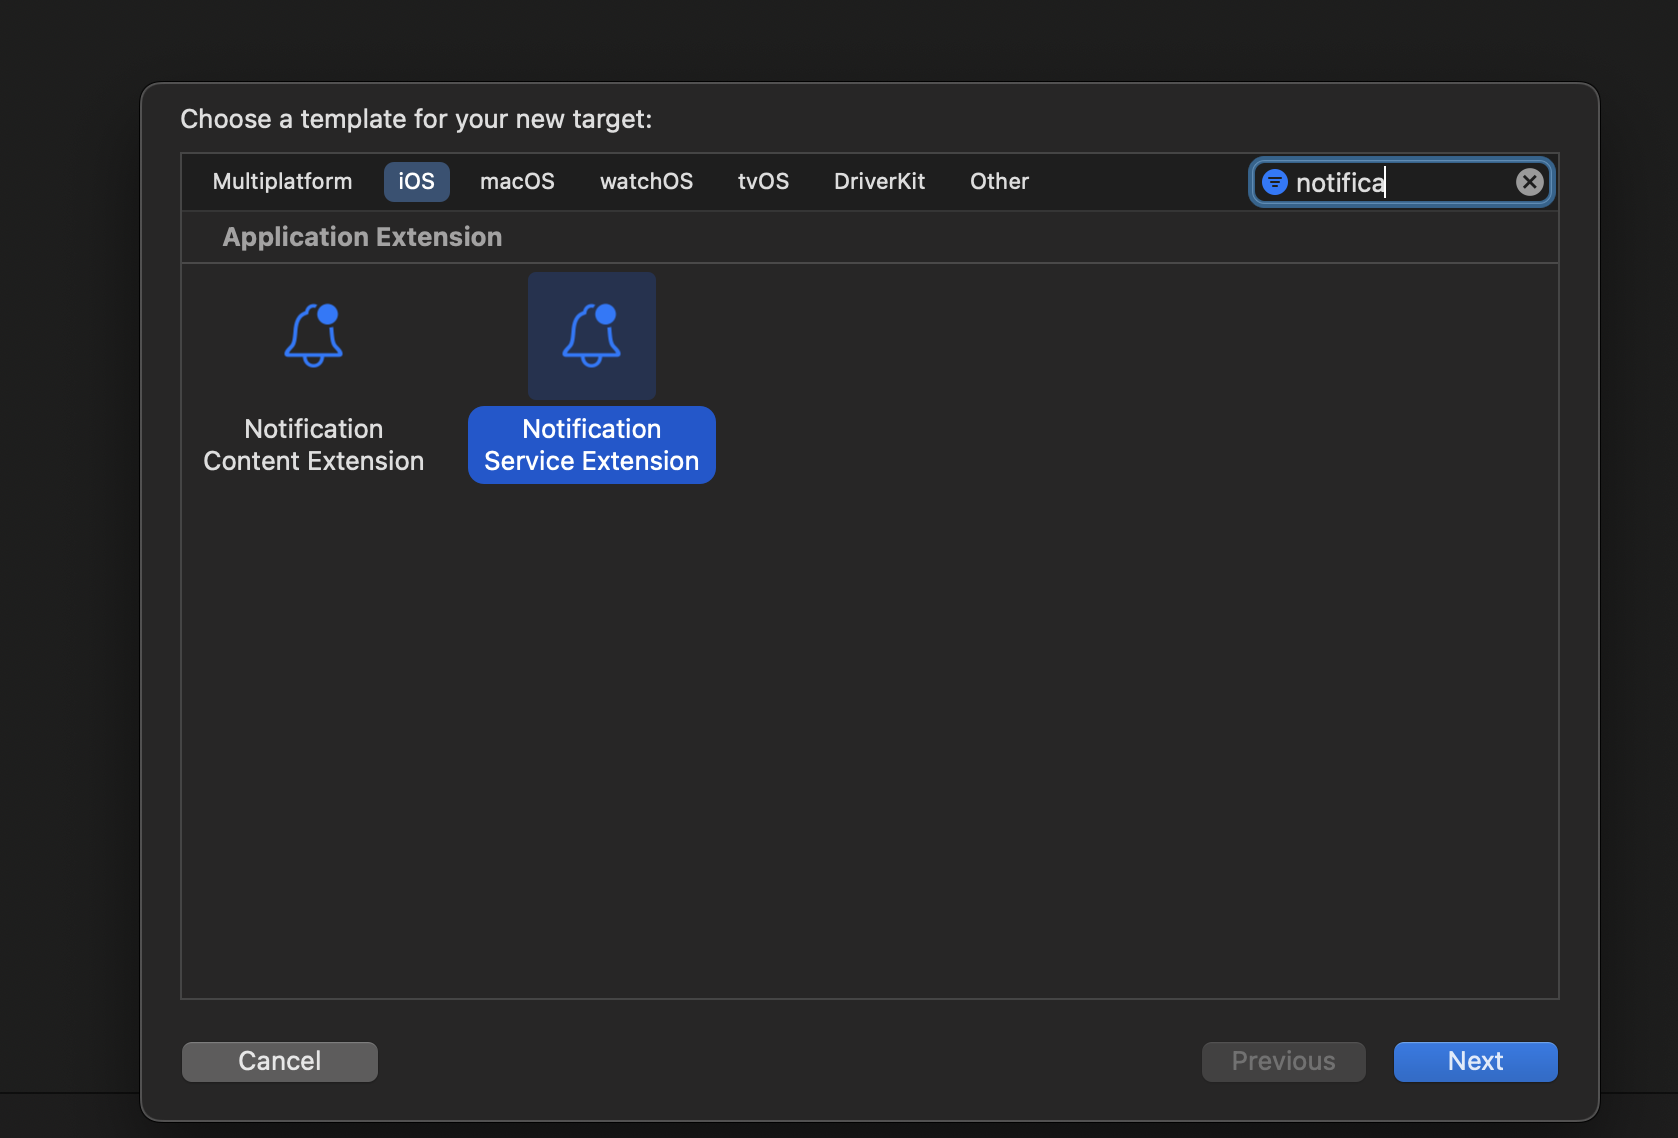
In Xcode go to File > New > Target.
-
Select
Notification Service Extensionfrom the template list. -
Then in Next popup give it any product name, select your team, select swift language and click finish.
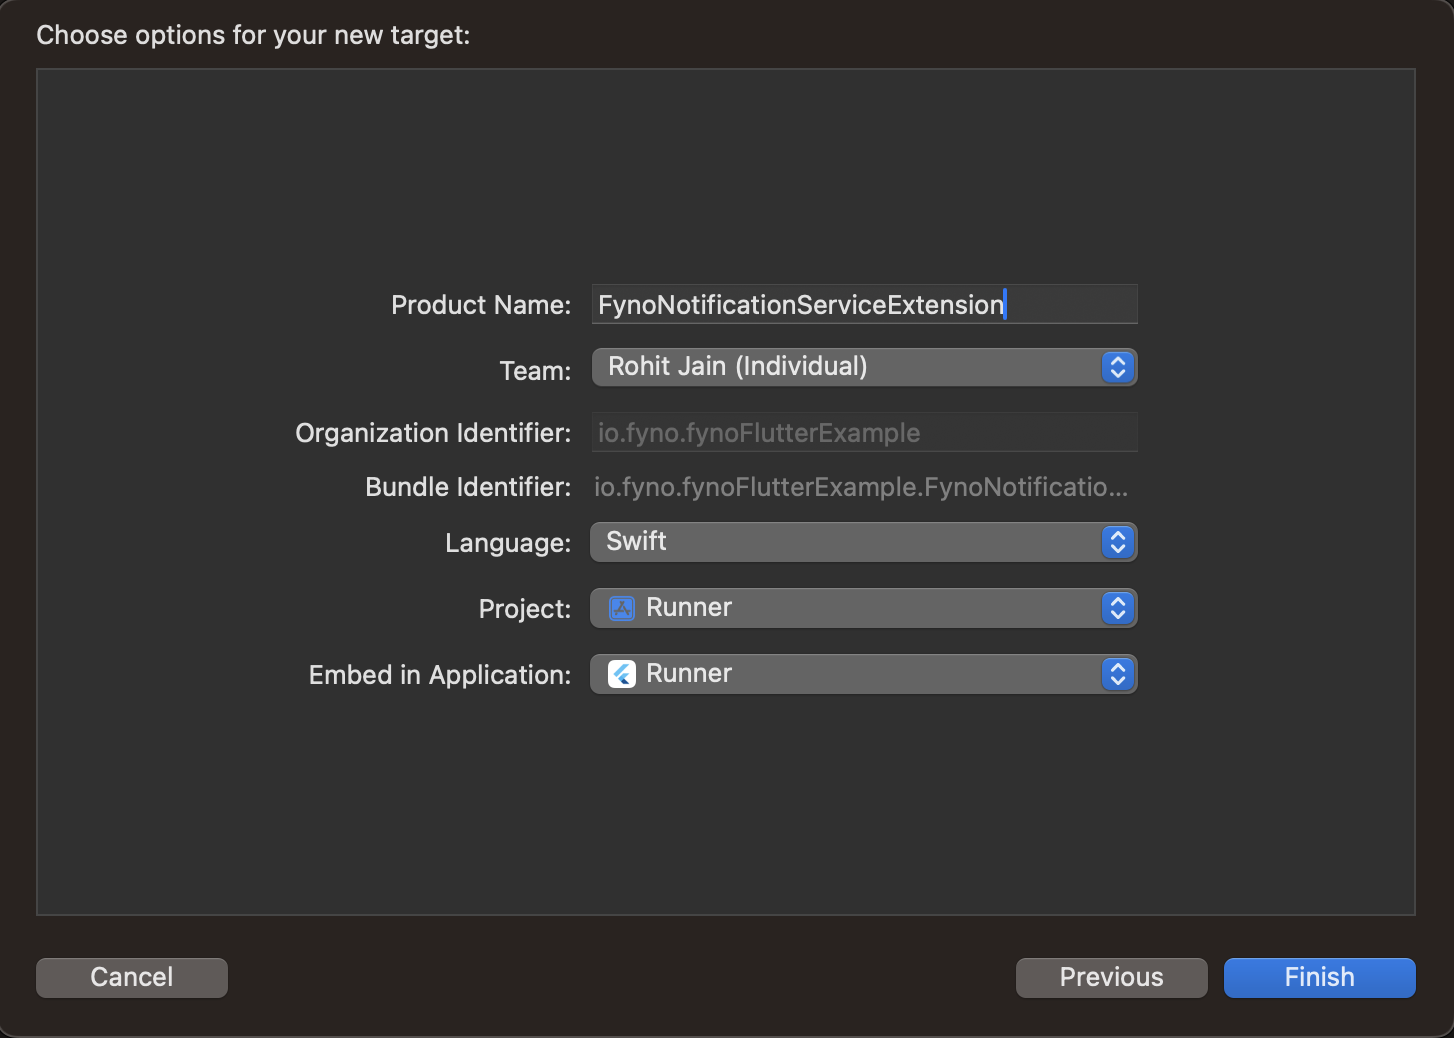
-
After clicking on “Finish”, a folder will be created with your given product name. Replace the contents of the NotificationService.swift file with the below code.
NotificationService.swift -
In order for the Notification Service Extension to be able to access the fyno SDK, you will have to import it by following the below steps:

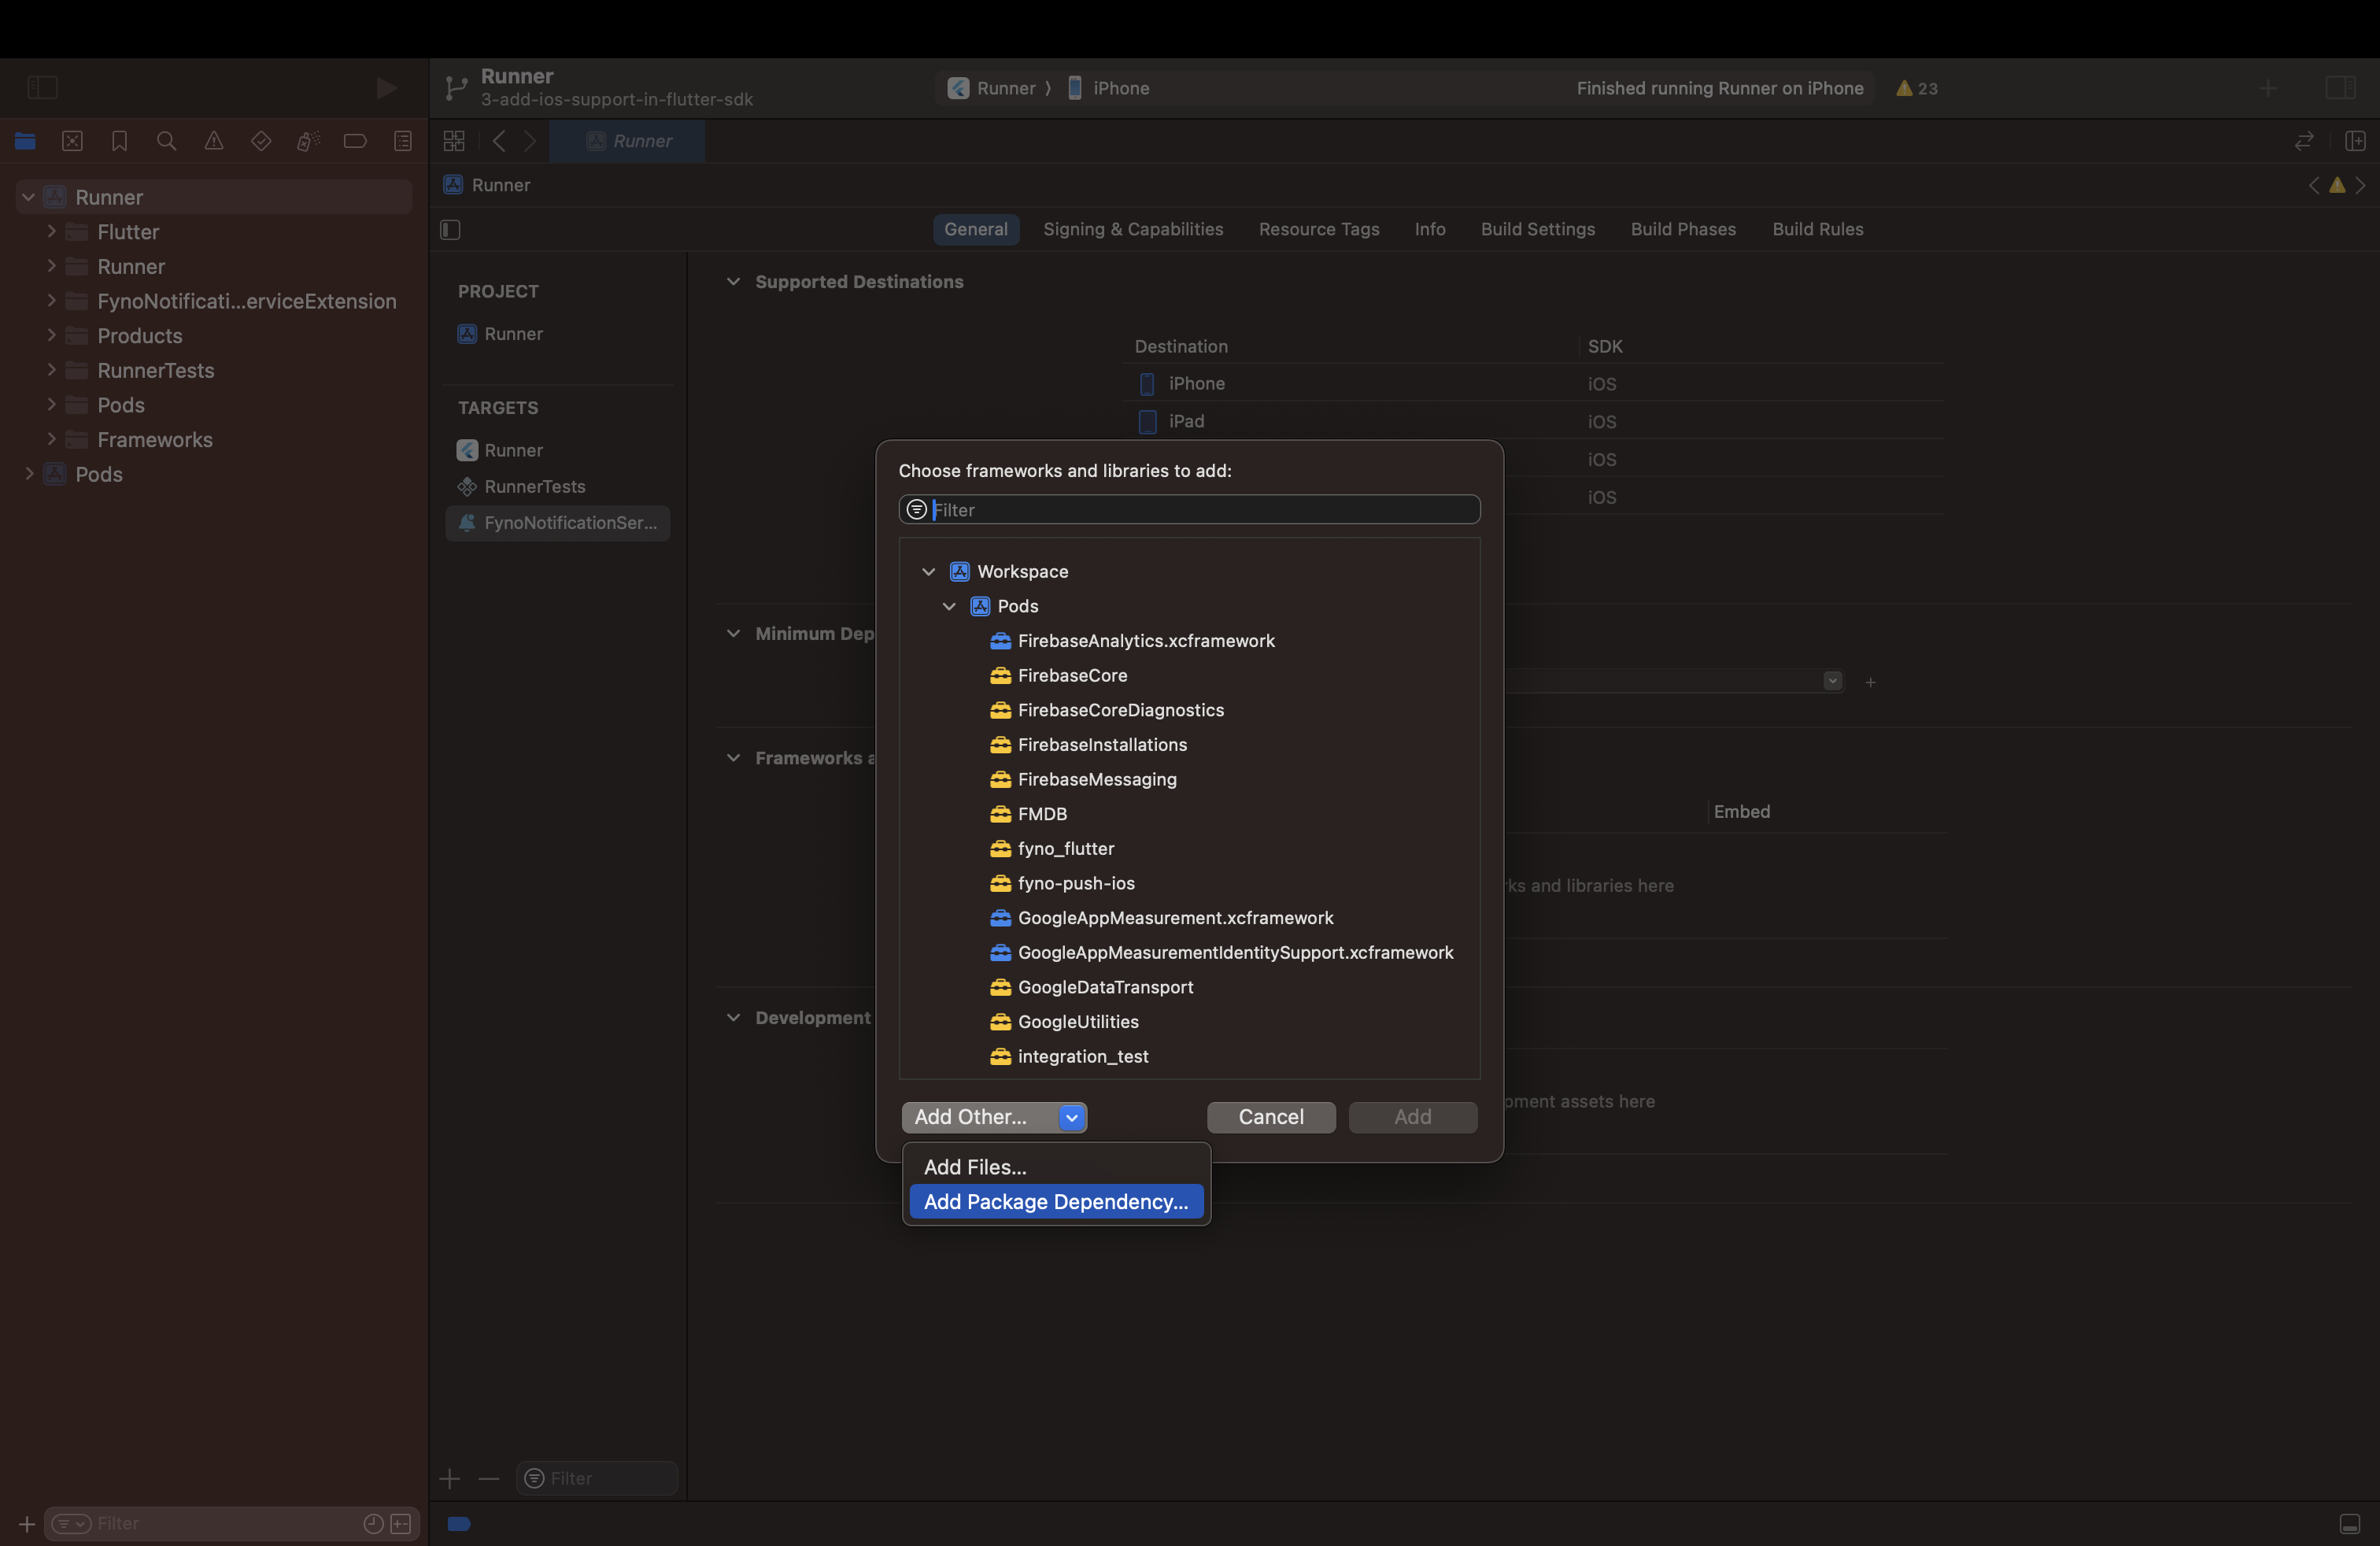
-
Search for
https://github.com/fynoio/ios-sdkin the text box. Select and add the package named ios-sdk.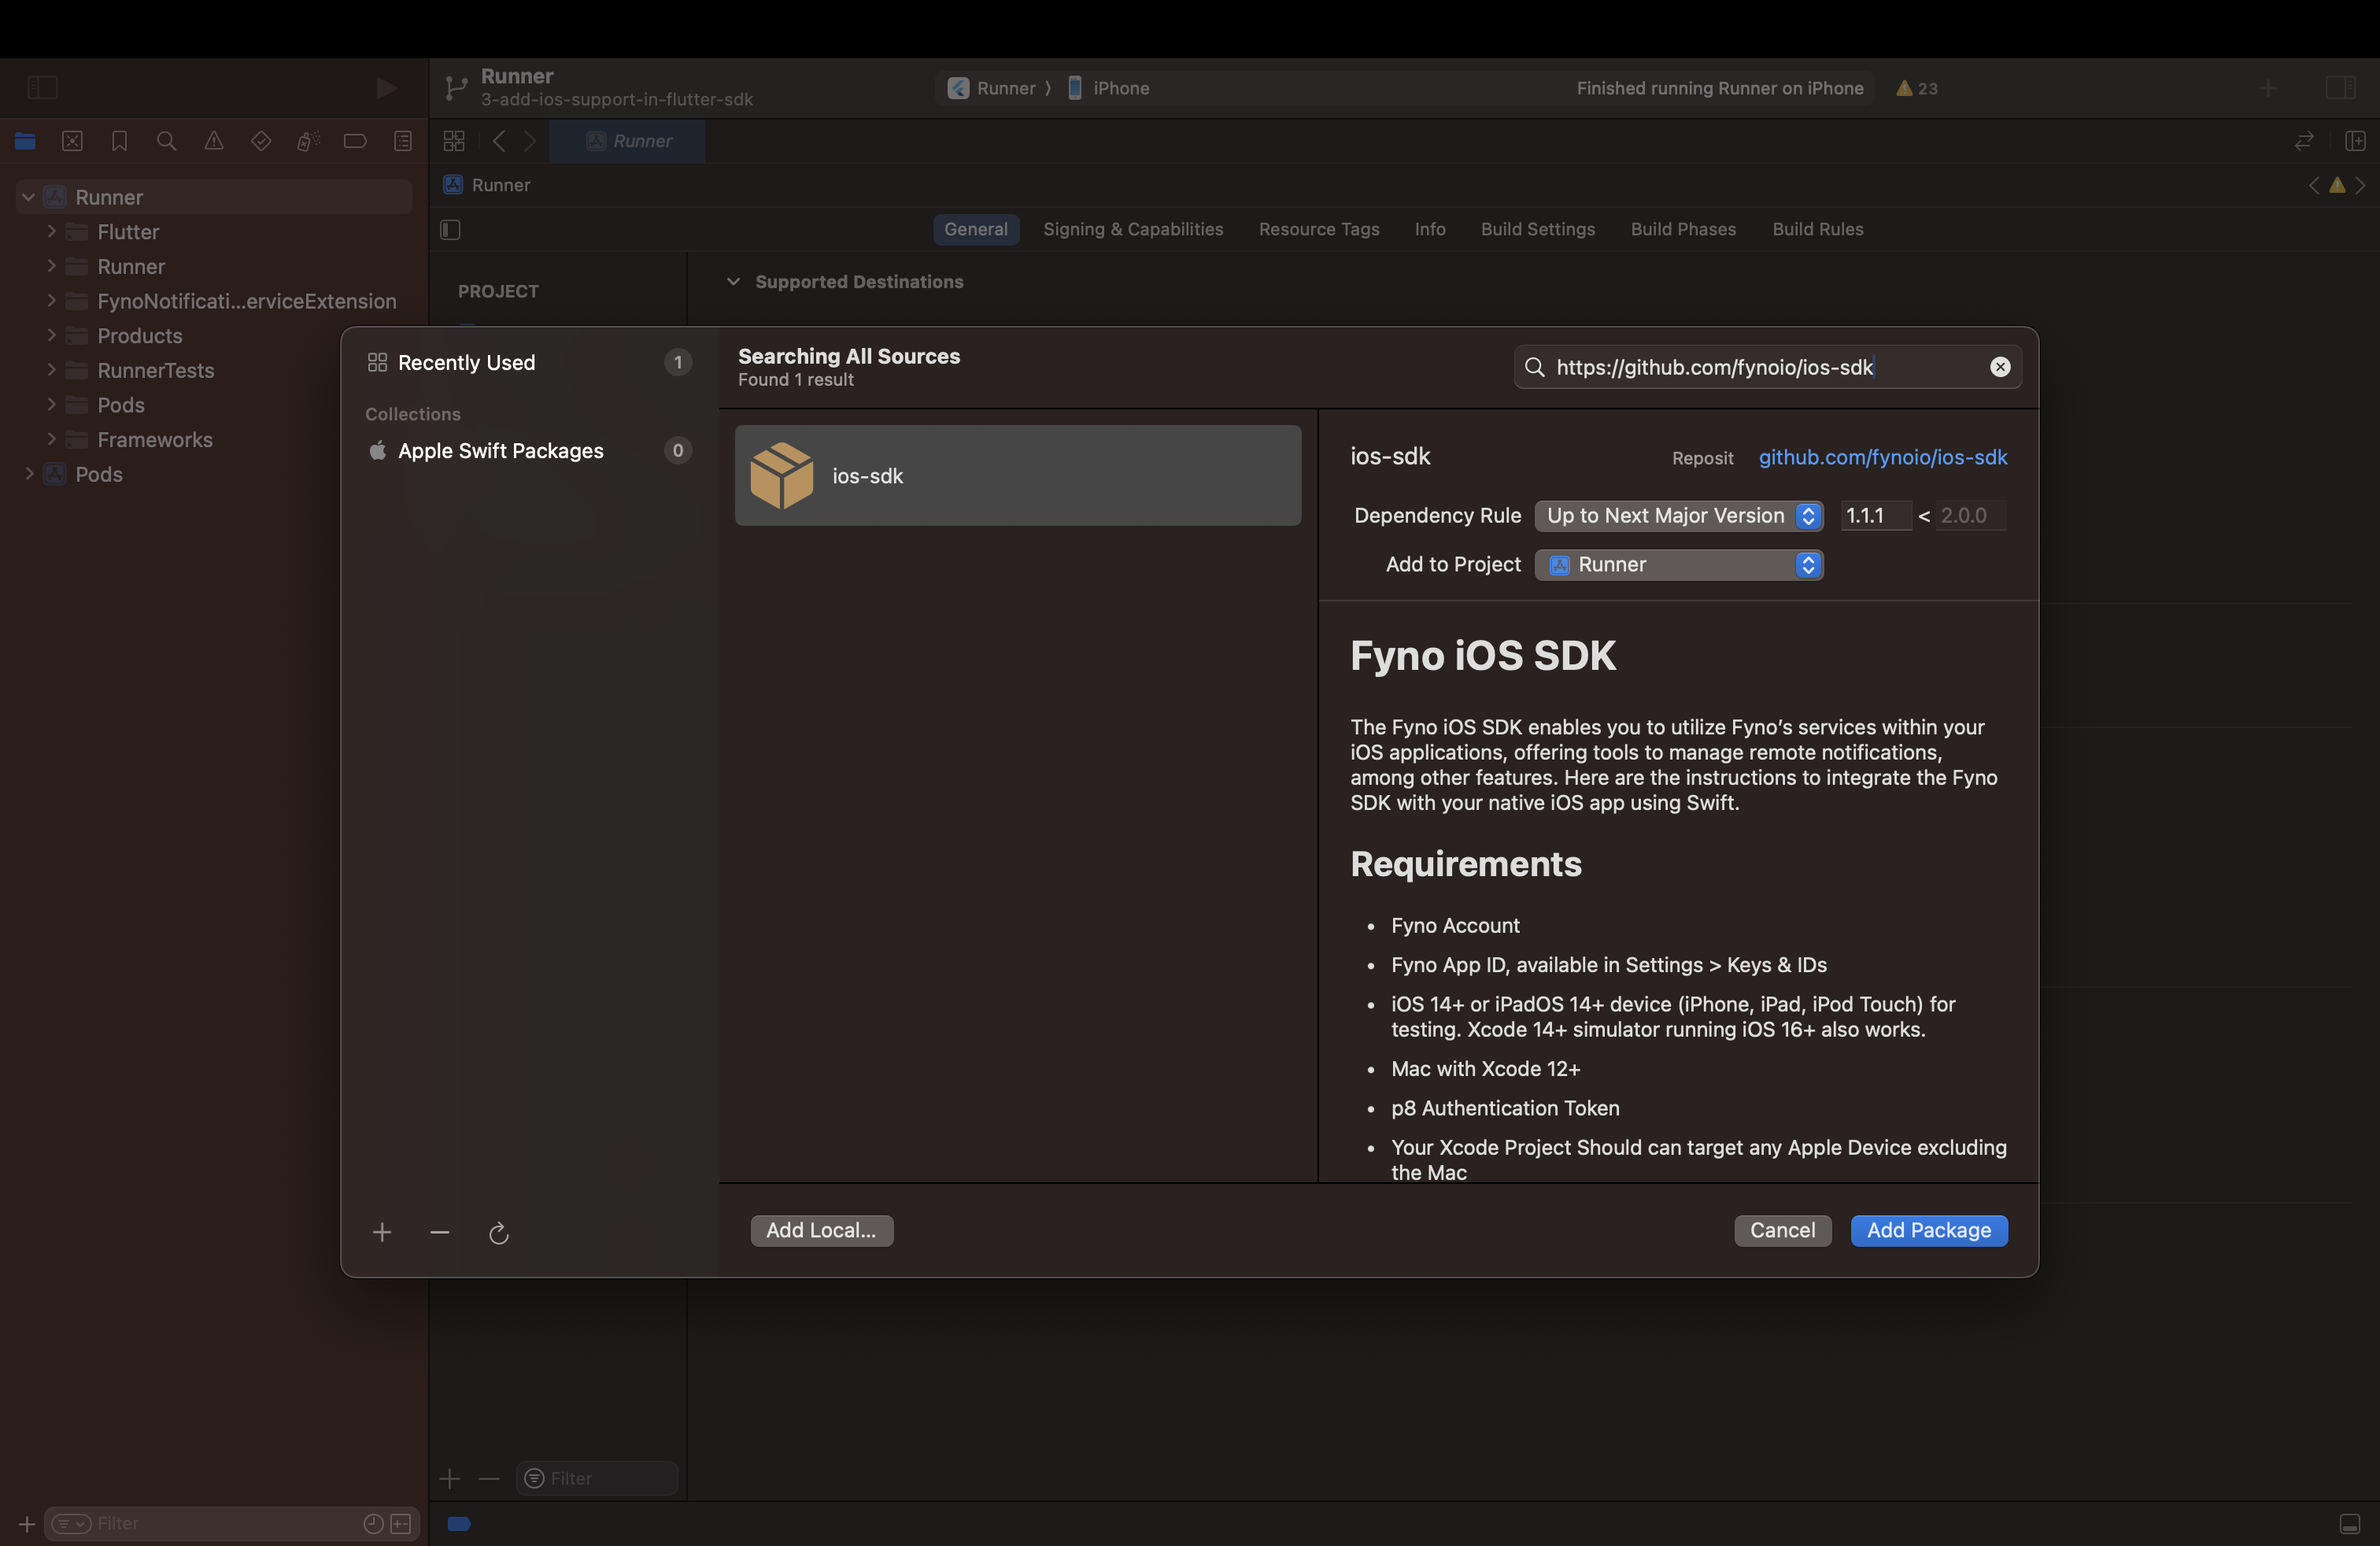
-
Select the Target as the Notification Service Extension you had created and click on
Add Package.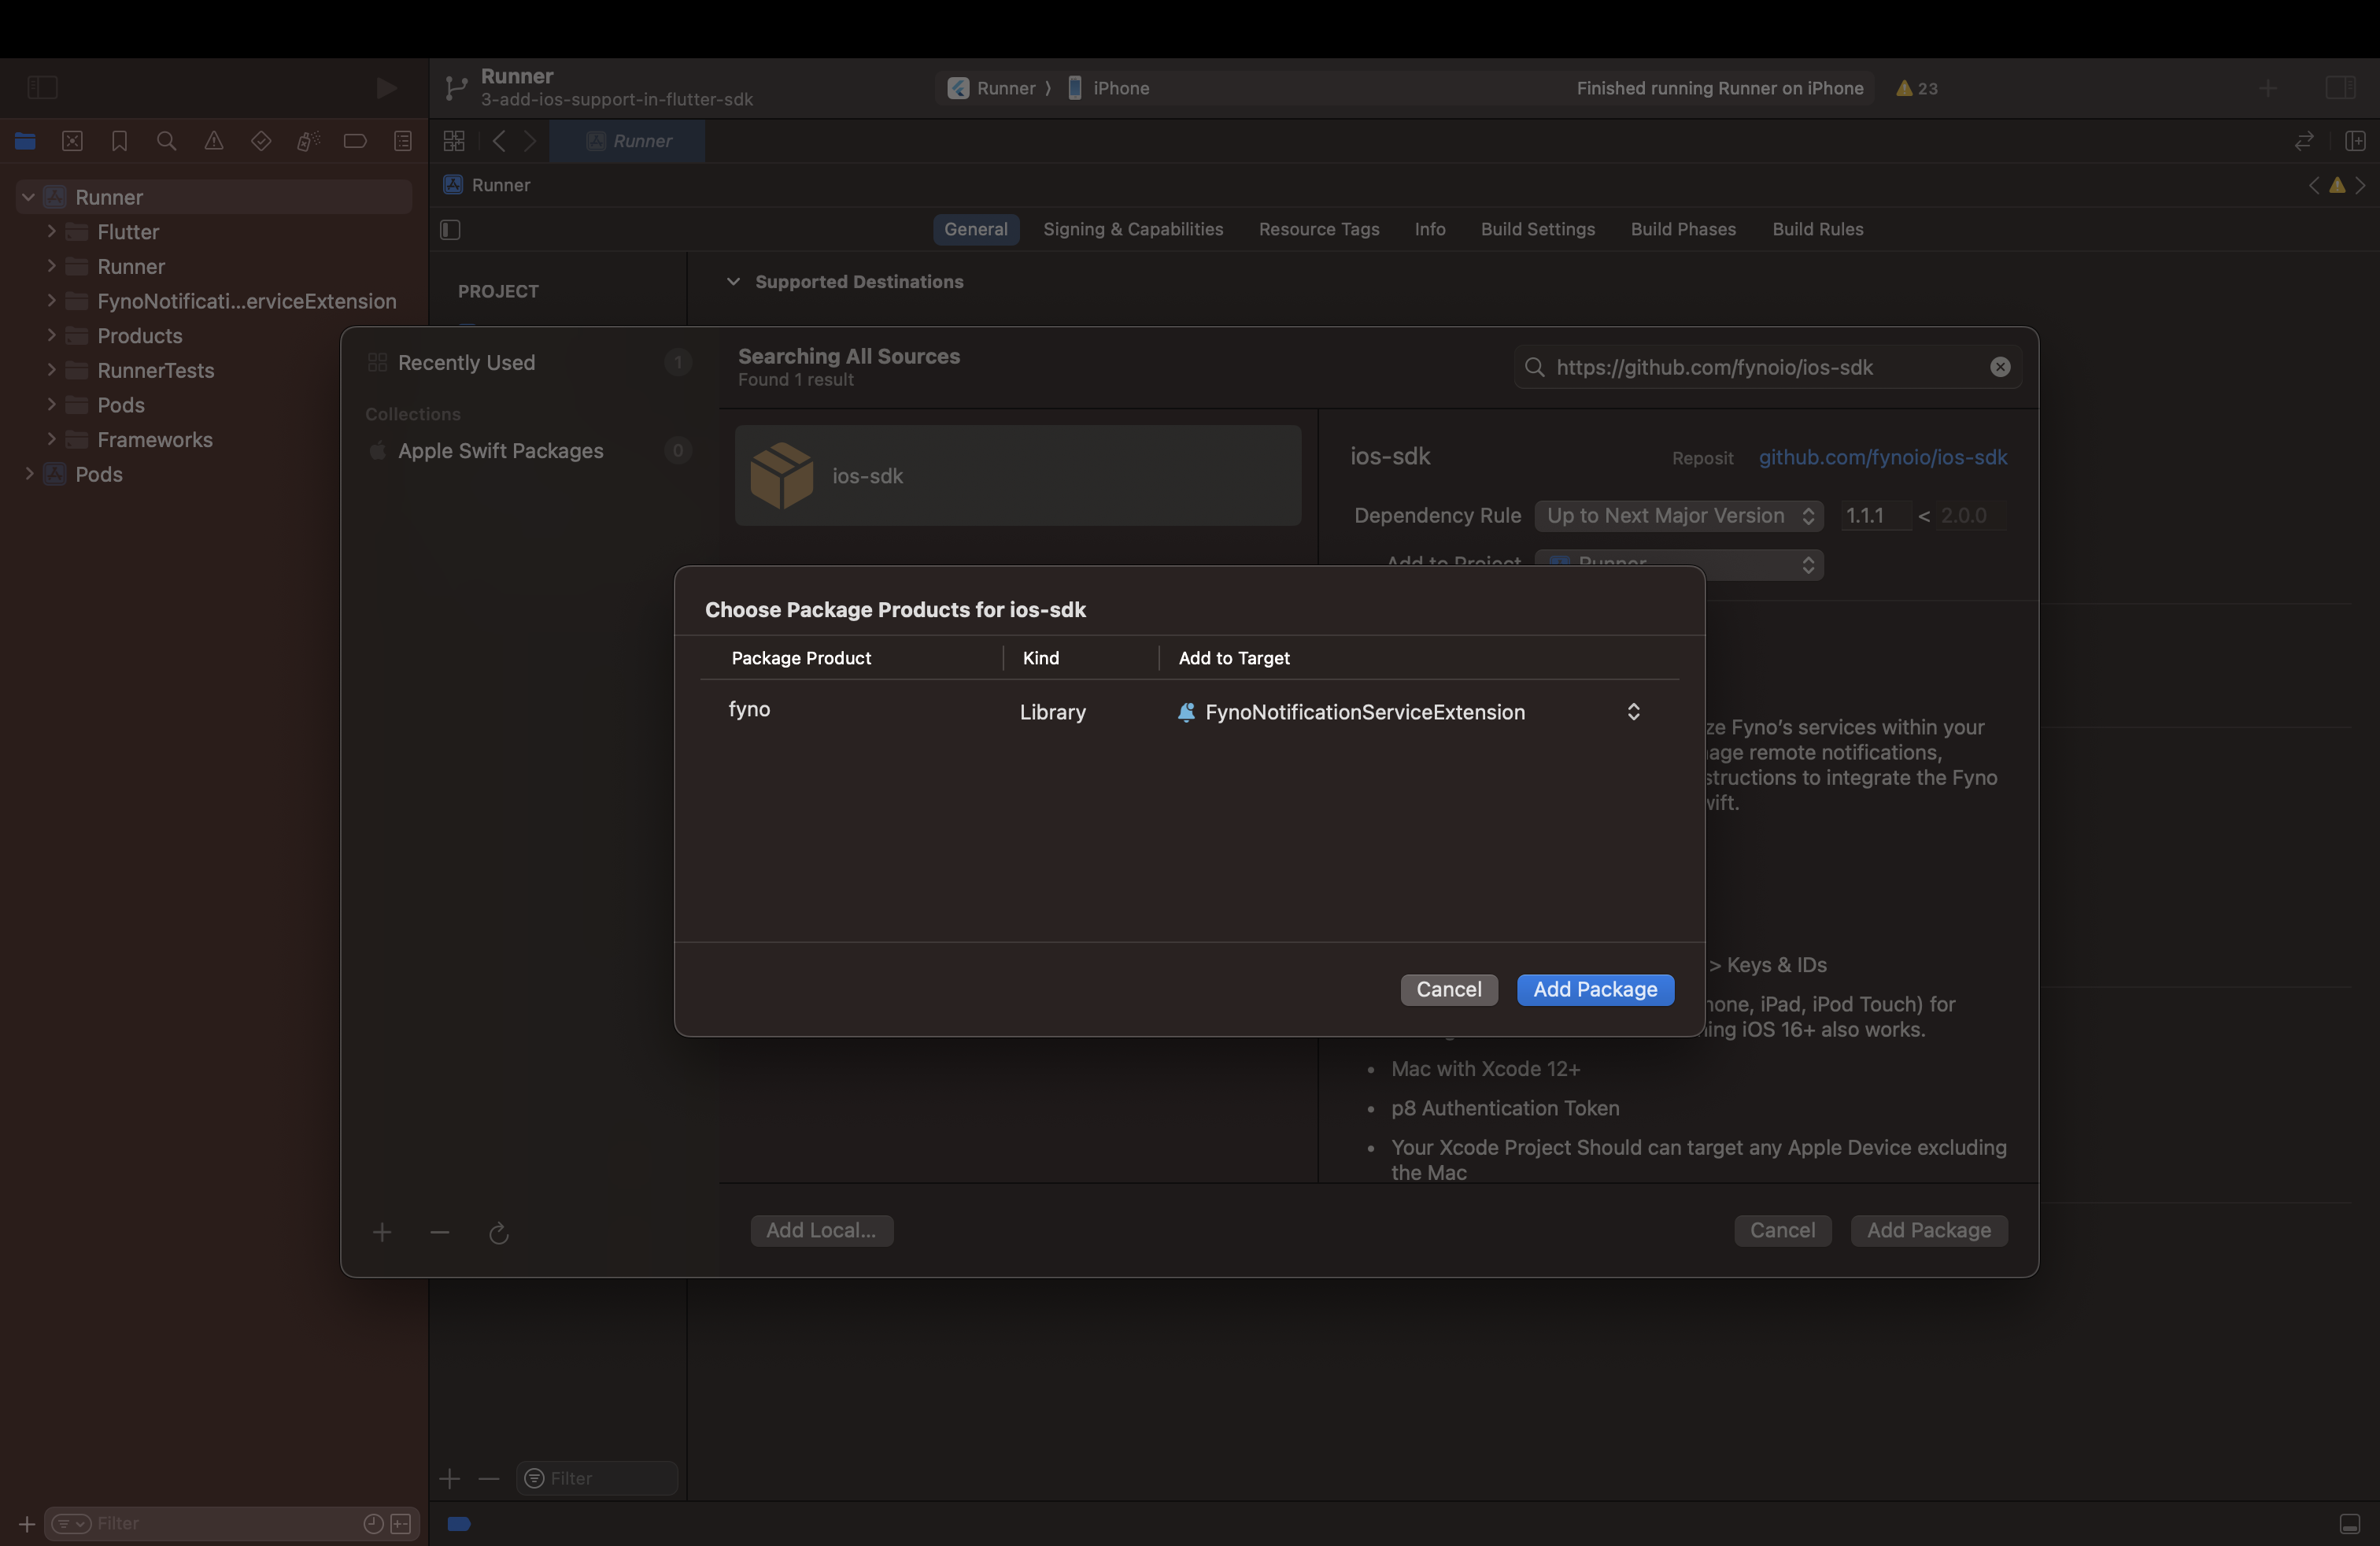
Error (Xcode): Cycle inside Runner; building could produce unreliable results after adding the notification service extension, follow this answer to resolve it.Usage
Initialising the SDK (to be called on app launch)
To initialise the Fyno SDK, you need to provide the following information:
- Workspace ID (Mandatory): Your unique Fyno workspace ID, available on the Fyno App > Workspace Settings page.
- Integration ID (Mandatory): The ID of the integration created in Fyno App > Integrations.
- Distinct ID (Optional): A unique identifier for your user. If not provided, a UUID is automatically generated.
- Version (Optional): Indicates the environment in which the user has to be created. Default is “live”, but you can set it to “test” for testing purposes.
Identifying the User
To update/set a distinct ID or user name, call fyno.app.identify().
- Distinct ID (Mandatory): The distinct ID you want to identify the user with.
- User Name (Optional): - The name you want to assign to the user.
Registering for Push Notifications
To register the application for push notifications, call fyno.app.registerPush().
- isAPNs (Mandatory): Use true if APNs is configured, false if Google FCM is configured in the integration.
Merging User Profiles
If you need to merge two user profiles, call fyno.app.mergeProfile() with the old and new distinct IDs.
Updating Message Status
You can update the status of a notification (received, clicked or dismissed) using fyno.app.updateStatus().
- Callback URL (Mandatory): You can obtain the Callback URL from the notification additional payload if the notification was triggered from Fyno.
- Status (Mandatory): The status of the notification (one of RECEIVED, CLICKED or DISMISSED).
Resetting User Information
To reset user information, call fyno.app.resetUser().
- You can invoke this function when the user logs out of the application.
- It handles the deletion of channel data associated with the current user, initiates the creation of a fresh user profile, and transfers this particular channel data (push token) to the newly created profile.
- This feature proves to be invaluable if you plan to send push notifications to an application even after the user has logged out.
- It is also recommmended as it ensures that devices where the users have logged out are no longer associated with them.