Creating User Profiles
To create a user profile from Fyno, click the “Create+” button on the user profile listing page.
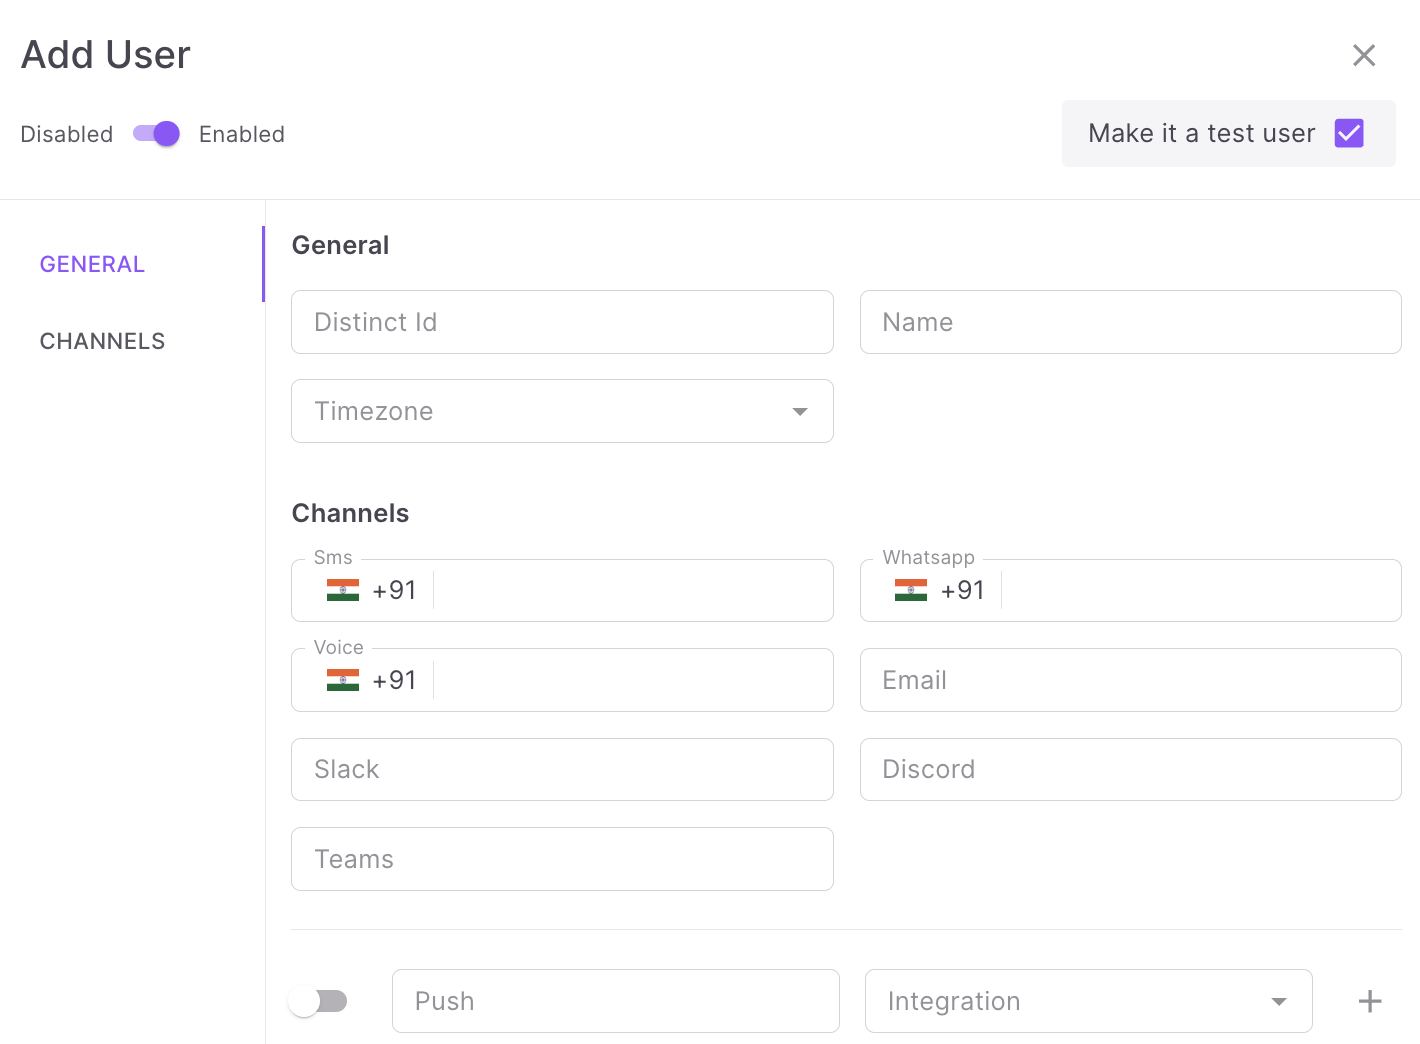
A pop-up will open up with a form to fill out as below:

Choose your Environment wisely!
When creating a new User Profile, the first thing you need to specify is if the user is a Test or Live user. You can create a user as ‘test user’ by checking the option - ‘Make it a test user’.
This cannot be changed later or at any point in the future.
The fields present in the form are:
Distinct ID is the only required field.
Fill out the form with all the required information and press the “Add User” button to submit the form.
A single user profile will be added after successful submission.
Things to Remember
- The Distinct ID must be unique, and a duplicate Distinct ID entry will give you an error.
- The minimum required length for a Name is 3.
- All the other details are optional and can be added later by updating the user profile.
- Status disabled means that that user will be rendered Disabled and wouldn’t receive ANY notification.