Copying Routes
title: ‘Cross-Workspace Route Replication’ slug: ‘copying-routes’ description: ‘Migrate single-channel and omni-channel routing engines between distinct business environments. Master dependency matching, destination workspace access rights, and version serialization during replication.’ og:title: ‘Cross-Workspace Route Replication | Fyno Documentation’ og:description: ‘Migrate single-channel and omni-channel routing engines between distinct business environments. Master dependency matching, destination workspace access rights, and version serialization during replication.’ image: https://images.fyno.io/brand/fyno-doc-preview.png
Single channel and omni-channel routes can be copied from your workspace to other workspaces you own. The copy process is only available in workspaces where you have the Owner role.
Steps to copy routes
1. Prepare your destination workspace
It is important to note that when copying routes, only the route-related data will be copied to the destination workspace. Any dependencies must be created or copied manually in the destination workspace.
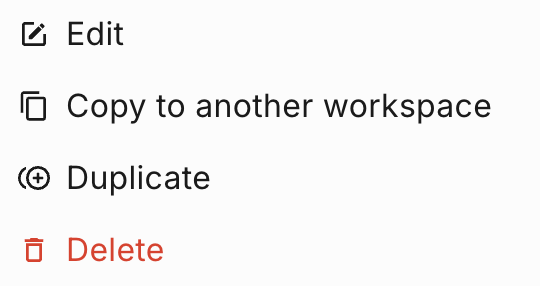
2. Copy your route(s)
3. Post copy to-do
Once the routes are copied to the destination workspaces, open each route, re-select the integration (where applicable), and save the route to ensure that it works correctly.
How versioning works
Let’s say we are copying a route from Workspace A to Workspace B. There are two versioning scenarios to keep in mind.
If the route does not exist in Workspace B, then the version created by the copy process will always be v1 (Test).
If the route already exists in Workspace B, then the copy process will create a new standalone version (neither test nor live). For example, if the version in Workspace B is v1 (Test), then the process will create a new version called v2. You can select this version from the version dropdown beside the route name and click “Save” to change the version to v2 (Test), or click the “Go Live” button to promote it to v2 (Live). This ensures that changes to existing versions in the destination workspace are not overwritten and gives you control over when to save or promote the copied route.