SMS Templates
Fyno makes it simple to create templates for SMS. Follow the steps below to create an SMS template.
Creating an SMS template
Step 1: Choose the External Template Name / ID option
When you add the SMS channel to a template, the Create your SMS Template screen opens. The first field is External Template Name / ID.
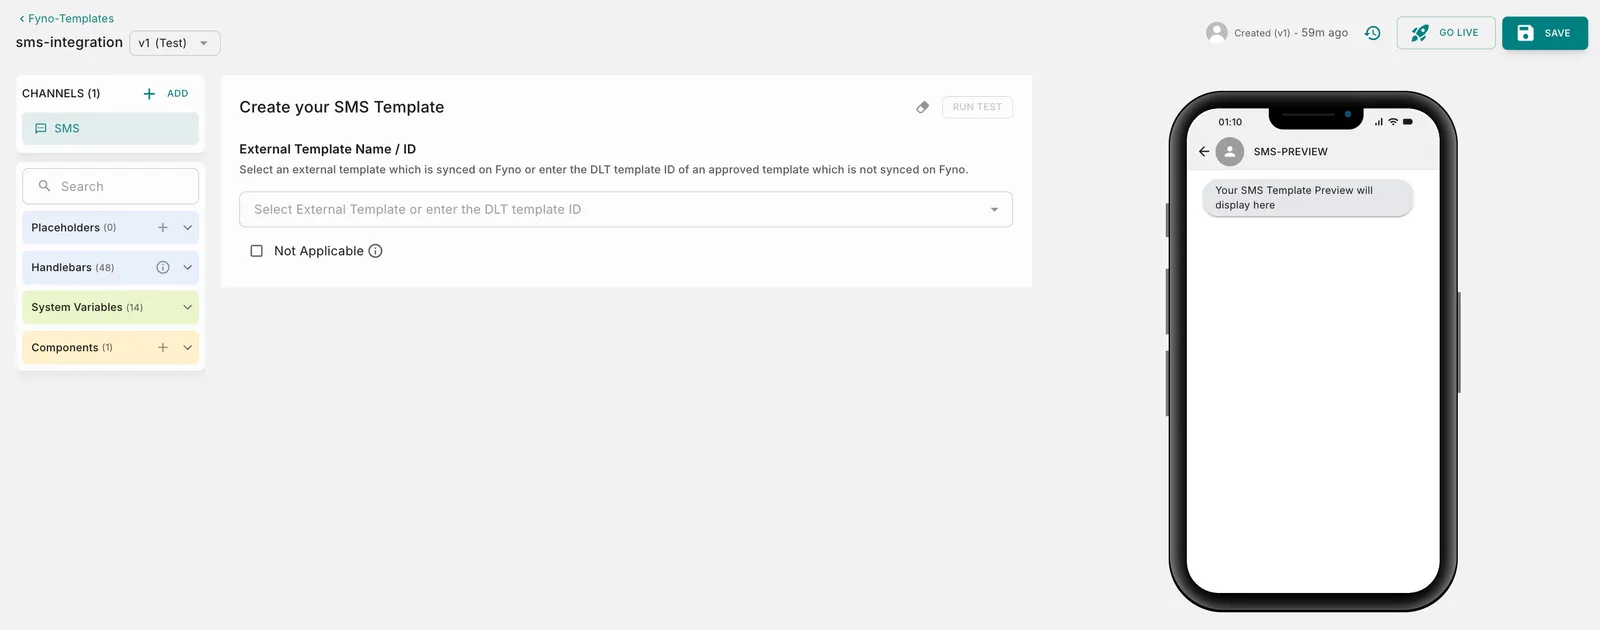
The External Template Name / ID field has three options. The fields you fill in next depend on the option you choose.
Synced DLT template
Non-synced DLT template
Not Applicable
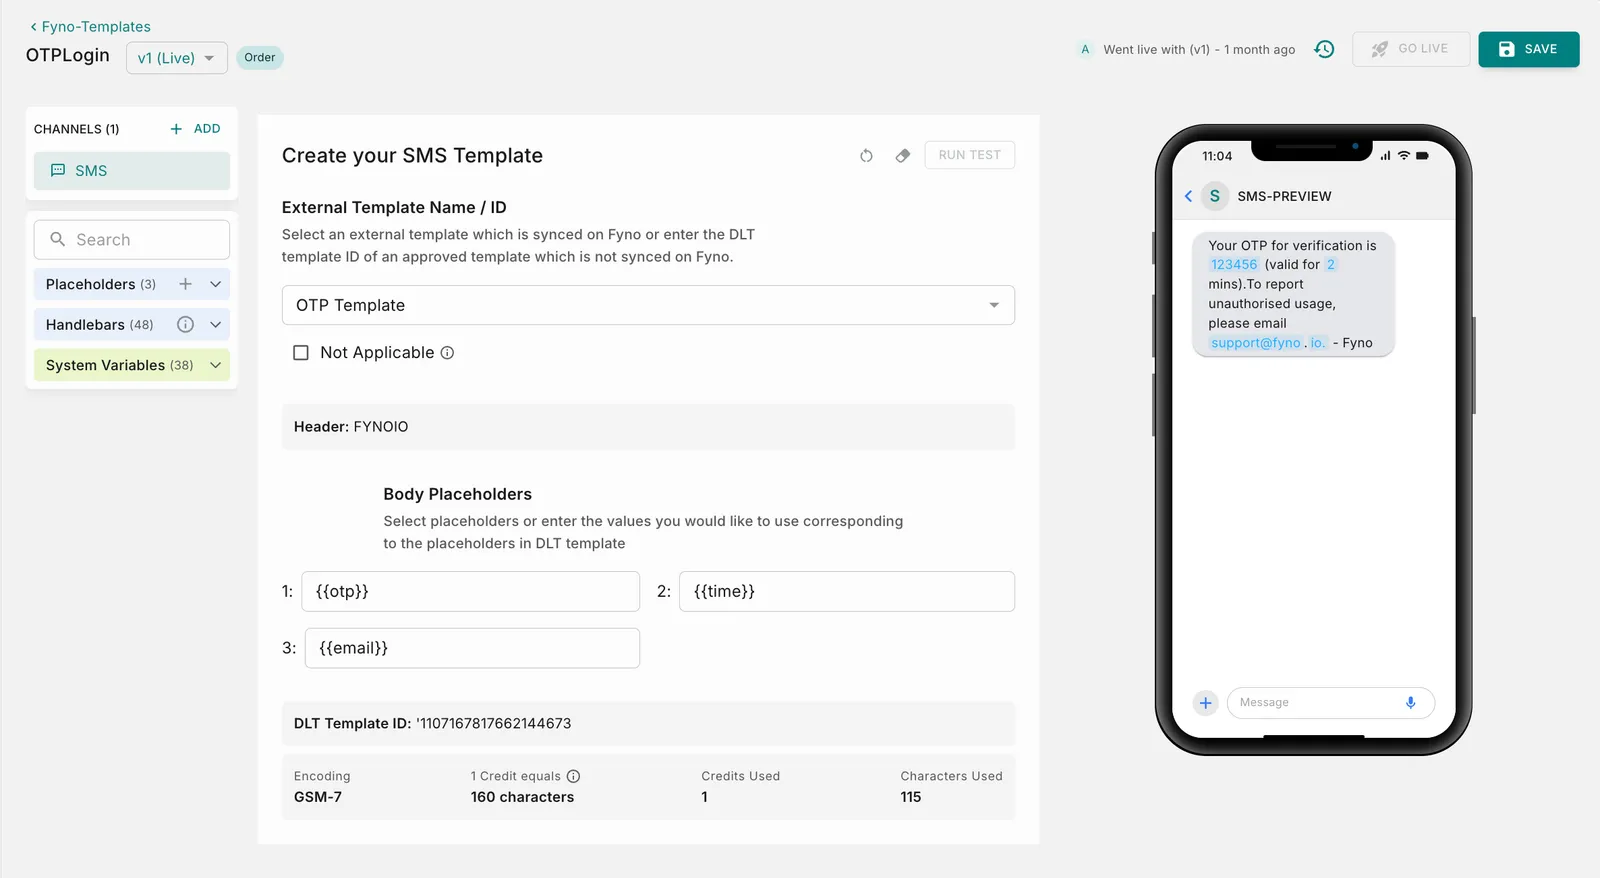
You don’t need to enter SMS content for a synced template. Fyno uses the approved content of the DLT template. Unicode Message and Additional Configuration are not shown for synced templates.
Additional Configuration (optional)
Additional Configuration is available only for Non-synced DLT templates and Not Applicable.
Expand the Additional Configuration section to set the following options:
- Override Sender ID: Specify any approved Sender ID or header here to override the default one configured in your integration. For example, use Sender ID CLXYZA instead of the configured CLABCD in the integration.
- Send as a Flash Message: A flash message appears on the mobile device’s screen, without having to access the SMS storage application on the device.

Step 2: Add placeholders
Below the Channels section on the left, you can find placeholders. Placeholders are denoted by {{}}. Click a placeholder to open a pop-up window where you can define its parameters. You can use Handlebar functions with your placeholders for operations such as date formatting, number formatting, and arithmetic operations. See the comprehensive guide on Handlebars.
To use any user property in your templates, add it in this format: {{$user.$<user_property>}}. For example, to add Name as a placeholder from the User profile, add it as {{$user.$name}}.
You can use a period (.), underscore (_) or hyphen (-) within the handlebars. Try it now!
You cannot use only numeric values as placeholder keys.
Step 3: Preview the message
Review your content and check what your message looks like in the Preview section on the right.
How to test an SMS template
Use this feature to test a template thoroughly before including it in any Notification Event. This ensures early detection and resolution of any potential issues, for a seamless user experience.
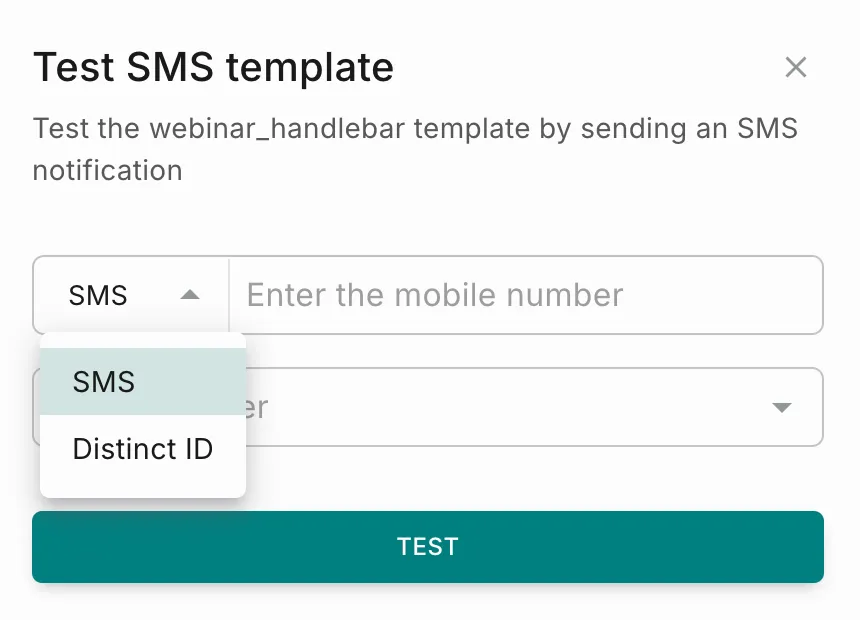
Enter either the mobile number of the recipient where the SMS should be sent, or a distinct_id. Make sure to enter the distinct_id of a Test User profile.
Auto-fill empty placeholders (optional, AI assistance): If your template has placeholders with no sample values, Fyno can fill them using AI so you can test the message. Click Yes to let Fyno fill sample values for the empty placeholders. Once done, you see the message Sample values have been filled.
Save and go live
Click Save to save the template as a Test version. Use Go Live when you are ready to move your template to the Live version.
If your workspace has a maker-checker workflow enabled for template management, Go Live needs an additional approval step. Choose from your designated approvers, who review and authorize the template changes. See Approval flow for the steps.
How to add dynamic content
You can add dynamic content to your templates using one of the four options below:
How to view change logs
To view the history of all the modifications made to a template, use the change logs feature.
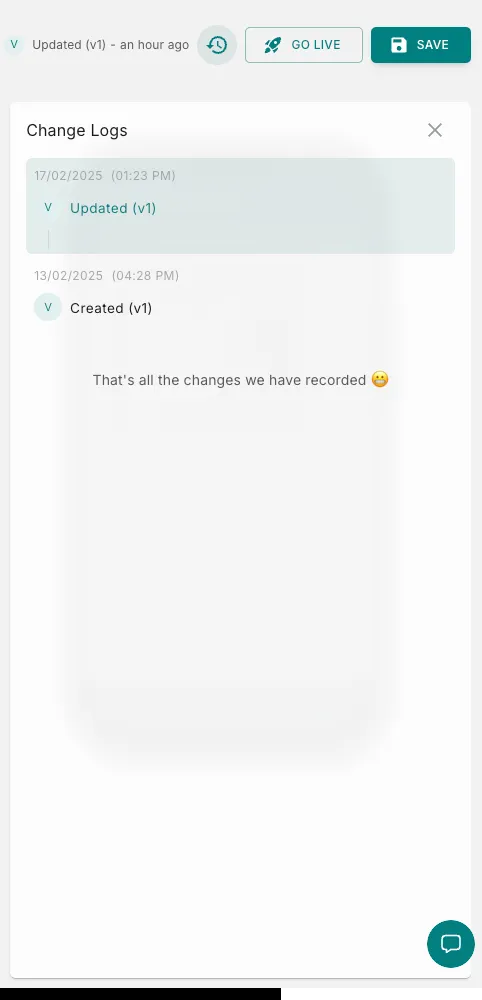
Click the history icon at the top right corner of the template page, as shown in the image below, to view the change logs. It shows the following details:
- Who updated it
- Which version was updated
- The date and time it was updated