Reusable Components
The Components feature allows you to build modular, reusable elements such as headers and footers.
By creating these components once, you can easily add them into any email you create, saving time and effort.
How to create a component (except PDF)
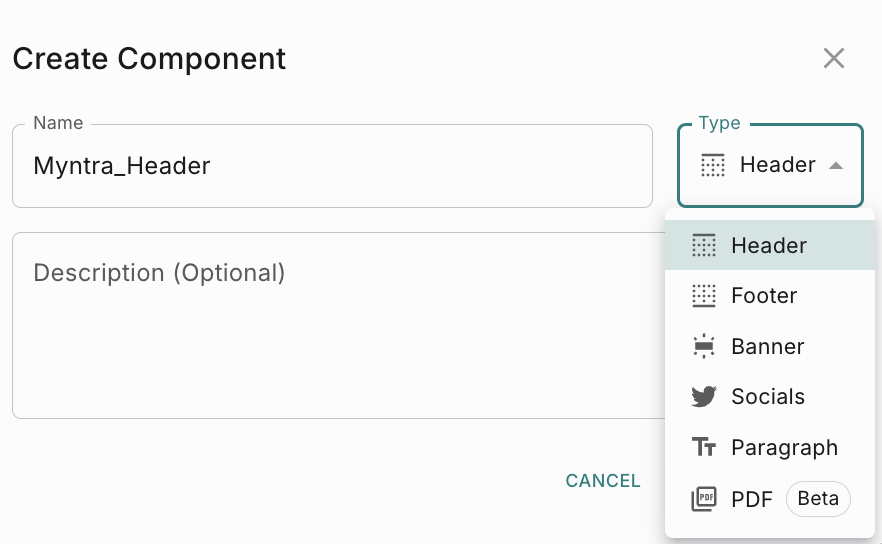
We support 6 different type of components now.
- Header
- Footer
- Banner
- Socials (Any social media icons like Twitter, LinkedIn, FB etc)
- Paragraph
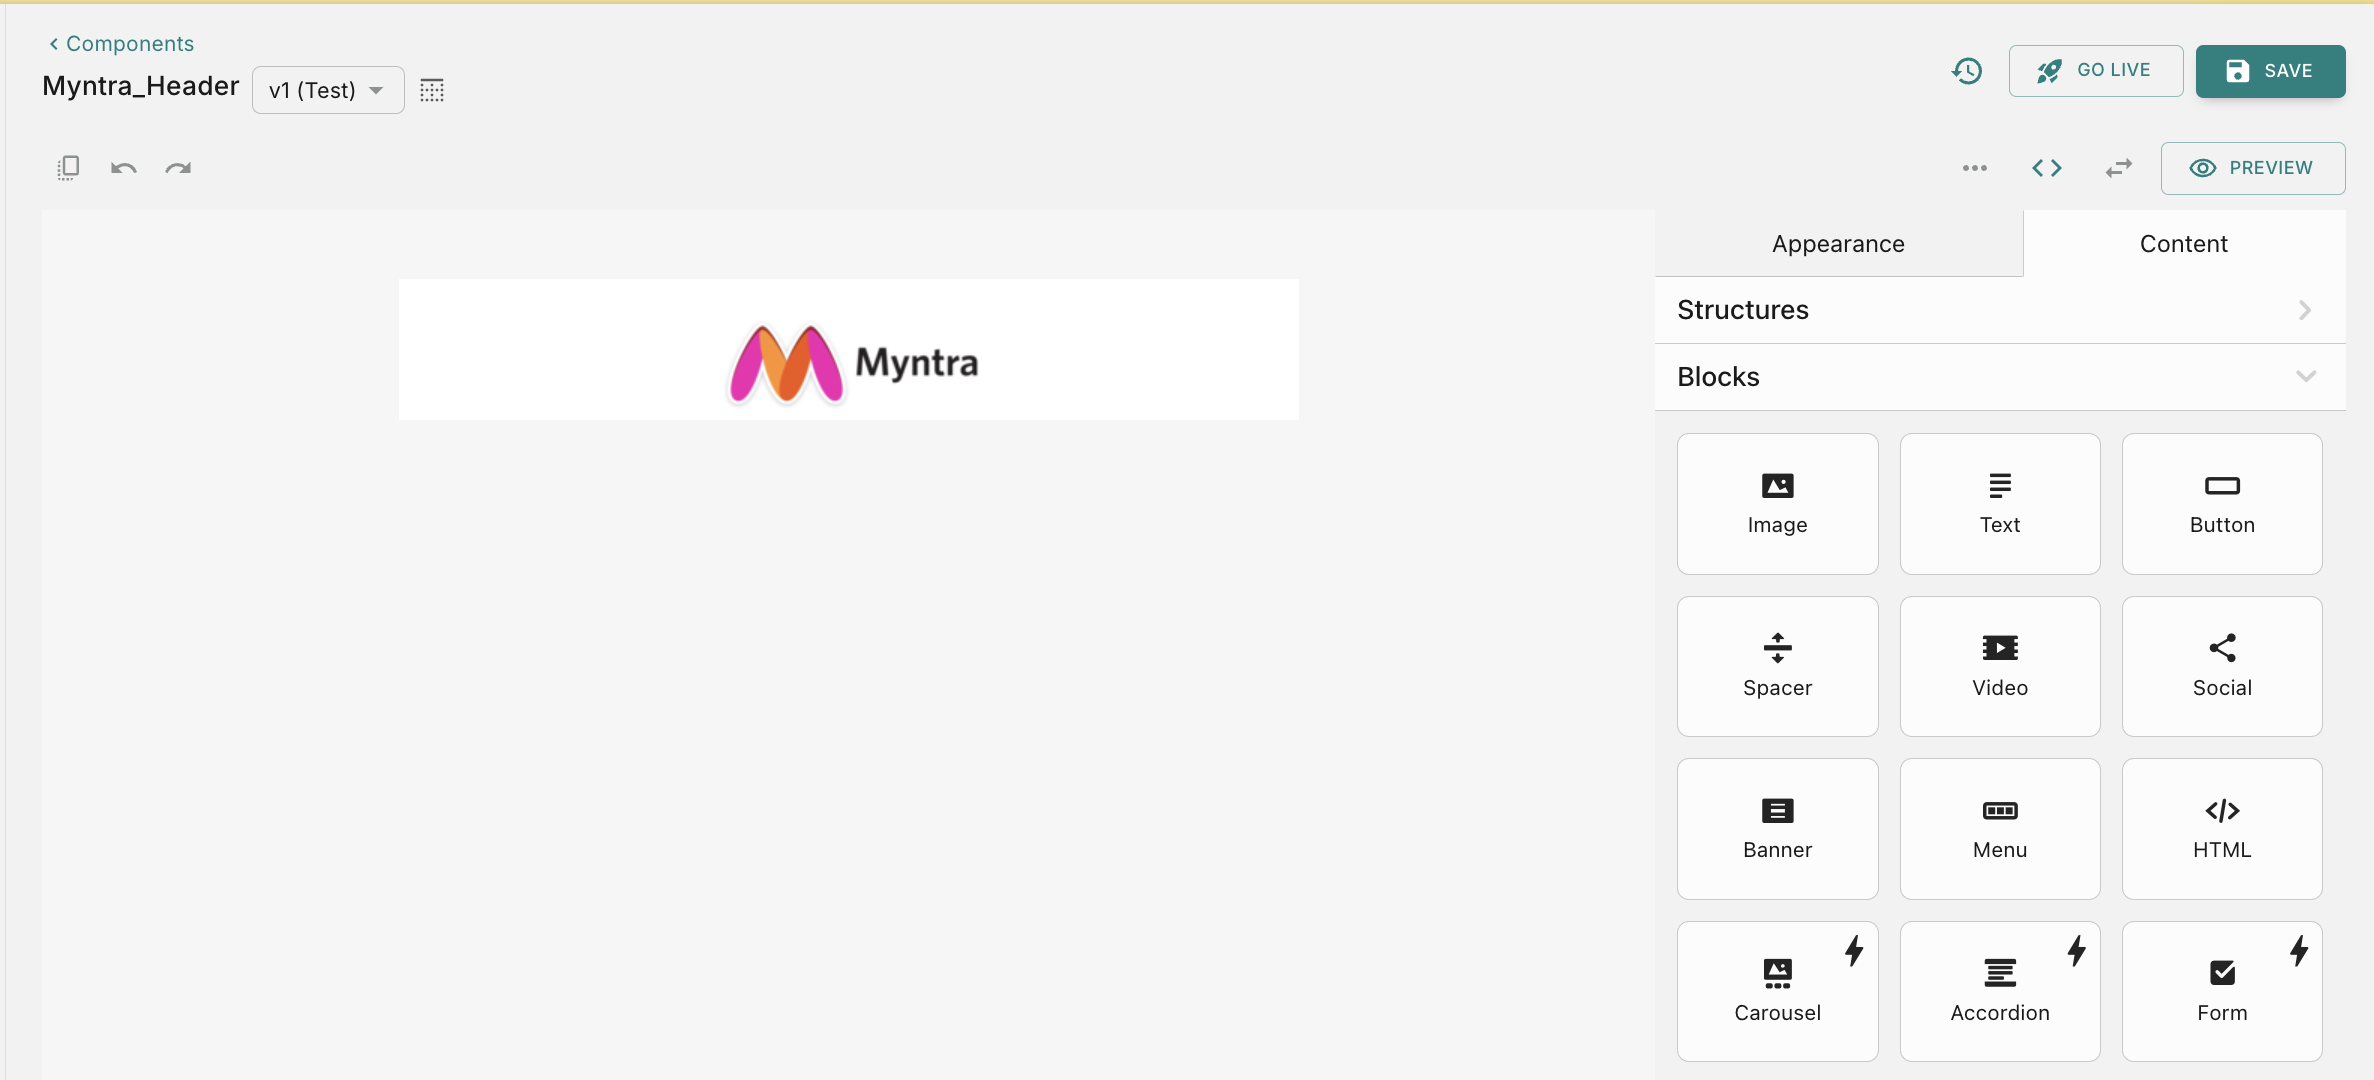

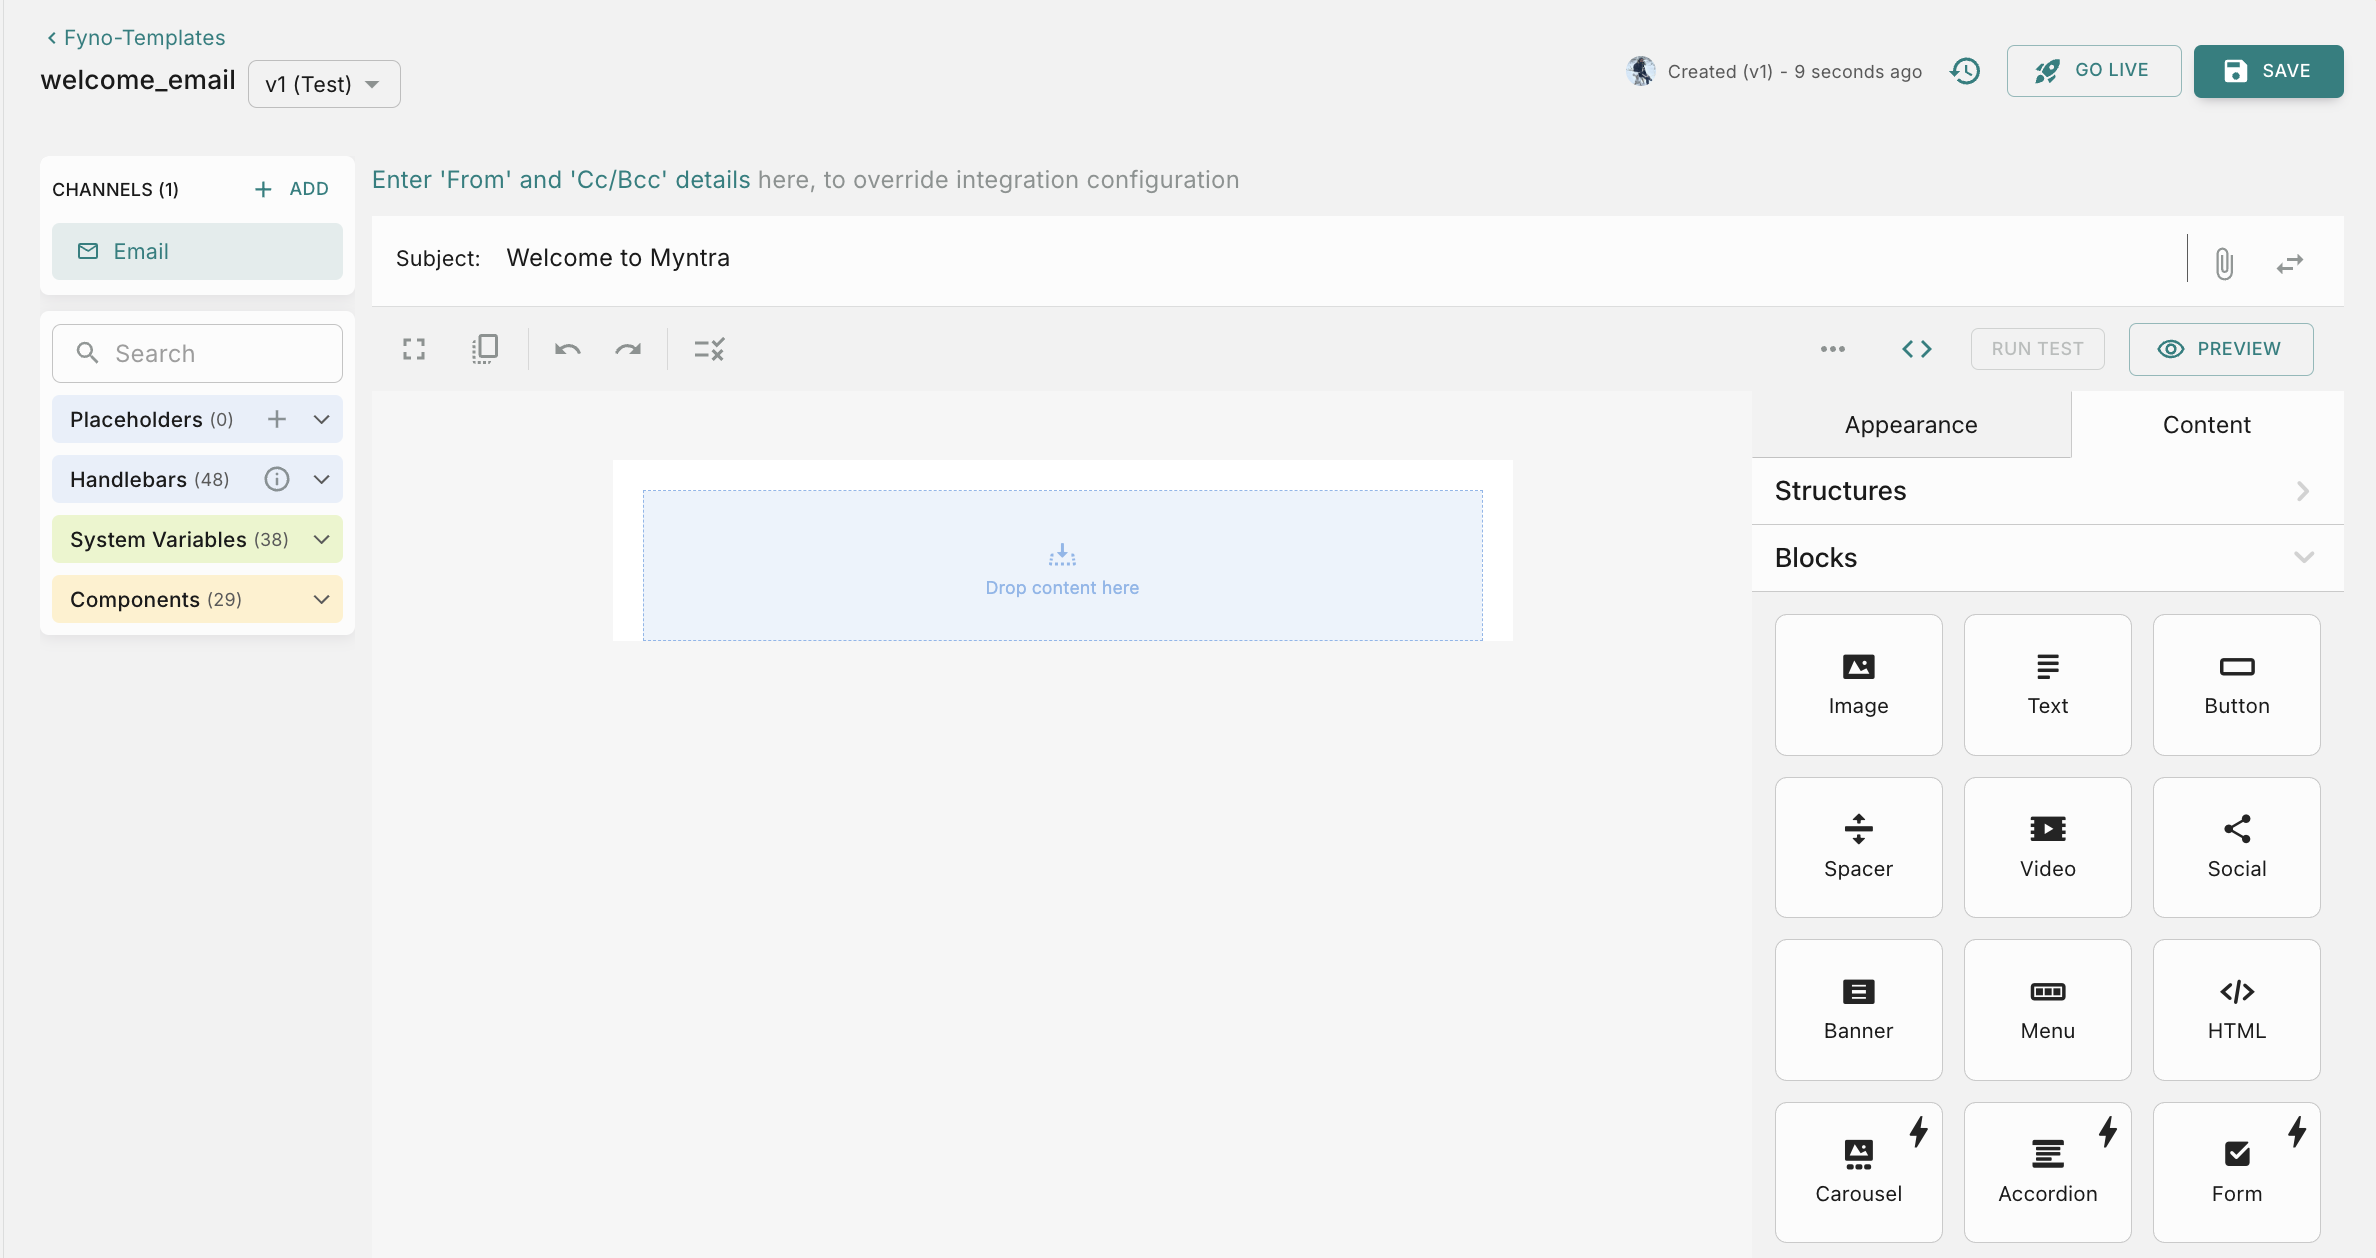
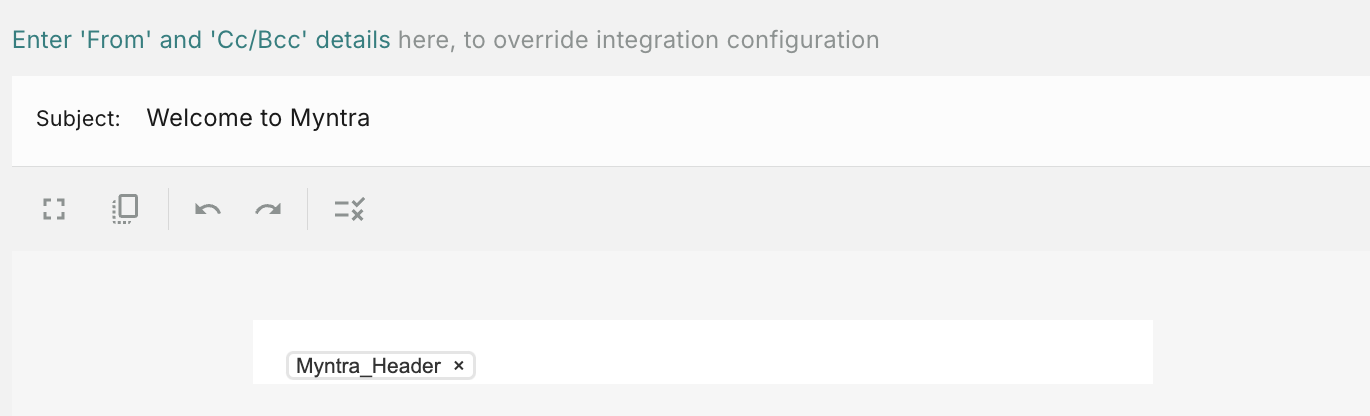
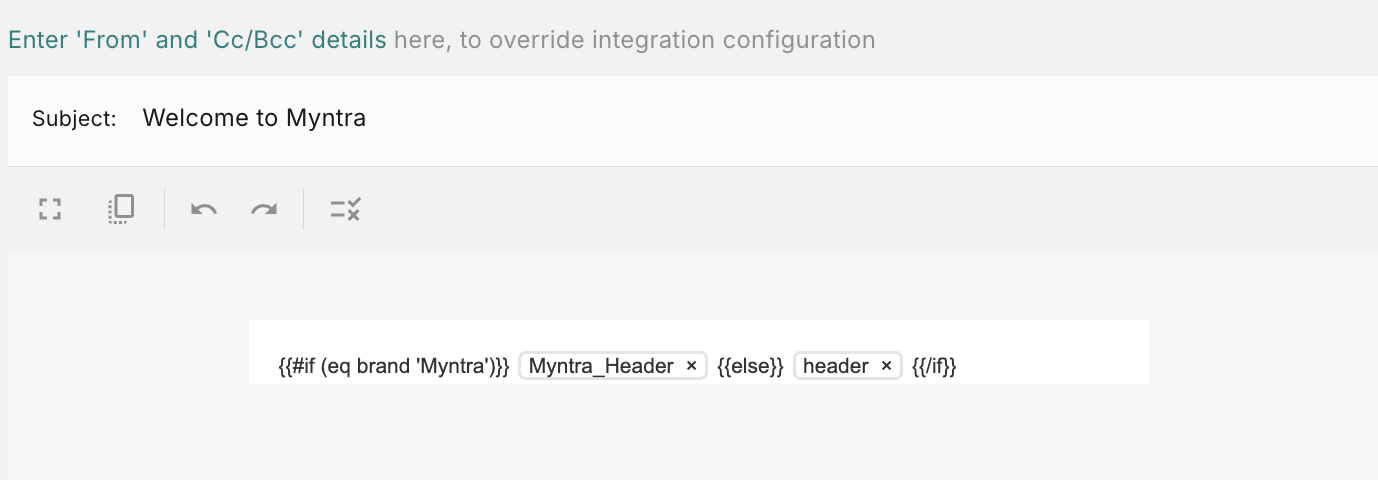
How to use a Header Component in Email template
For example, to add a Header in email editor, you need to follow the below steps.
How to create a PDF component
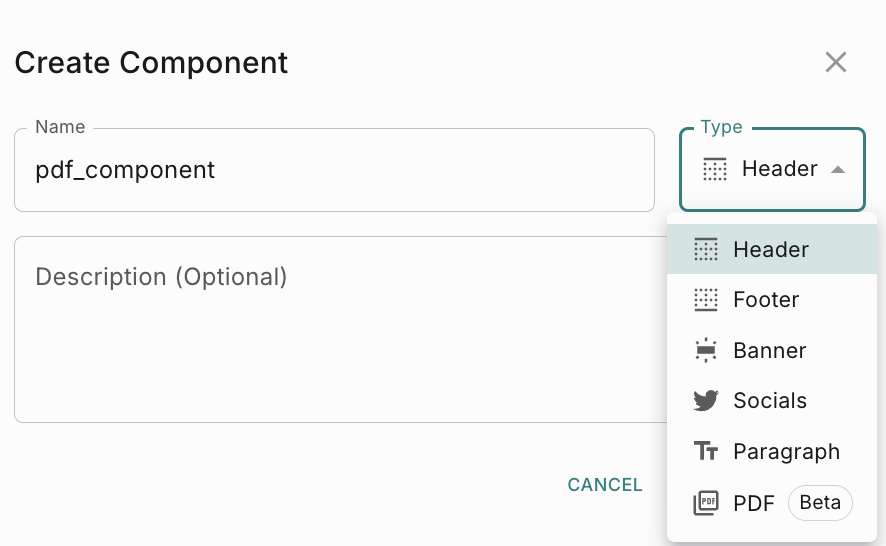
We support 6 different type of components now.
- Header
- Footer
- Banner
- Socials (Any social media icons like Twitter, LinkedIn, FB etc)
- Paragraph
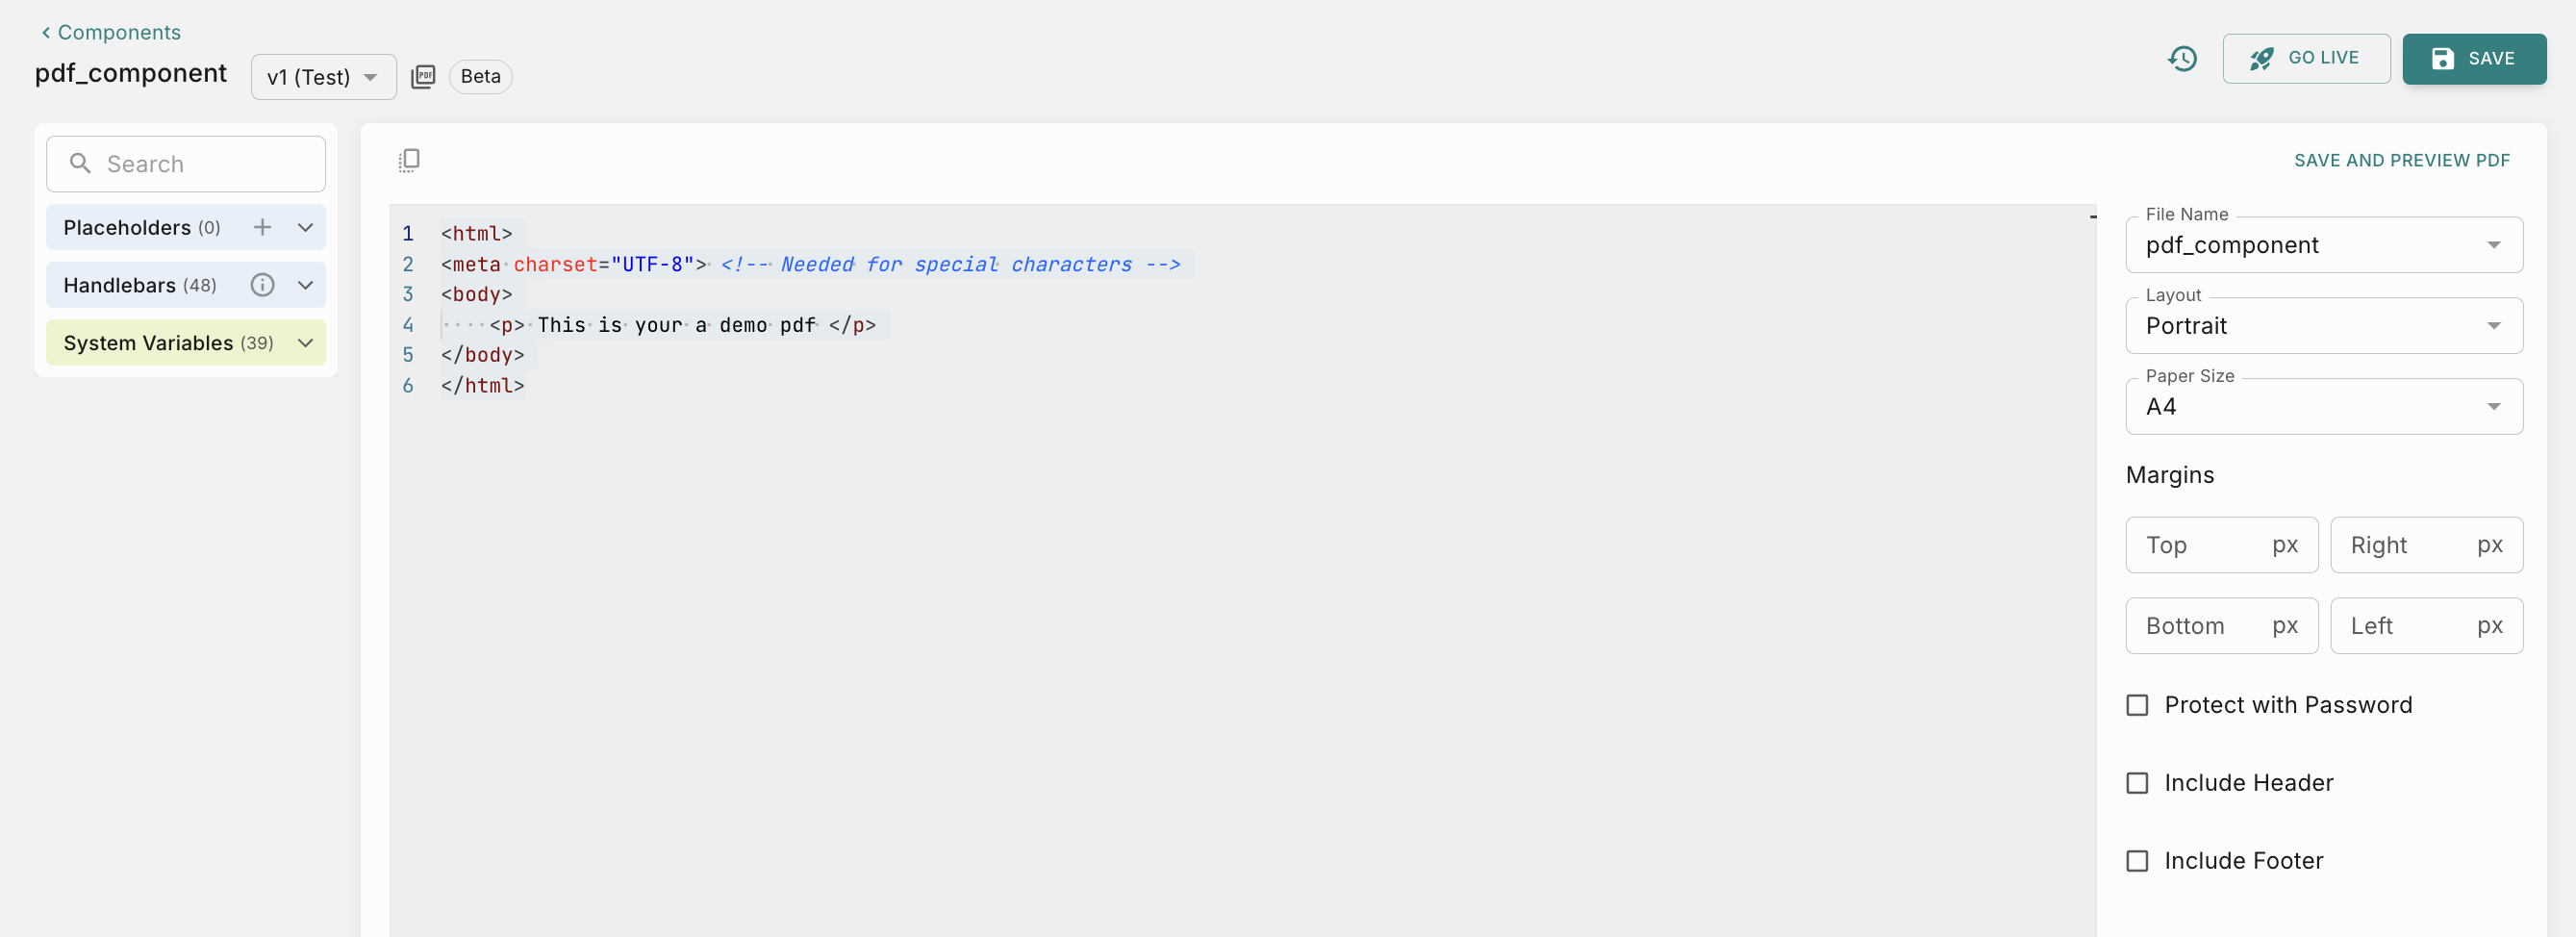
You can configure the pdf file with the below parameters
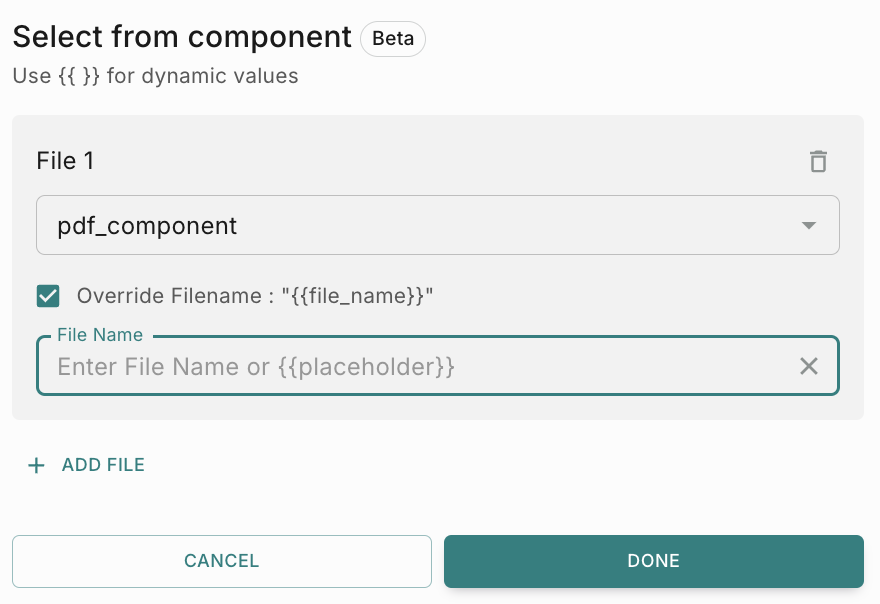
- File Name - The component name will be used as default file name. You can change it either add a file name manually or add a placeholder
- Layout - You can choose either Portrait or Landscape. Portrait is the default option.
- Paper Size - You can choose a paper size from dropdown. A4 is the default size.
- Margins - You can add margins (Top, Bottom, Left, Right) if you want to add any margins to the pdf file.
- Protect with Password - You can check this box to enable Password protection for your pdf file. You can either manually enter a password or add a placeholder
- Include Header
- Include Footer
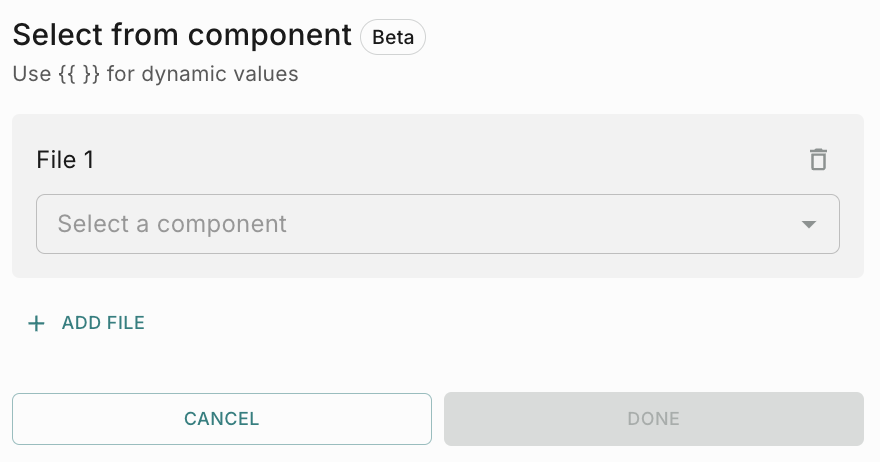
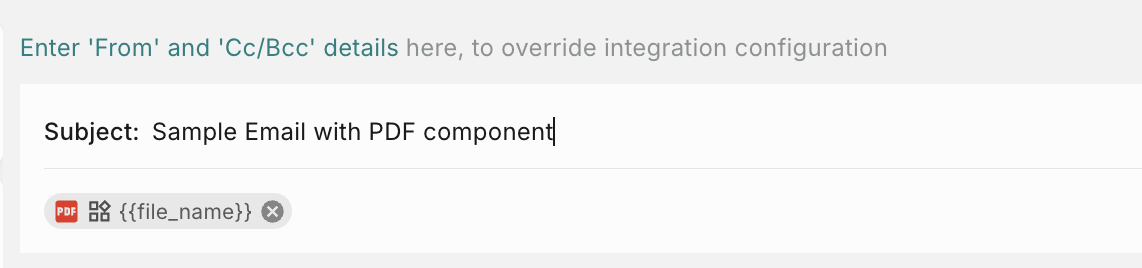
How to use a PDF Component in Email template
For example, to add a PDF component in email editor, you need to follow the below steps.

How to use a PDF Component in WhatsApp template
You can use a PDF Component in WhatsApp template in 2 ways
- as a Document file in the Header
- as part of the website CTA button
How to use a PDF Component as Header in WhatsApp template
- From left nav, go to a WhatsApp template (Templates -> Fyno) .
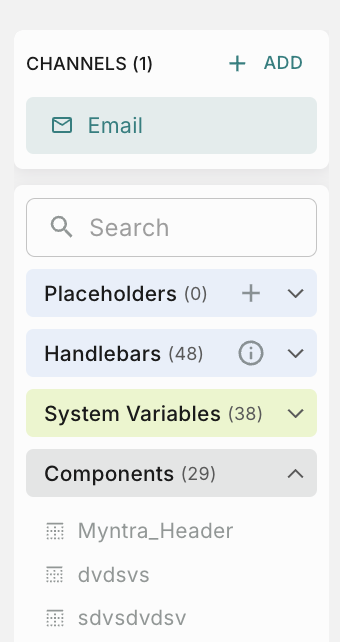
- Copy the component you want to add from the Components section in the navigation.
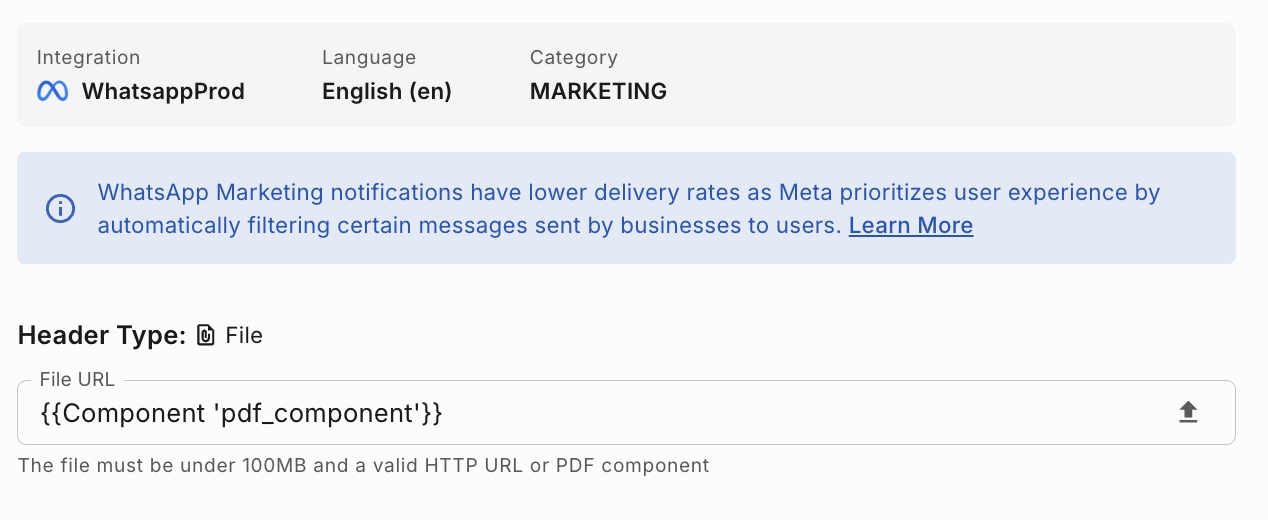
- Paste the value in the Header textbox. It will be added as
{{Component '<Component_name>'}} - The added component will look as shown below.
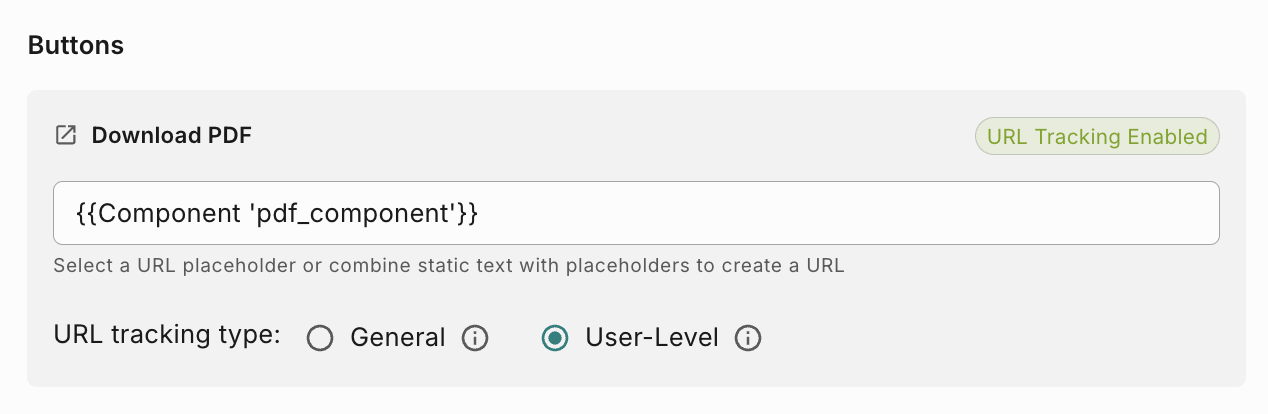
How to use a PDF Component as part of website CTA button
Things to be done in WhatsApp External Template
- In the external template, make sure to add a website button
- Enable Dynamic URL toggle.
- Enable Track URL check box.
Things to be done in Fyno Template
- From left nav, go to a WhatsApp template (Templates -> Fyno) .
- Copy the component you want to add from the Components section in the navigation.
- Paste the value in the button textbox. It will be added as
{{Component '<Component_name>'}} - The added component will look as shown below.
How to use a PDF Component in SMS template
- From left nav, go to a WhatsApp template (Templates -> Fyno) .
- Copy the component you want to add from the Components section in the navigation.
- Paste the value in any of the placeholders. It will be added as
{{Component '<Component_name>'}}as shown below.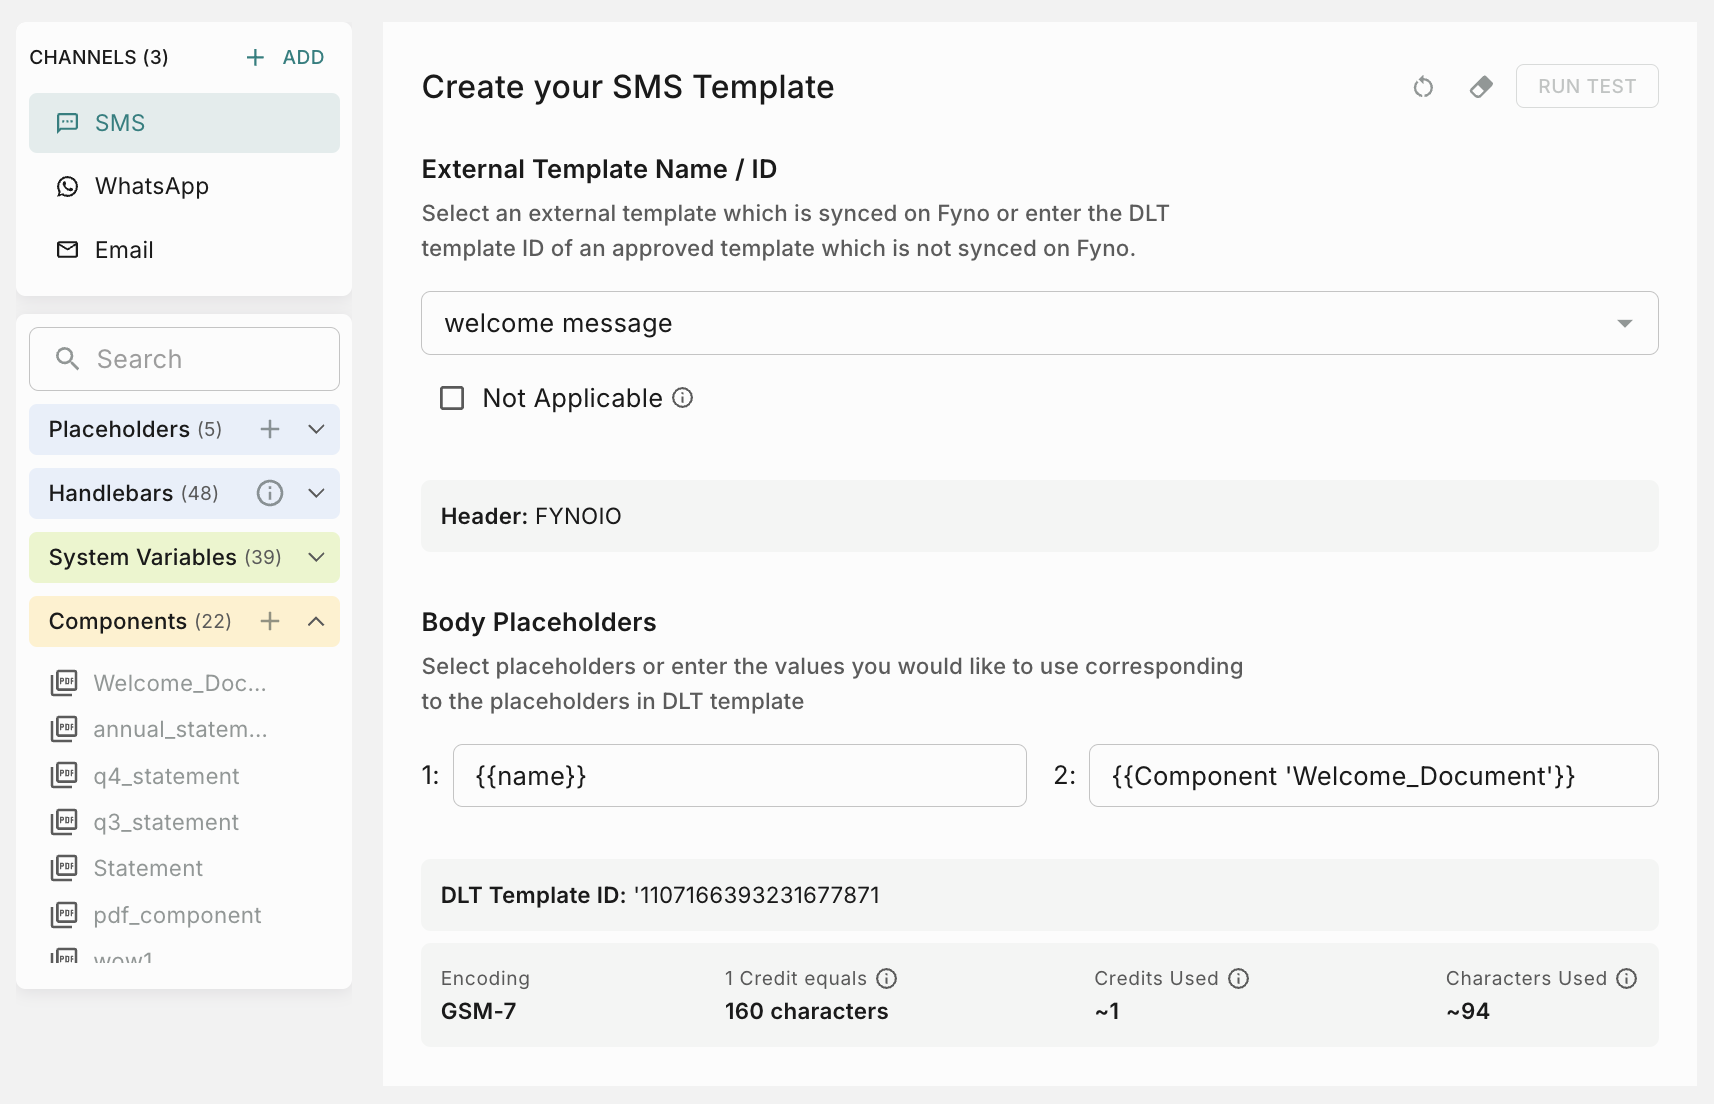
- Fyno will automatically shorten the URL of the PDF component added and send it in SMS.
How to copy components to another workspace
Reusable components can also be copied between workspaces that you own.
Prerequisite: You must have the Owner role in the destination workspace.
Before you copy
- Independent Copying: Components are copied independently of templates.
- Dependencies: If a template depends on reusable components, make sure to copy the required components before copying the template itself.
Steps to copy components to another workspace
The copied components will now be available in the selected destination workspaces.
Component versioning
Component versioning follows the same behavior as template versioning:
- New Components: If the component does not exist in the destination workspace, it is created as
v1(Test). - Existing Components: If the component already exists, a new standalone version (for example,
v2) is created without affecting existing versions. You can later save it as the new Test version or promote it to Live when you are ready.
How to raise Approval requests
If your workspace has maker-checker workflow enabled for Components, the ‘Go Live’ action requires an additional approval step. You’ll need to choose from your designated approvers who will review and authorize the component related changes. You can read more about it here