Workflows can be copied from your workspace to other workspaces you own. The copy process is only available in workspaces where you have the Owner role.
It is important to note that when copying workflows, only the workflow-related data will be copied to the destination workspace. Any dependencies must be created or copied manually in the destination workspace.
1Manually create the required integrations in the workspace.
2If your workflows use allowlisted URLs (in the API or Notification Event widgets), then you should manually create those as well.
3Go to the templates page (Templates → Fyno from the navigation) and copy the templates and components (if applicable) used by any of the notification events in the workflow via the
copy process.
4If applicable, go to the “Routes” pages (Routes → Single Channel and Routes → Omni-Channel from the navigation) and copy the routes used by any of the notification events in the workflow via the
copy process.
5Go to the notification events page and copy the notification events used in the workflow via the copy process.
1Ensure you are in the workspace from where you would like to copy the workflow.
2Navigate to the workflows listing page by selecting Workflows from the navigation.
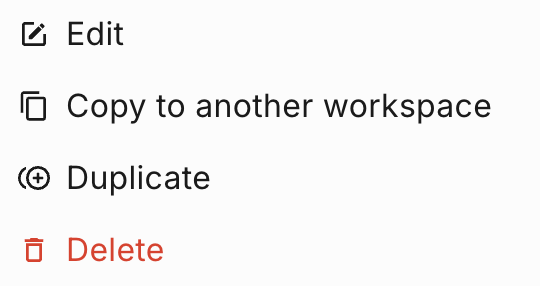
3Click the “Three Dots” icon on the workflow that you would like to copy. This step will open a menu.
4In the menu options, select “Copy to another workspace”.
5You will now see a checkbox next to every workflow listed on the page. You can select multiple workflows to copy if needed.
6Once you have completed your selection, click “Copy Selected Workflows” in the alert above the listing.
7When copying a single workflow that has a live version, you will see an option to copy either the latest live or test version. If your workflow only has a test version, that version will be copied.
8When copying multiple workflows, the latest live or the latest test version will be copied, depending on the workflow.
9You will now see a dialog box with an option to select destination workspaces. In the “Destination Workspace(s)” dropdown menu, you will see all the workspaces you are a member of, but only the ones in which you have the “Owner” role will be available for selection. You can select up to five applicable workspaces.
10Once all the workspaces are selected, click “Confirm”. This step will initiate the copy process.
11Now, in all the selected workspaces, you will see the copied workflows.
Let’s say we are copying a workflow from Workspace A to Workspace B. There are two versioning scenarios to keep in mind.
1If the workflow does not exist in Workspace B, then the version created by the copy process will always be v1 (Test).
2If the workflow already exists in Workspace B, then the copy process will create a new standalone version (neither test nor live). For example, if the version in Workspace B is v1 (Test), then the process will create a new version called v2. You can select this version from the version dropdown beside the workflow name and click “Save” to change the version to v2 (Test), or click the “Go Live” button to promote it to v2 (Live). This ensures that changes to existing versions in the destination workspace are not overwritten and gives you control over when to save or promote the copied workflow.