Email Templates
Fyno’s email templates allow you to create some exciting templates, be it for marketing or transactional communication.
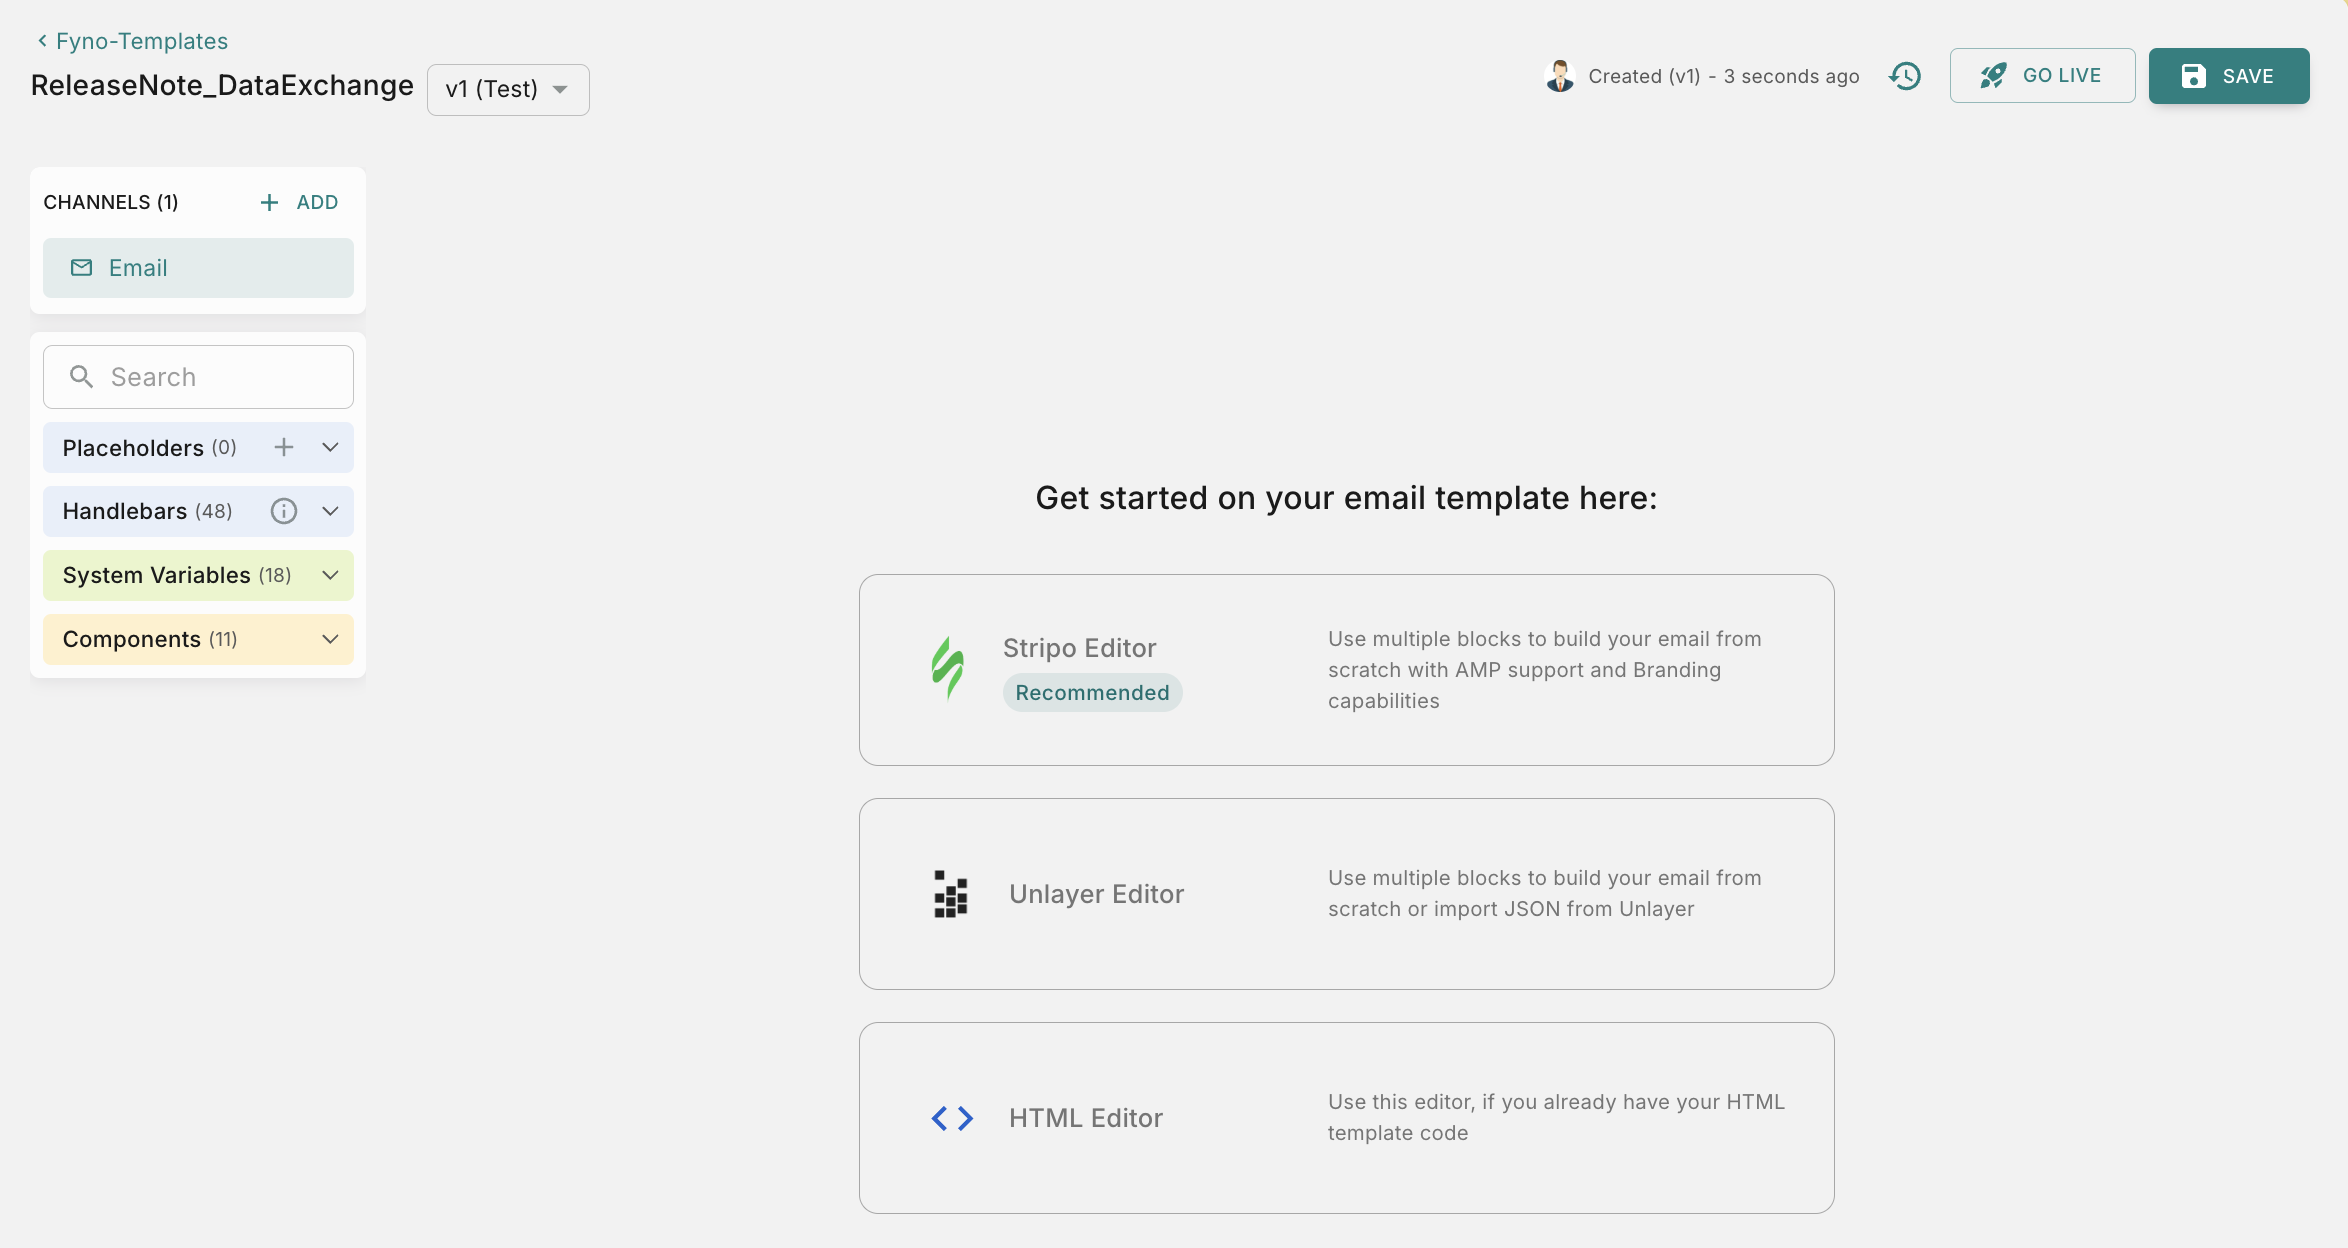
On Clicking Email, you can select one of the three editors that Fyno has:
- Stripo
- Unlayer
- HTML Editor
Fyno recommends using the Stripo editor due to the ease of use as it supports AMP options giving you a wonderful and responsive email experience for your customers.
Add anything from Content or Blocks and edit the entire email format through the Body tabs on the left Navigation panel.
Blocks can be saved!
On creating a block that you will use repeatedly in other templates, you can save it by clicking on the save button next to the block. Give it a name and a tag and you are good to go!. This block will then be available under the “Blocks” section for you to use.{{$user.$<user_property>}}. For example, to add Name as placeholder from User profile, you can add it as {{$user.$name}}.How to add reusable components in your email?
This feature helps you to create components which you would like to reuse in other emails like Header, Footer etc.
This helps you to avoid rework by creating same components in every email you create.
You can read about it here.
How to override email sender details?
You can override sender details configured in the Service Provider integration in 2 ways - Using Notification Event API and through Email editor. Please refer this document for details.
How to add attachments?
You can add static as well as dynamic attachments to emails. Please refer this document for details.
How to add multiple ‘to’ emails?
Sample code with multiple ‘to’ details in Notification Event API. You can add any no of emails to ‘to’.
How to add cc and bcc recipients?
You can add cc and bcc recipients to emails. Please refer this document for details
How to add dynamic content in template?
You can add dynamic content in your templates using one of the 4 options mentioned below.
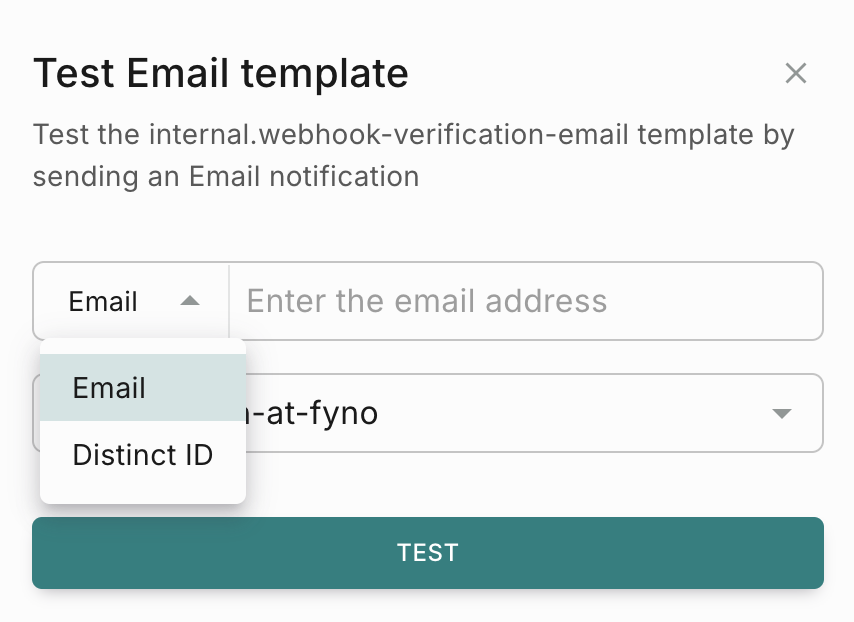
How to test email template?
You can use this feature to conduct thorough testing of a template prior to its inclusion in any Notification Event. This ensures the early detection and resolution of any potential issues, ensuring a seamless user experience.
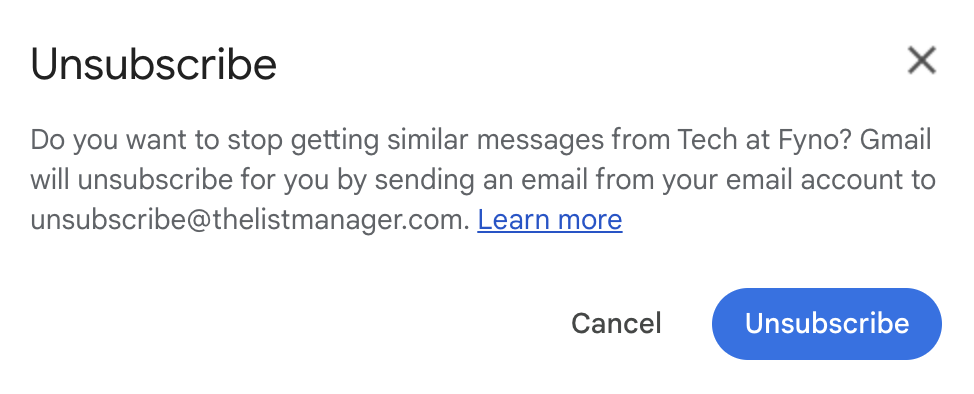
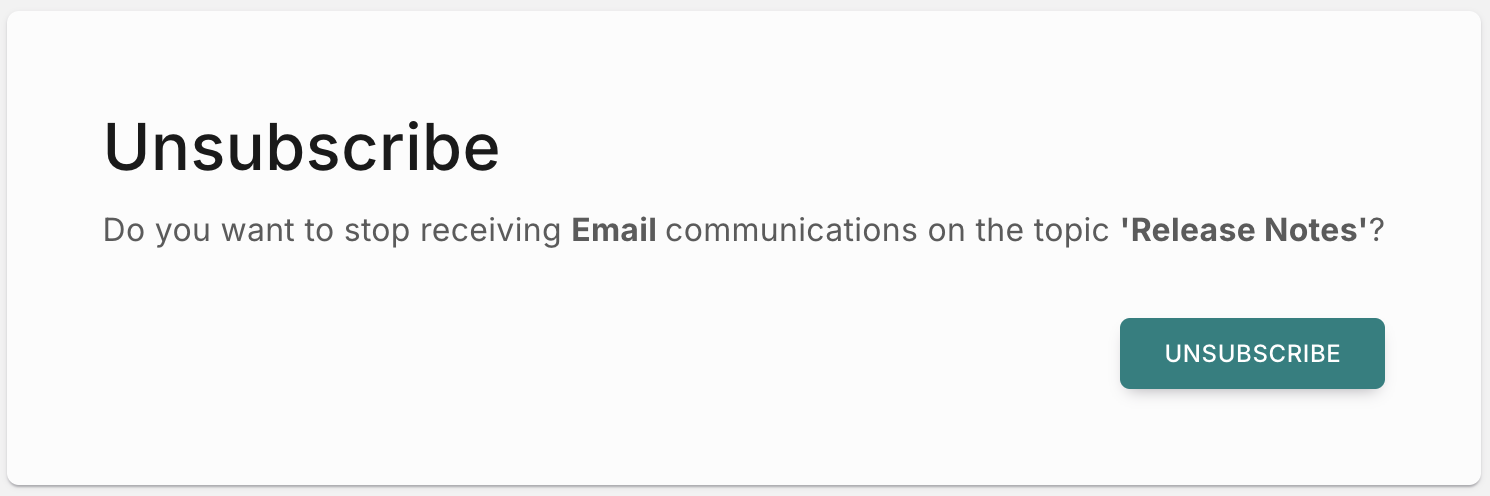
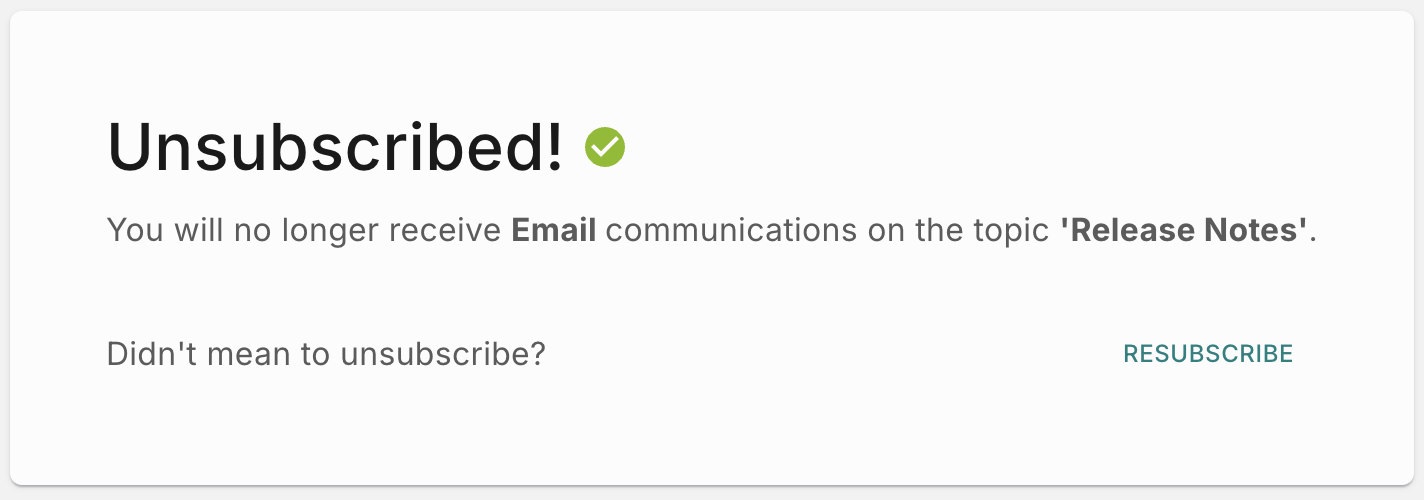
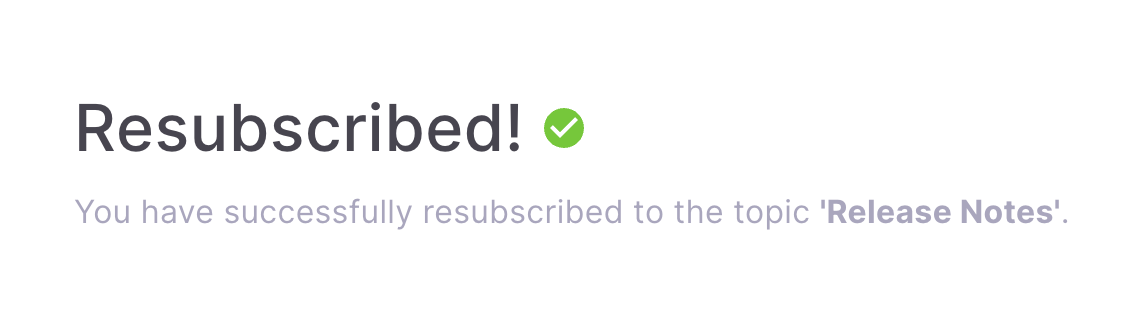
How to add unsubscribe link in header?
To add Unsubscribe link in Header:
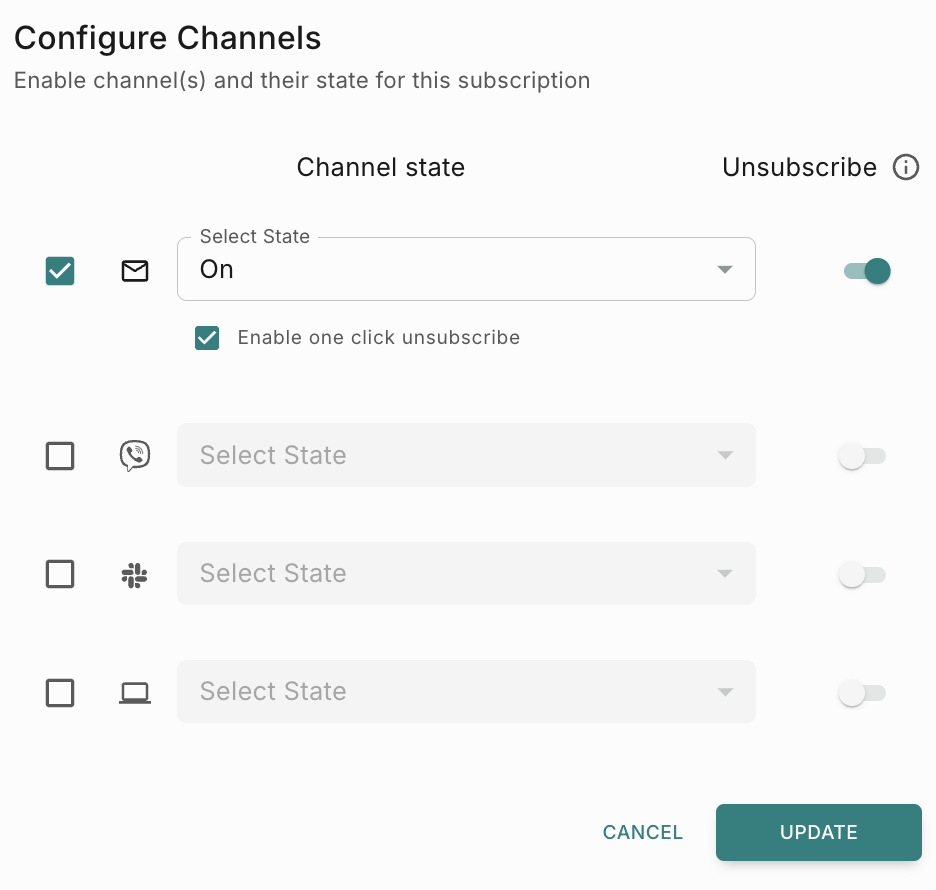
Add Right Subscription Topic to your Notification Event!
Unsubscribes are managed at Subscription topic level, so using the wrong Subscription Topic with a notification event can accidentally unsubscribe users from something they didn’t intend.How to add unsubscribe link in Footer?
You can also add a Unsubscribe link in the footer by following these steps.
{{$fyno.$unsubscribe.url}} if you want to shorten the URL using Fyno Shorty in the text box next to it. 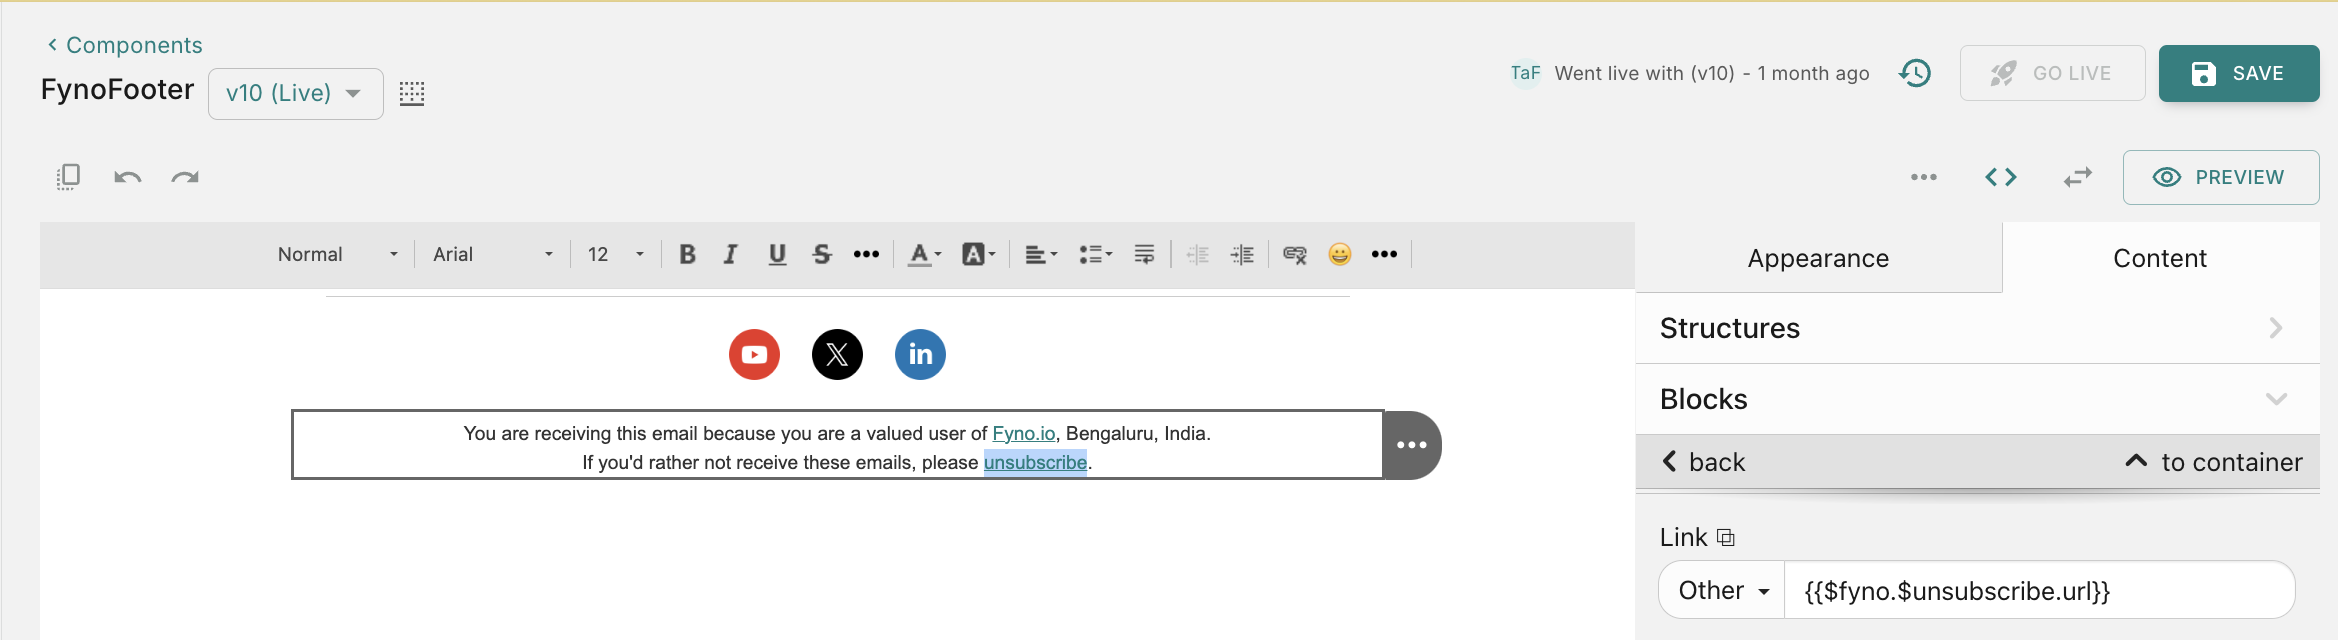

Uploading Email HTML Templates
You can upload custom email templates using a .zip file. This method allows you to include your HTML file along with all required assets (such as images).
What to Include in the ZIP File
Your .zip file must contain:
- One HTML file (this will be used as the email template).
- All static assets referenced in the HTML (e.g., images, CSS files).
Example:: If your HTML contains: [here] (https://example.com/images/my_image.jpg)
Make sure my_image.jpg is also included inside the .zip file.
Important Guidelines
- Ensure all asset references in the HTML are correctly linked to files inside the
.zip.- Keep the structure simple to avoid broken references.
Error Scenarios
The upload will fail if:
- The
.zipfile does not contain an HTML file. - The
.zipfile contains more than one HTML file.
Warning Scenario
- If any image or asset is missing:
- You will see a warning message.
- You will be prompted to re-upload a corrected
.zipfile with all required assets included.
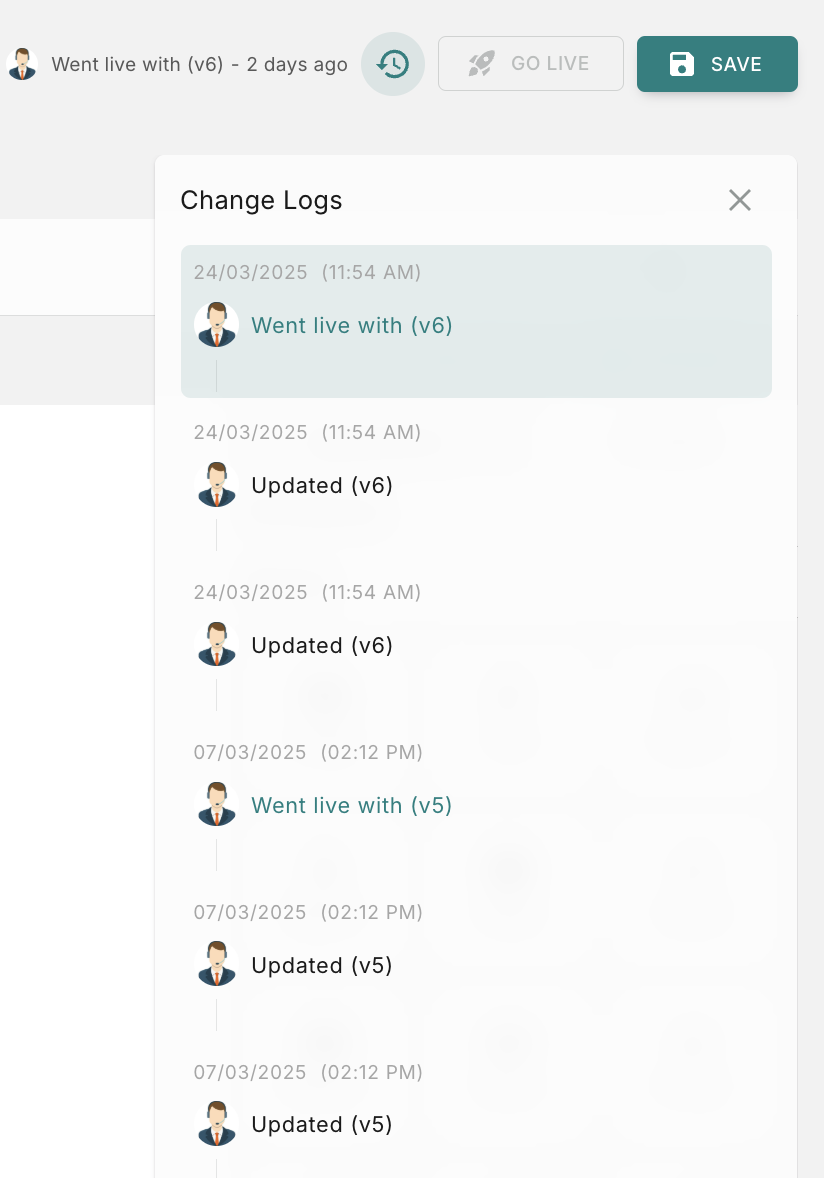
How to view change logs?
To view the history of all the modifications made to a template, you can utilize the change logs feature.
To do so, locate the history icon positioned at the top right corner of the template page, as shown in the image below, and click on it to view the change logs.
It shows the following details
- Who updated it
- Which version was updated
- At what date & time its updated.
How to raise Approval requests
If your workspace has maker-checker workflow enabled for template management, the ‘Go Live’ action requires an additional approval step. You’ll need to choose from your designated approvers who will review and authorize the template changes.
You can read more about it here