Allowlist URL
The HTTP Allowlist option lets you register and verify external HTTP or HTTPS endpoints that can securely interact with the platform. Once verified, these endpoints can be used for workflows, integrations, callbacks, and delivery reporting.
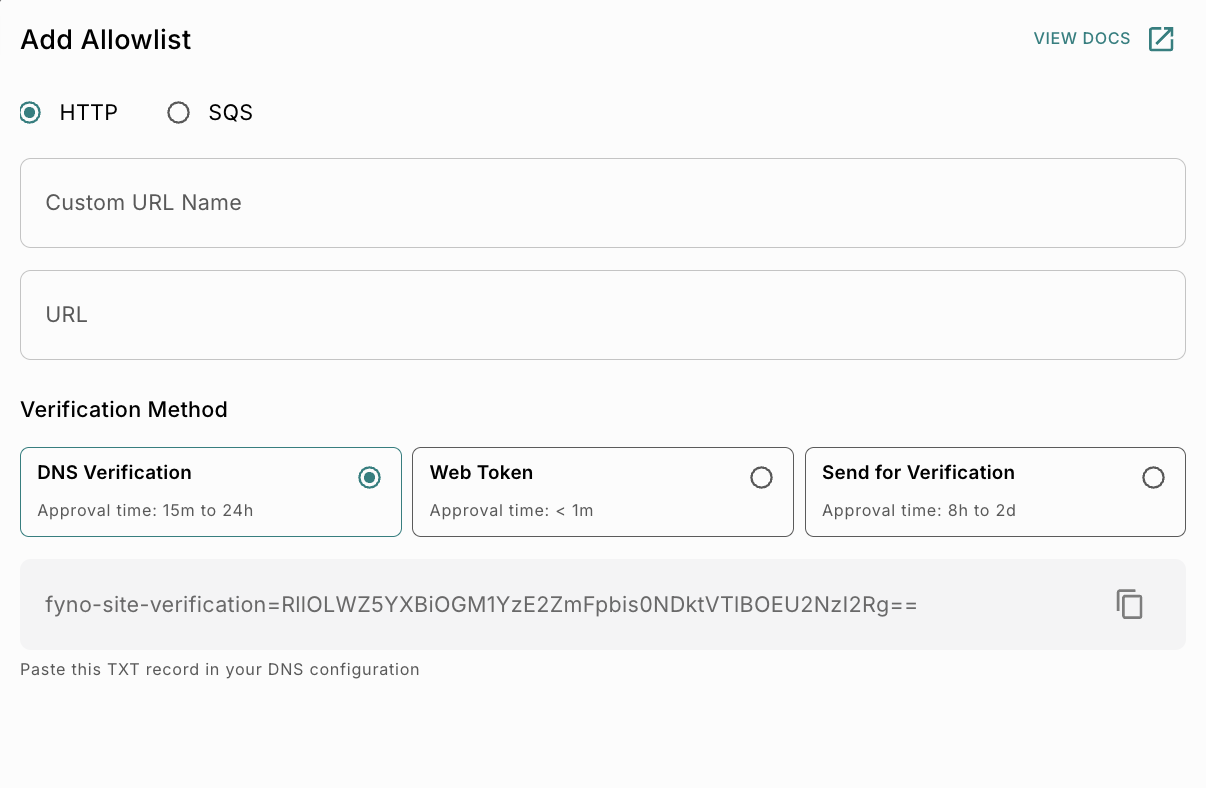
Steps to Add an HTTP Allowlist:
Verification Method
The Verification Method section determines how ownership or access to the provided URL is validated before the endpoint is allowlisted.
Three verification methods are available:
DNS Verification
Use DNS Verification when you have access to your domain’s DNS configuration.
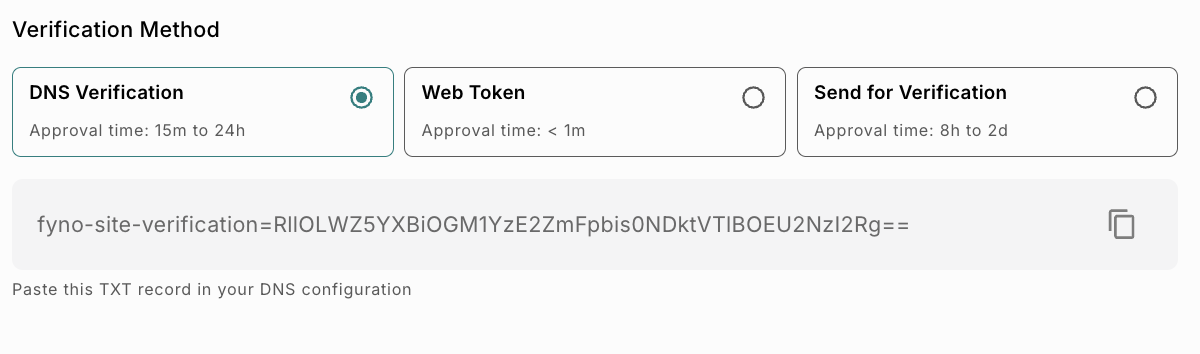 When you select DNS Verification, the system generates a verification TXT record to confirm domain ownership.
Steps
Once the record is detected, the verification is completed automatically.
Web Token Verification
Use Web Token Verification when the endpoint can read query parameters and return the token value in the response.
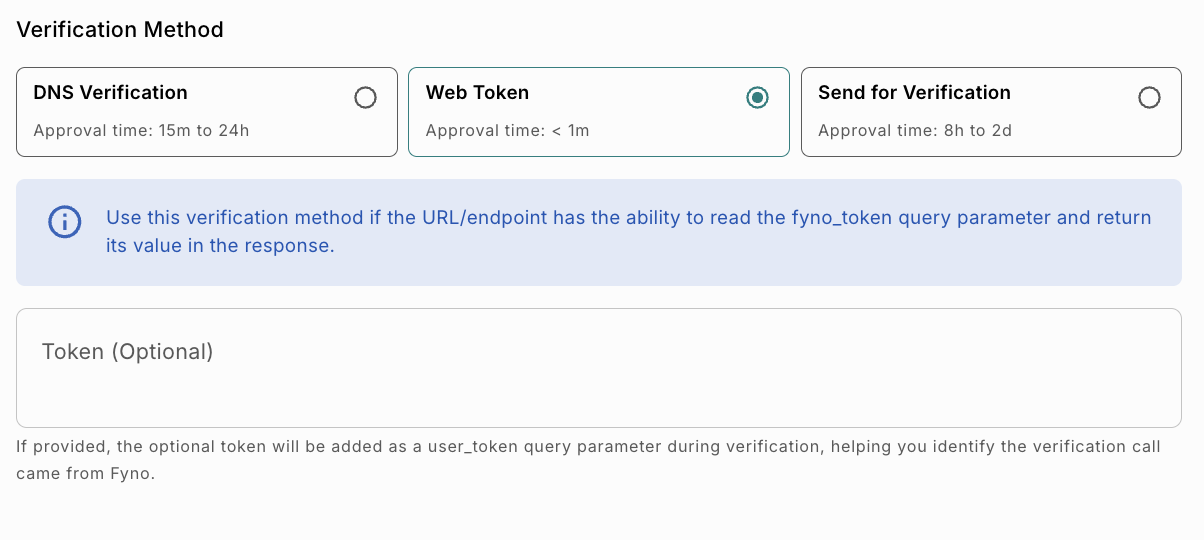
How It Works
When you select Web Token Verification, the platform sends a request to the specified endpoint with a fyno_token query parameter.
To complete verification, the endpoint must:
- Read the token value from the request.
- Return the same token value in the response.
Once the returned token matches the generated token, the endpoint is verified successfully.
Steps
Once the token is validated, the endpoint is verified automatically.
Token Field
Send for Verification
Use this option when DNS or Web Token verification cannot be configured.
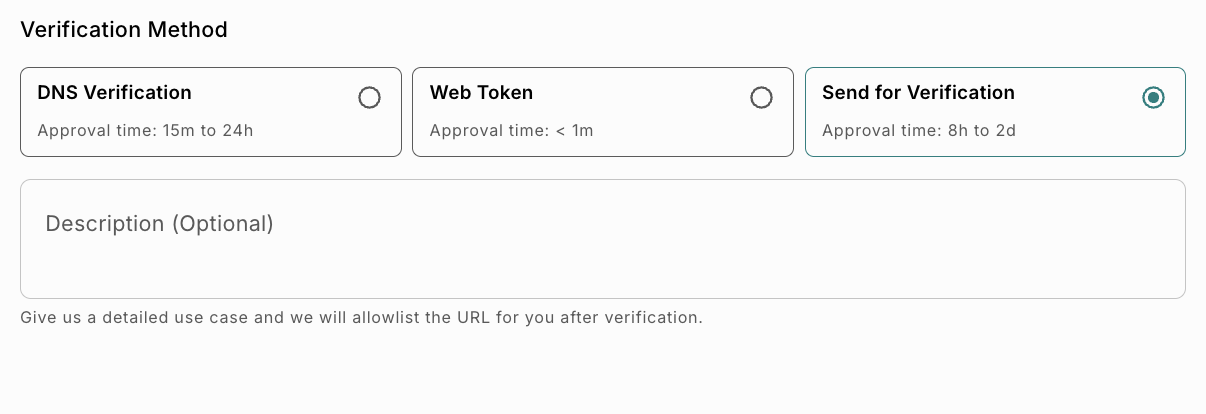
How It Works
The provided URL is submitted for manual verification and approval by the Fyno team.