

Groups
Groups help you organize related Templates, Notification Events, and Workflows together under a single, named collection, making them easier to filter, manage, and navigate.
For example, if you have multiple workflows for different stages of a customer journey (Welcome, Onboarding, Engagement, Retention, Re-engagement), or multiple templates and notification events for different order statuses (Confirmed, Cancelled, Shipped, In Transit, Delivered), you can create one group (for example, Order Management) and assign the relevant templates, notification events, and workflows to it all in one place.
What’s Changed
Groups are managed from the Groups page under Workspace Settings. This is the central location for creating, editing, and managing groups.
You will also see the list of groups within the Templates, Notification Events, and Workflows pages. These pages allow you to view and assign groups to the respective resources, while all group management is performed from Workspace Settings.
Groups help you organize related resources by bringing together templates, notification events, and workflows under a single logical collection. This makes it easier to manage, categorize, and locate related resources across the workspace.
Where to find it
Go to Workspace Settings > Groups.
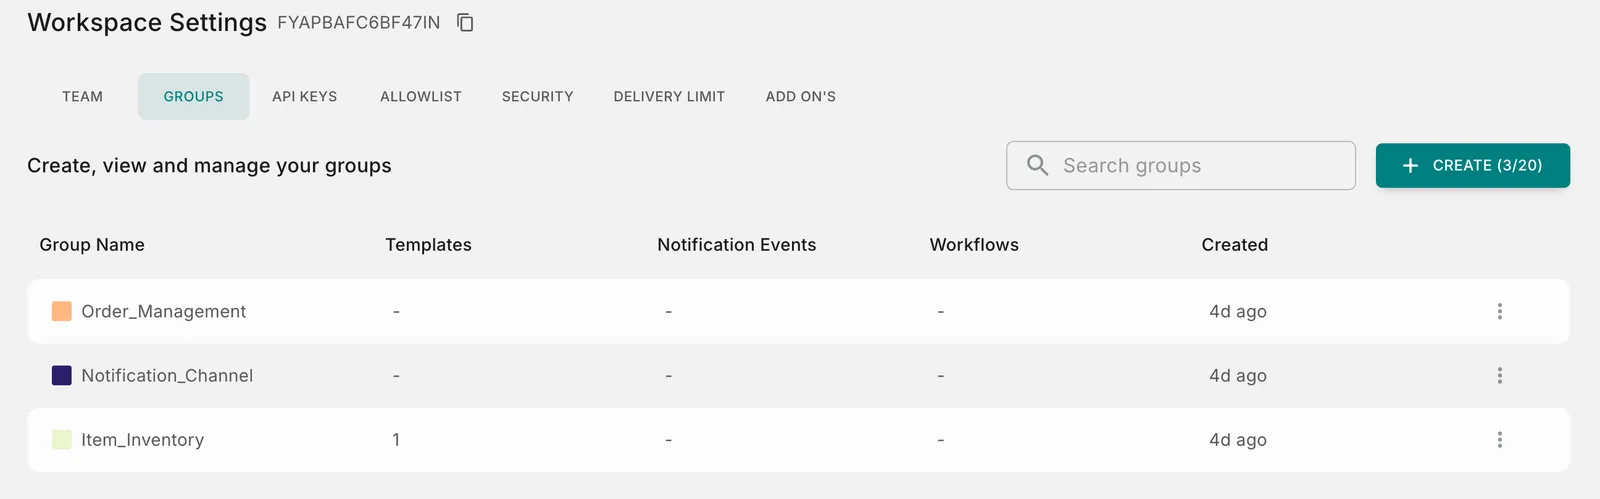
This tab sits alongside Team, API Keys, Allowlist, Security, Delivery Limit, and Add-ons.
Viewing your groups
The Groups page shows a table of all your existing groups.
Use the Search groups field to quickly find a group by name.
Group limits
Each workspace can contain up to 20 Groups.
The count next to the Create button (for example, CREATE (6/20)) shows how many you’ve used.
Once you hit the limit, delete an existing group before creating a new one.
How to create a Group
- Go to Workspace Settings > Groups.
- Click + Create.
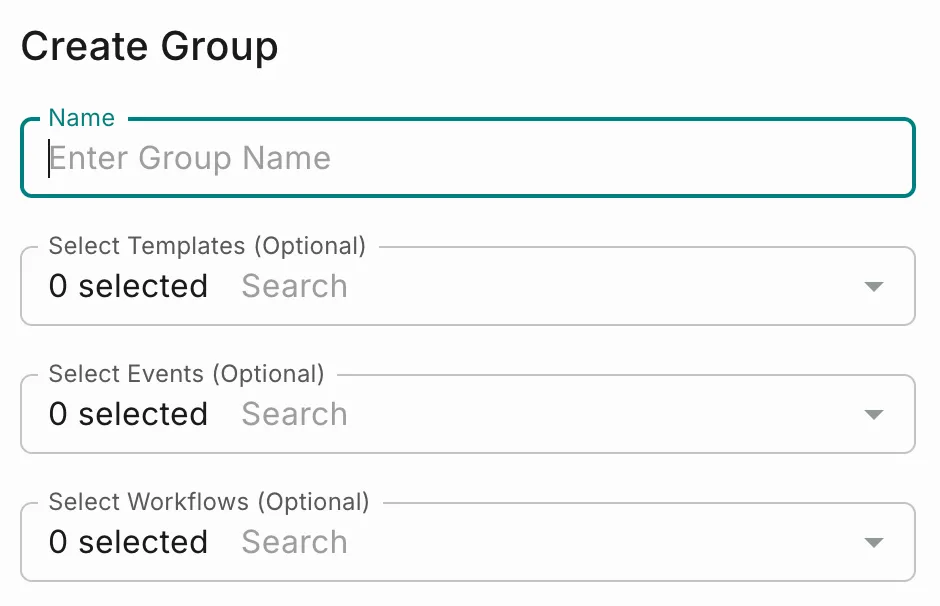
- Enter a Name for your group.
- Optionally, use Select Templates to search for and attach one or more templates.
- Optionally, use Select Notification Events to search for and attach one or more notification events.
- Optionally, use Select Workflows to search for and attach one or more workflows.
- Click Create Group.
Note: All three selectors are optional. You can create a group with just a name and add templates, notification events, or workflows later. A template, notification event, or workflow can also exist independently without belonging to any group.
Group details
Click a Group to open the Group Details view, which serves as a central location for viewing and managing everything associated with that group.
Instead of navigating to separate pages for templates, notification events, and workflows, you can see all related assets in one place and perform common management tasks directly from this screen.
The Group Details page organizes associated assets into expandable sections, such as Templates, Notification Events, and Workflows.
Each section displays the number of associated items (for example, Workflows (2)), making it easy to understand the group’s contents at a glance.
Expanding a section reveals the individual items by name, allowing you to quickly review everything assigned to the group.
This consolidated view is particularly useful when auditing a group, verifying its configuration, or preparing to make changes, as it provides a complete picture of all associated assets without requiring you to switch between different areas of the application.
From the Group Details view, you can:
- Navigate directly to an asset: Click the name of a template, notification event, or workflow to open its details page for further review or editing.
- Remove an asset from the group: Remove an association while leaving the asset itself unchanged and available for use elsewhere.
- Move an asset to another group: Reassign a template, notification event, or workflow to a different group directly from this page, making it easy to reorganize related assets as your configuration evolves.
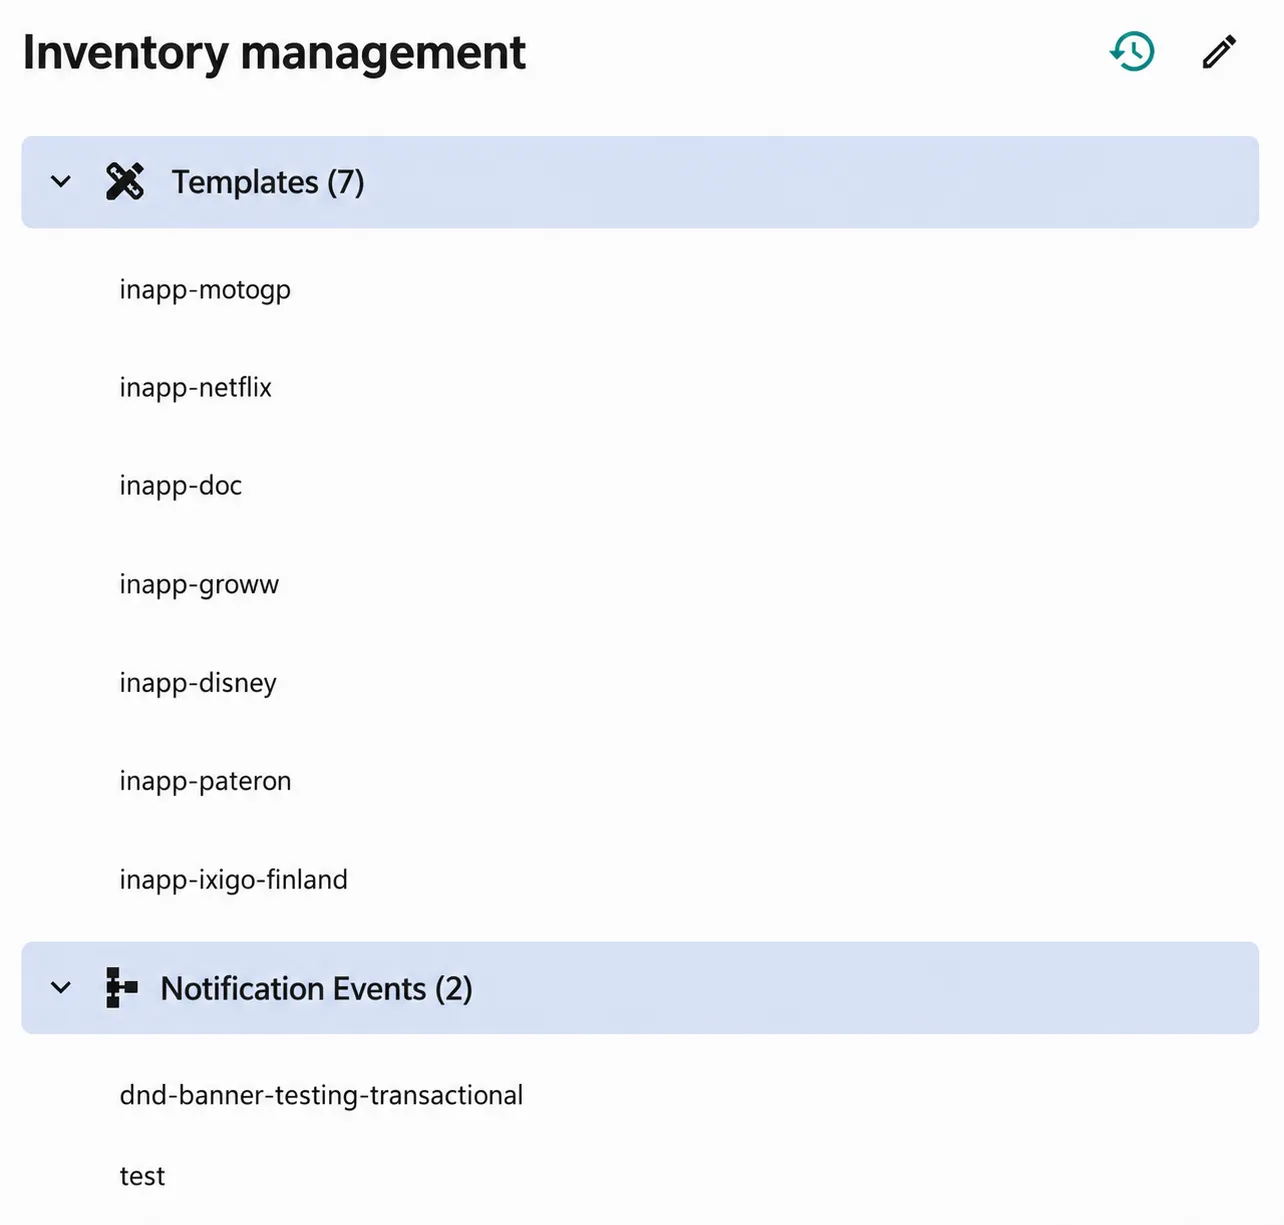 The Group Details view provides a single, centralized workspace for managing a group’s associated assets, helping you quickly review relationships, maintain organization, and keep related resources grouped together.
Change logs
The Group Details view has a Change logs icon (clock icon, next to the edit/pencil icon) in the top right.
Clicking it opens a log of changes made to the group. Each entry shows:
- Date and time of the change.
- The user who made it (with avatar).
- The action taken (for example, Created or Identifier Attached) and the item type it applied to.
How to edit a Group
- Go to Workspace Settings > Groups.
- Find the group you want to modify in the list.
- Click the ⋮ (three-dot menu) at the end of its row.
- Select Edit.
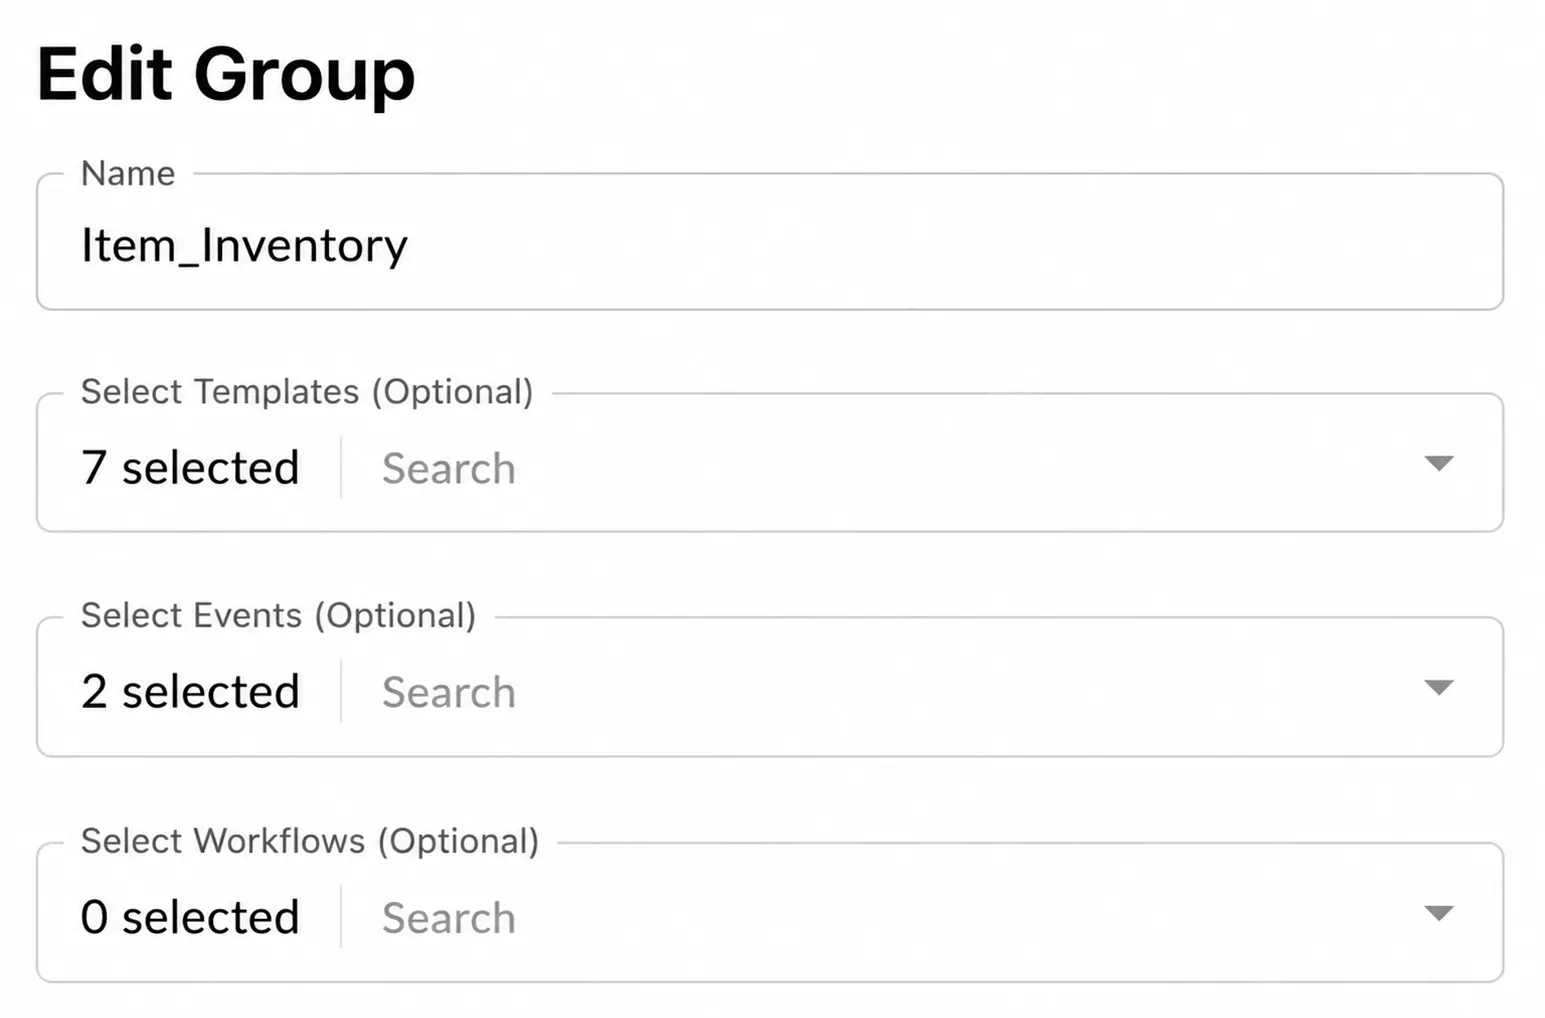
- Update the group name, or add/remove the templates, notification events, and workflows assigned to it.
- Save your changes.
Updates take effect immediately and reflect across all templates, notification events, and workflows in that group.
How to delete a Group
- Go to Workspace Settings > Groups.
- Find the group you want to remove.
- Click the ⋮ (three-dot menu) at the end of its row.
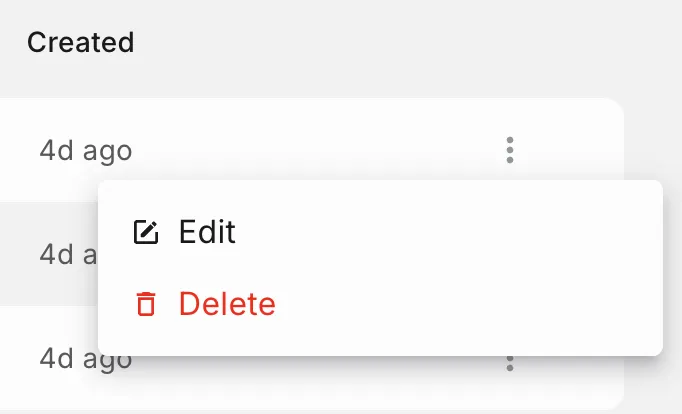
- Select Delete.
- Confirm the deletion in the confirmation popup.
Important: Deleting a group permanently removes the group and unassigns all templates, notification events, and workflows from it. The templates, notification events, and workflows themselves are not deleted—they remain available in their respective modules.