

How to Create and Fire a Campaign with a File Upload
Campaigns let you send notifications to a group of users without any technical effort. In this tutorial, you will:
- Create a campaign and upload a file of recipients.
- Map destinations and placeholders, and configure optional settings.
- Test the campaign.
- Fire the campaign now or schedule it for later.
- Monitor the campaign with logs and analytics.
The example in this tutorial sends a festive offer over WhatsApp and Email, but the same steps apply to any channel.
Watch the full walkthrough, or follow the steps below.
Prerequisites
Before you create a campaign, make sure you have:
- An integration with a provider for each channel you want to use.
- A live template for the notification you want to send.
- A live notification event that uses that template. The campaign can use only the channels configured in that event. To learn more, see Notification Events, or Creating a Notification Event if you don’t have one yet.
- A CSV or XLSX file with the recipients’ destinations (for example, phone numbers or email addresses) and a value for each placeholder in the template.
Create a Campaign
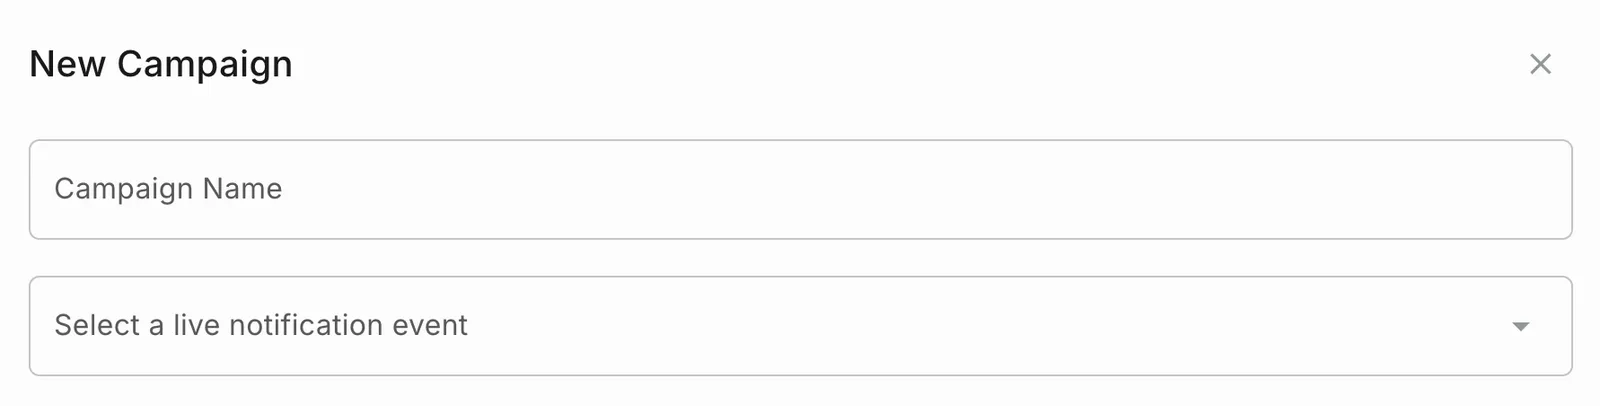
Select a live notification event — Choose the notification event to send. Only live events appear in the list. For more details, see Notification Events.
Once you select an event, the This campaign can be sent via section shows the channels the campaign will use.
Create a campaign using — Select File Upload.
This is how you provide the recipient data. Campaigns can also be created from a Google Sheet, a public URL, or a cohort. This tutorial covers file uploads.
If you need a template for your file, click Download Sample File. The sample has the correct headers for the channels and placeholders in your event.
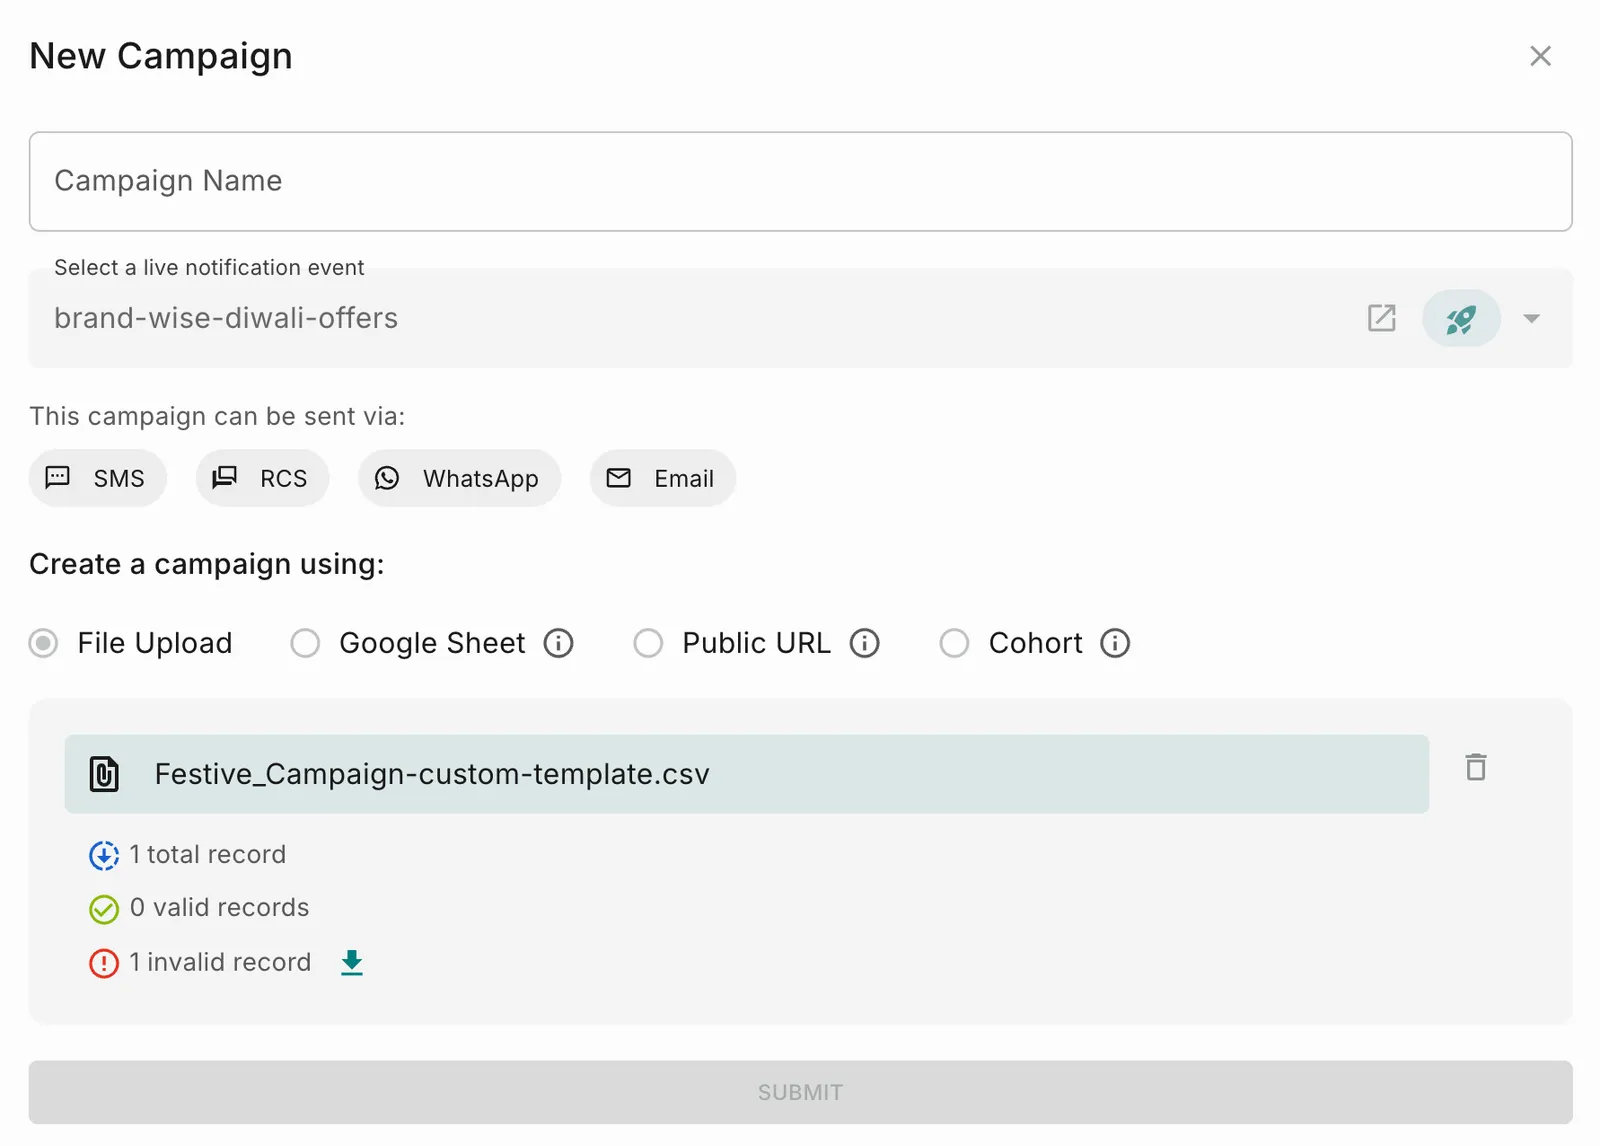
Review the file requirements:
The tabs below the requirements show the expected columns for each channel in the event.
Configure the Campaign
The configuration page shows the selected notification event, the template it uses, and the uploaded file with the number of unique records and duplicates. Click the download icon next to the file to download it again.
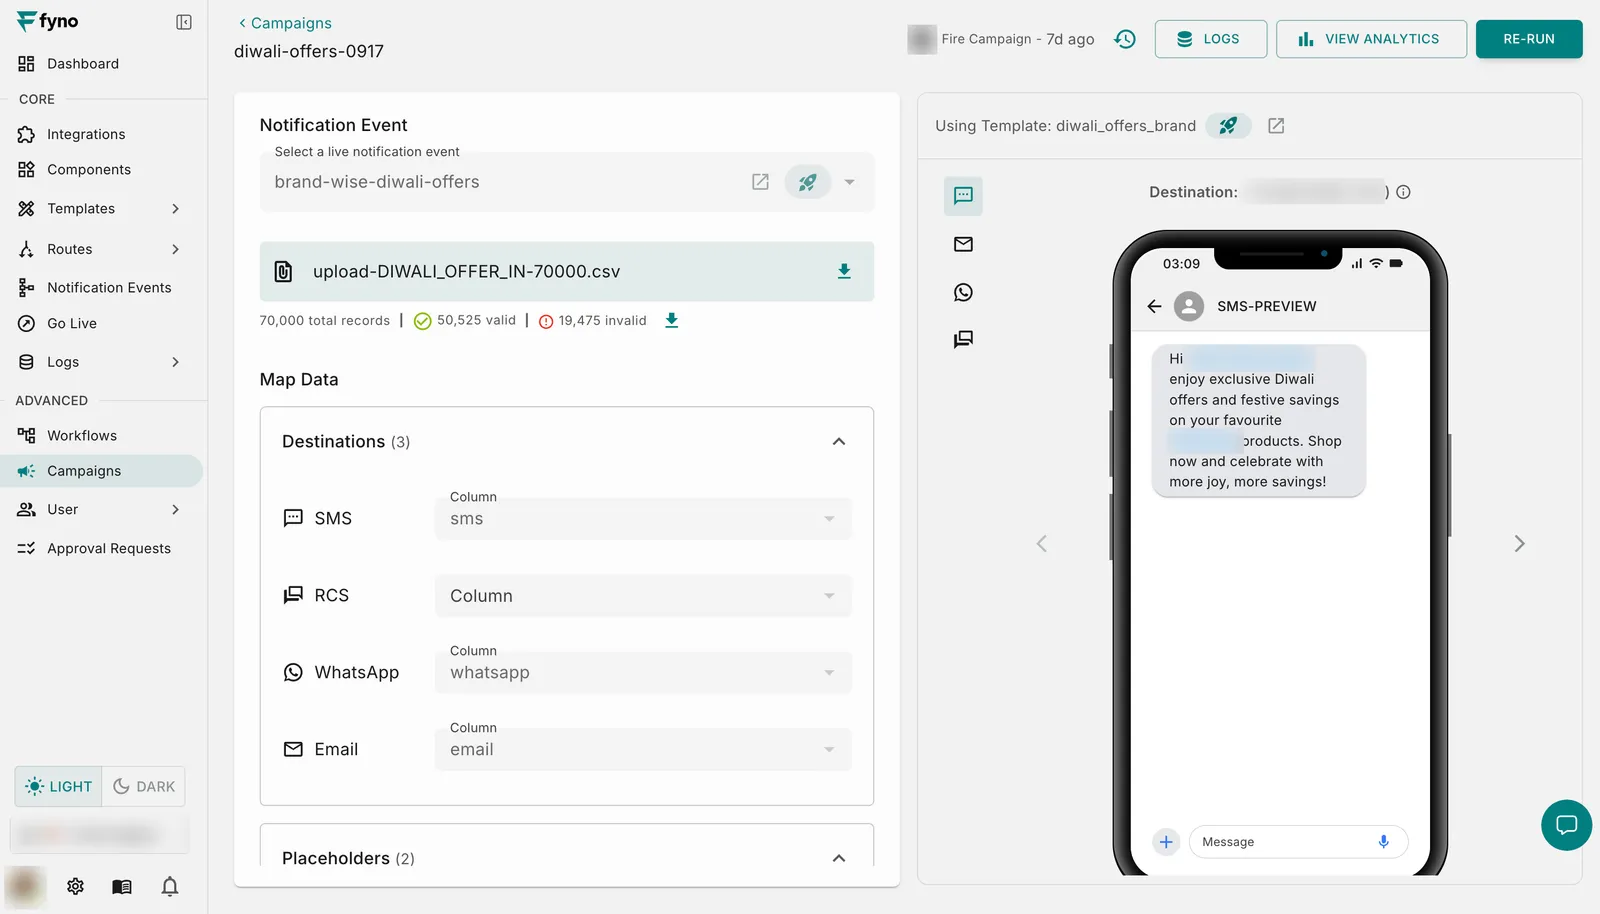
Under Map Data, map the columns in your file to the fields the campaign needs.
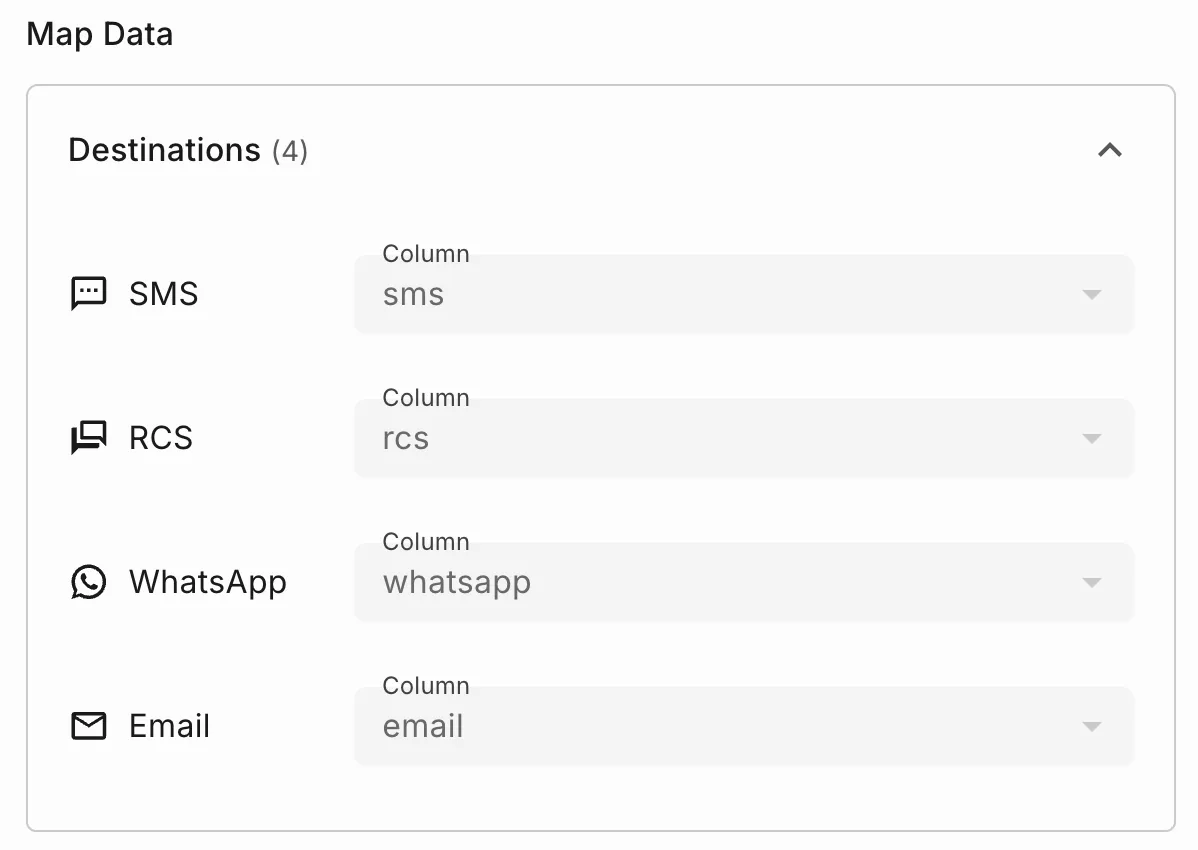
Destinations — Select the file column that holds the destination for each channel. For example, map SMS to the sms column and Email to the email column.
The number next to Destinations shows how many channels the notification event uses. Each channel gets its own row.
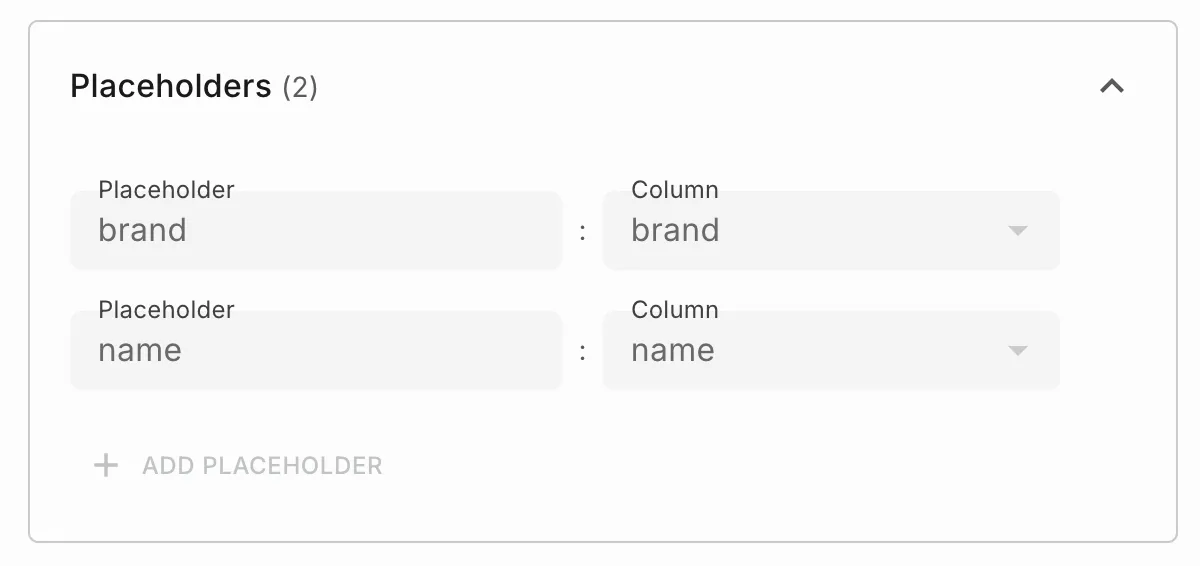
Placeholders — Select the file column that holds the value for each template placeholder. Every placeholder must be mapped. Click Add Placeholder to map an additional placeholder.
The number next to Placeholders shows how many placeholders the template uses. In this example, the template has two placeholders, brand and name, mapped to file columns with the same names.
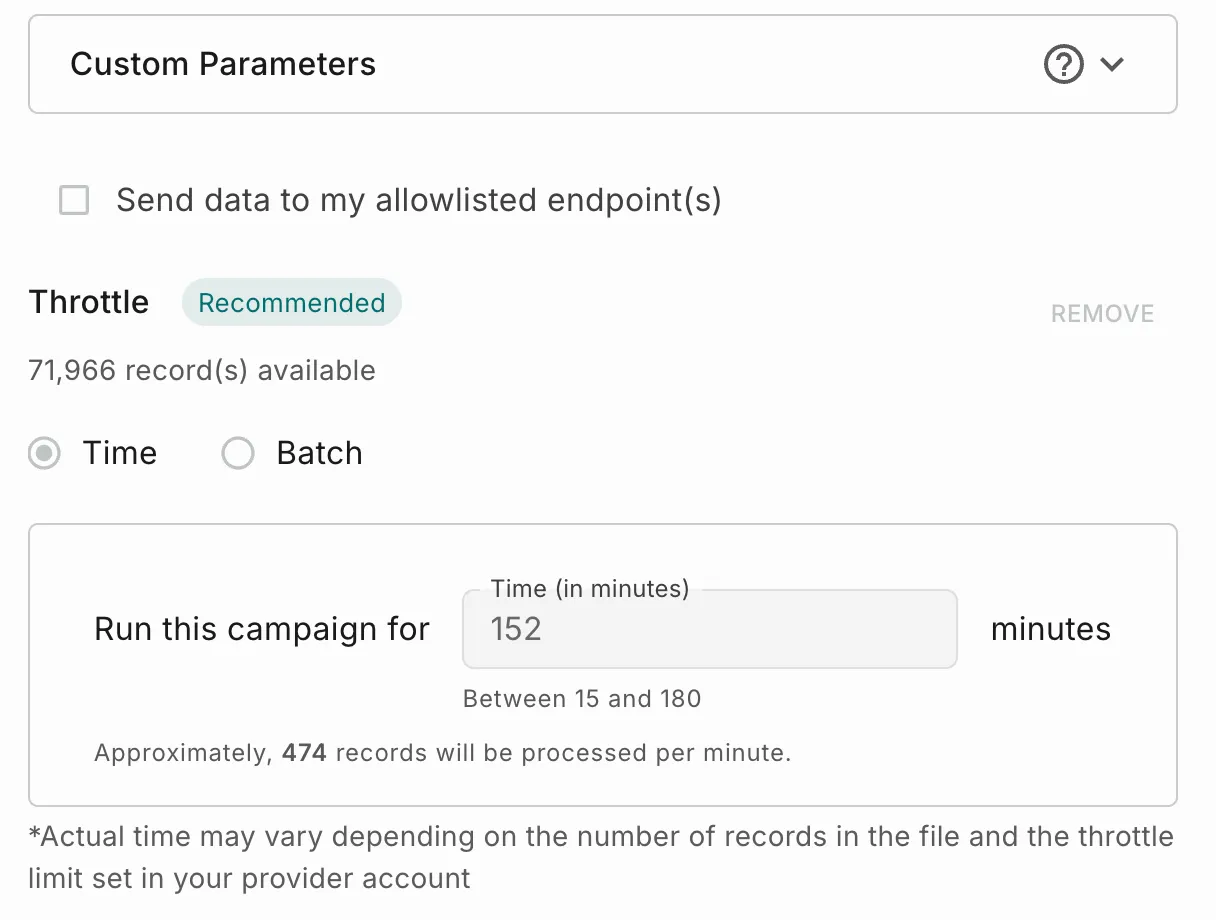
Custom Parameters (optional) — Expand Custom Parameters to map a custom ID and up to three custom values from your file, based on your requirements.
Send data to my allowlisted endpoint(s) (optional) — To receive this campaign’s data at an allowlisted endpoint, select this option and choose the endpoint to use.
Throttle (recommended) — Throttling improves deliverability by controlling the rate at which notifications are sent. Click Add. Fyno shows the number of records available to send, then choose how to control the rate:
The actual run time may vary depending on the number of records in the file and the throttle limit set in your provider account. To turn throttling off, click Remove.
Preview the Campaign
Once everything is configured, use the preview panel on the right to review the campaign before you fire it. The preview uses data from your file. It shows the template in use and the current record’s destination.
- Click a channel icon to switch between channel previews.
- Use the ‹ and › arrows to step through sample records from the file.
Test the Campaign
Run a test before firing the campaign to make sure everything is configured correctly.
Save as Draft
Click Save at any point to save your configuration. Saved campaigns appear on the Campaigns page with the Draft status, and you can edit them before firing.
Fire or Schedule the Campaign
Stop or Re-run a Campaign
After a campaign is fired, the configuration page shows two new buttons:
View Logs and Analytics
Once a campaign has completed, open it to find the Logs and View Analytics buttons at the top of the page.
Sent Logs
Click Logs to open the Sent Logs screen. It shows a table of every notification the campaign sent, with its entry type, status, destination, and message count. To download the data, click Export Logs in the top-right corner.
Analytics
Click View Analytics to see how the campaign performed. You can also open analytics by clicking the bar chart icon next to the campaign on the Campaigns page. For details on each metric and chart, see Campaign Analytics.