

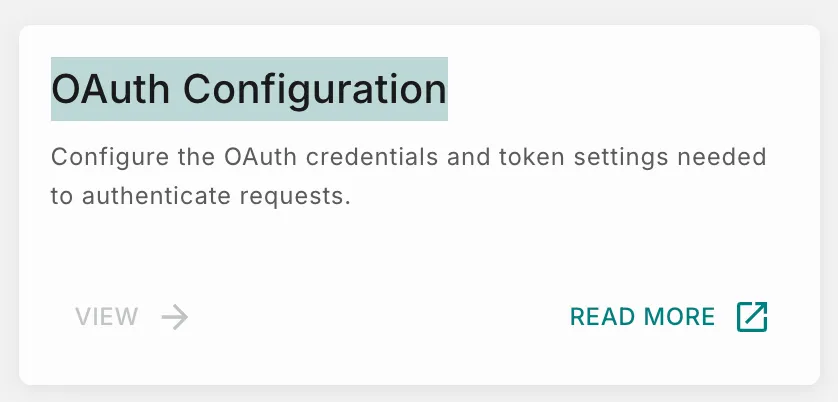
OAuth Configuration
If an allowlisted API you want to use requires OAuth authentication, you can set it up once under Workspace Settings and reuse it wherever it’s needed, instead of building the OAuth flow inside every workflow.
This is useful when:
- An API requires a bearer token obtained via OAuth before it can be called.
- Multiple workflows or endpoints need to be authenticated using the same OAuth credentials/configuration.
- You want to manage and update OAuth credentials/configuration from one place.
Prerequisites
You’ll need the following from your API provider:
- The Token URL used to request an access token.
- A Client ID and Client Secret, saved as Secrets so they can be selected in the OAuth form.
- Optionally, a Scope, Audience, or any custom headers required by the provider.
Add an OAuth Configuration
Step 1: Open OAuth Configuration
Step 2: Add a New Configuration
If you haven’t created any OAuth configurations yet, you’ll see an option to add a new OAuth configuration. Select Add Configuration to get started.
Step 3: Fill in the Configuration Details
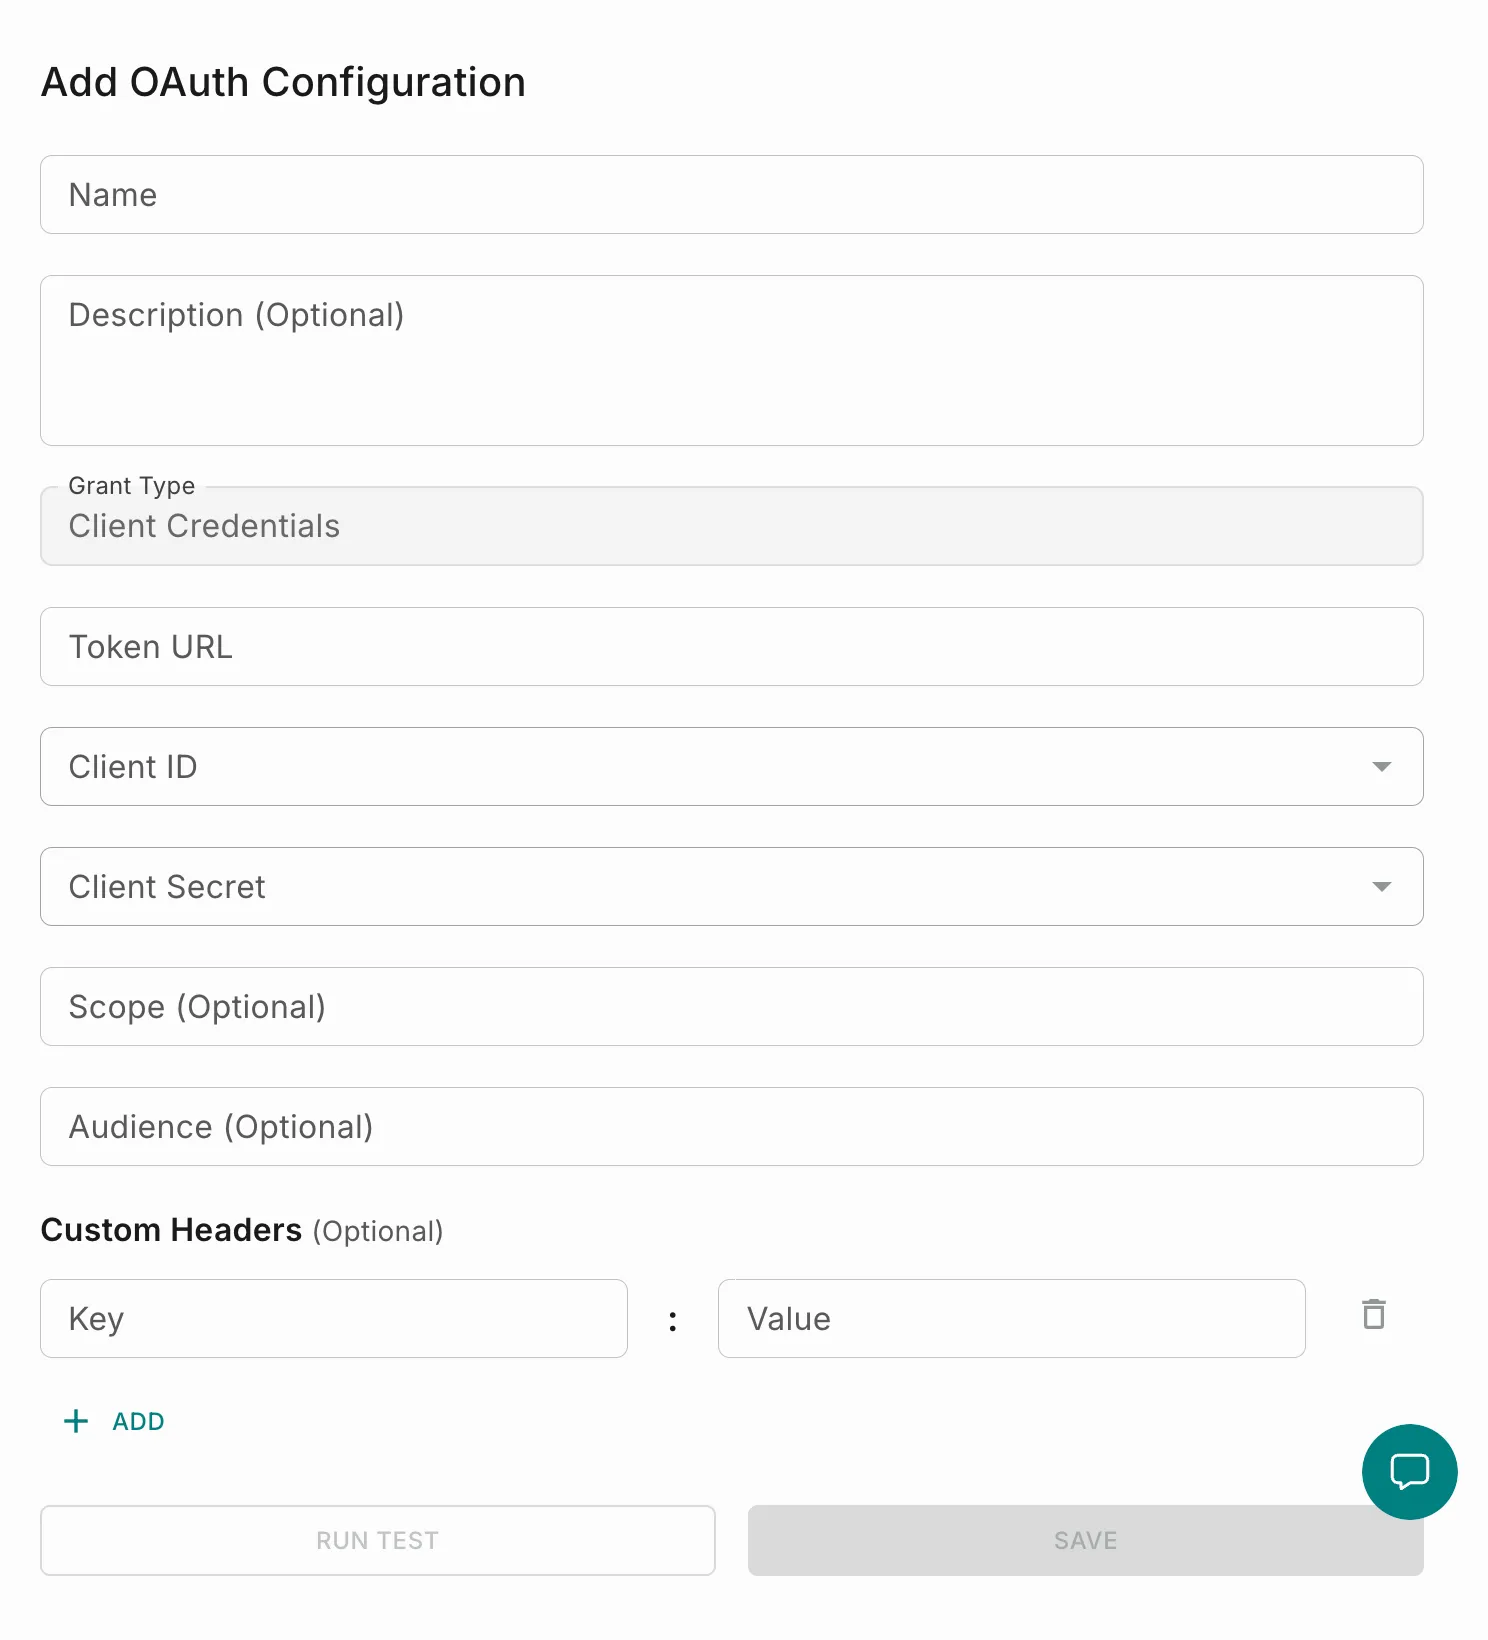
The Add OAuth Configuration form opens. Fill in the fields as follows:
- Name: A label to identify this configuration later.
- Description (optional): Notes on what this configuration is for.
- Grant Type: Pre-set to Client Credentials.
- Token URL: The endpoint used to request an access token.
- Client ID and Client Secret: Select these from your saved Secrets using the dropdowns.
- Scope and Audience (optional): Fill in only if your provider requires them.
- Custom Headers (optional): Enter a Key and Value, and select + Add to include more headers. Use the trash icon to remove a row.
Step 4: Test and Save
Before saving, select Run Test to confirm the configuration can successfully retrieve a token.
- If the test succeeds, you’ll see a confirmation that a token was issued.
- If the test fails, an error message explains what went wrong so you can fix the details and test again.
Once the test passes, select Save to store the configuration.
Step 5: Use the Configuration
A saved OAuth configuration can be associated with an allowlisted endpoint so that requests to that endpoint authenticate automatically, without needing an OAuth step inside the workflow itself.
Field Reference
Managing Client Secrets
Client ID and Client Secret values come from your workspace’s Secrets vault (Security > Secrets). To rotate or update a credential, update it in Secrets, then confirm the OAuth configuration still passes Run Test.