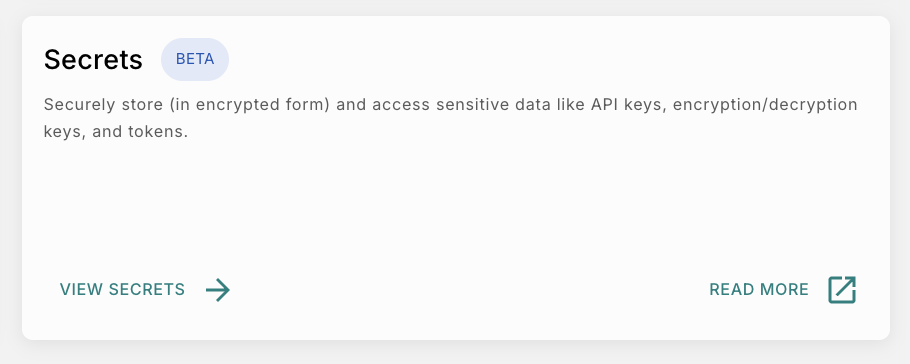
Secrets
The Secrets feature provides a secure and centralized way to store sensitive information that may be required across the platform. Currently, Secrets are used with Allowlist encryption configurations, where encryption keys can be securely stored and referenced during endpoint configuration.
 This approach improves security because the actual key value is encrypted and stored securely, while only a reference to the secret is used within the configuration.
For example, if you need to configure AES encryption for an Allowlist endpoint, you can:
- Store the encryption key in Secrets.
- Select the stored secret while configuring encryption in Allowlist.
Storing keys in Secrets helps ensure that sensitive credentials remain encrypted, protected, and centrally managed.
Advantages of Using Secrets
Using Secrets provides several advantages:
- Secure Storage: Securely stores encryption keys and other sensitive credentials.
- Data Encryption: Encrypts secret values before they are stored.
- Exposure Prevention: Prevents accidental exposure of sensitive information.
- Centralized Location: Allows credentials to be managed from a single location.
- Key Rotation: Simplifies key rotation and credential updates.
- Secure References: Enables secure referencing of secrets without exposing actual values.
- Reduced Duplication: Reduces duplication of sensitive credentials across configurations.
Permissions
Only users with Owner or Super Admin roles can:
- Access Secrets.
- Create new secrets.
- Modify existing secrets.
- Delete secrets.
Secrets Page
The Secrets page provides a centralized location to manage all saved secrets.
 At the top of the page, a search bar allows users to quickly locate secrets by name. The Store New Secret button opens a modal where new secrets can be securely added.
Secrets List
The main secrets list displays:
- Secret name
- Description
- Last updated time
- Created date
Each secret also includes an action menu that provides management options such as editing, viewing change history, or deleting the secret.
Store a New Secret
Click Store New Secret to open the secret creation modal. This modal allows users to securely create and save a new secret.
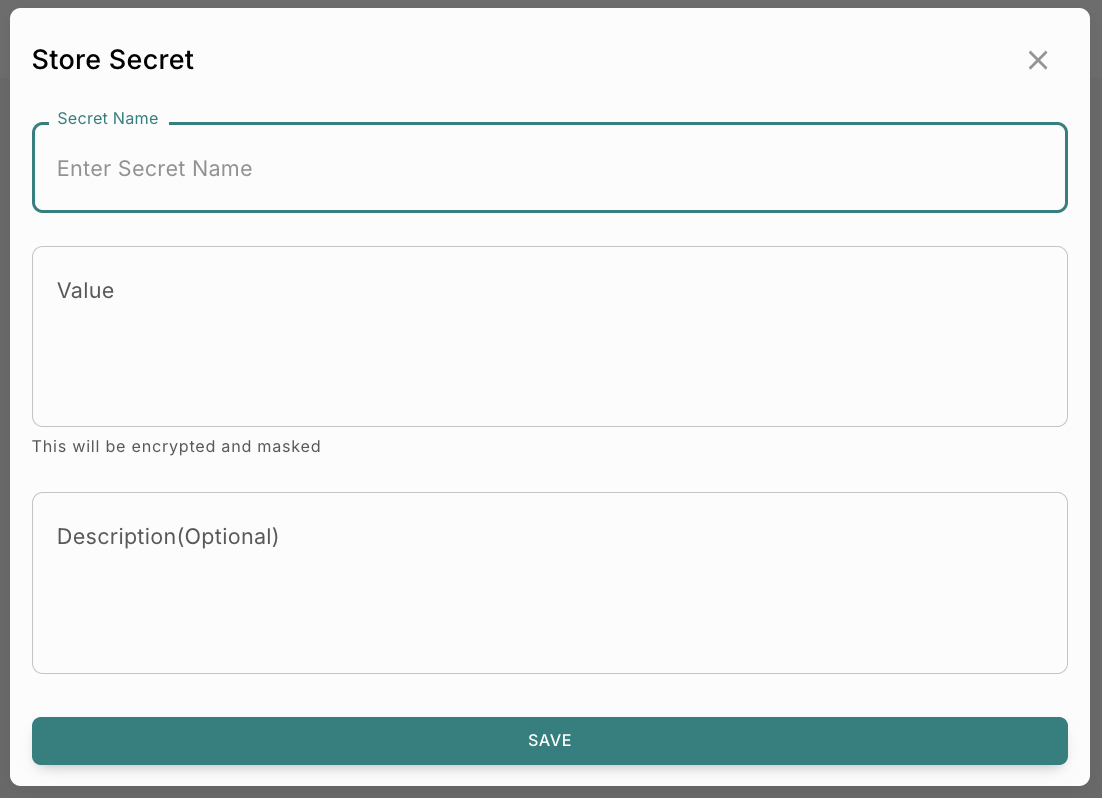
Secret Name
The Secret Name field is used to define a unique identifier for the secret. This name is used when selecting or referencing the secret in supported configurations, such as Allowlist encryption settings.
- Example:
payment-api-key
Examples of Recommended Naming:
production-aes-keystaging-encryption-keypayment-api-keywebhook-signing-secret
Value
The Value field contains the sensitive information being stored. This may include:
- API keys
- Access tokens
- Client secrets
- Passwords
- Private credentials
Once saved, the value is encrypted and masked to prevent unauthorized visibility.
- Example:
sk_live_xxxxxxxxxxxxxx
Description (Optional)
The description field allows users to provide additional context about the secret. This can help teams understand:
- What the secret is used for.
- Which integration it belongs to.
- Whether it is intended for development or production use.
- Example:
Production payment gateway API key
Save
Clicking SAVE securely stores the secret in the platform.
Important Post-Save Rules:
- Encryption keys must be saved as Secrets before they can be used in an Allowlist configuration. Direct entry of encryption keys is not supported.
- After a Secret is created, its value is encrypted and cannot be viewed again in plain text.
- Only the encrypted representation of the Secret is displayed, so ensure the original value is stored securely before saving it.
Using Secrets in Allowlist Encryption
Secrets are currently supported within Allowlist encryption configurations. Endpoint encryption keys must be referenced from Secrets. Direct entry of encryption keys during endpoint configuration is not supported.
Example Workflow
Managing Existing Secrets
Change Logs
The Change Logs option displays the history of modifications made to the secret. This helps with:
- Auditing changes
- Tracking updates
- Monitoring secret activity
- Reviewing configuration history
Delete
The Delete option permanently removes a secret from the system.