

Push Templates
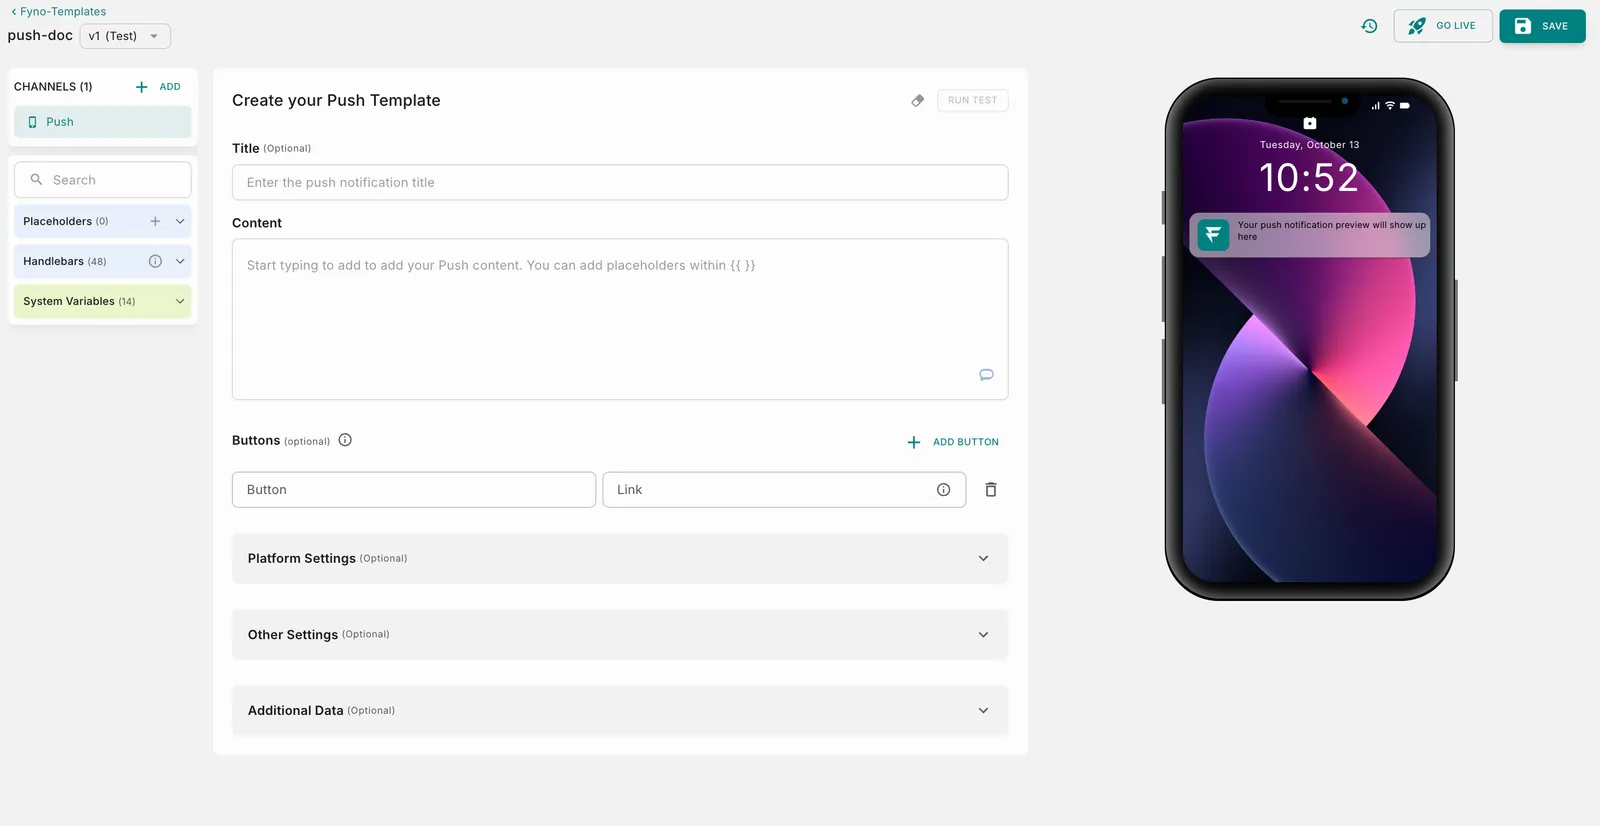
When you add the Push channel to a template, the Create your Push Template screen opens. The Preview on the right shows how the notification looks on a device.
Create a push template
Title (optional)
Enter the push notification title. It helps summarize the notification and give it context.
Content
Enter the body of the notification. This is a required field. You can add placeholders within {{ }}.
Buttons (optional)
Click Add Button to add an action button. For each button, enter:
- Button: The button text.
- Link: Where clicking the button takes the user. Enter a valid HTTP or HTTPS URL, a deeplink, or a route starting with
/to route the user within the same path.
Use the delete icon to remove a button.
Buttons can only be used with Fyno Push, Xiaomi Push and OneSignal Push.
To use any user property in your templates, add it in this format: {{$user.$<user_property>}}. For example, to add Name as a placeholder from the User profile, add it as {{$user.$name}}.
You cannot use only numeric values as placeholder keys.
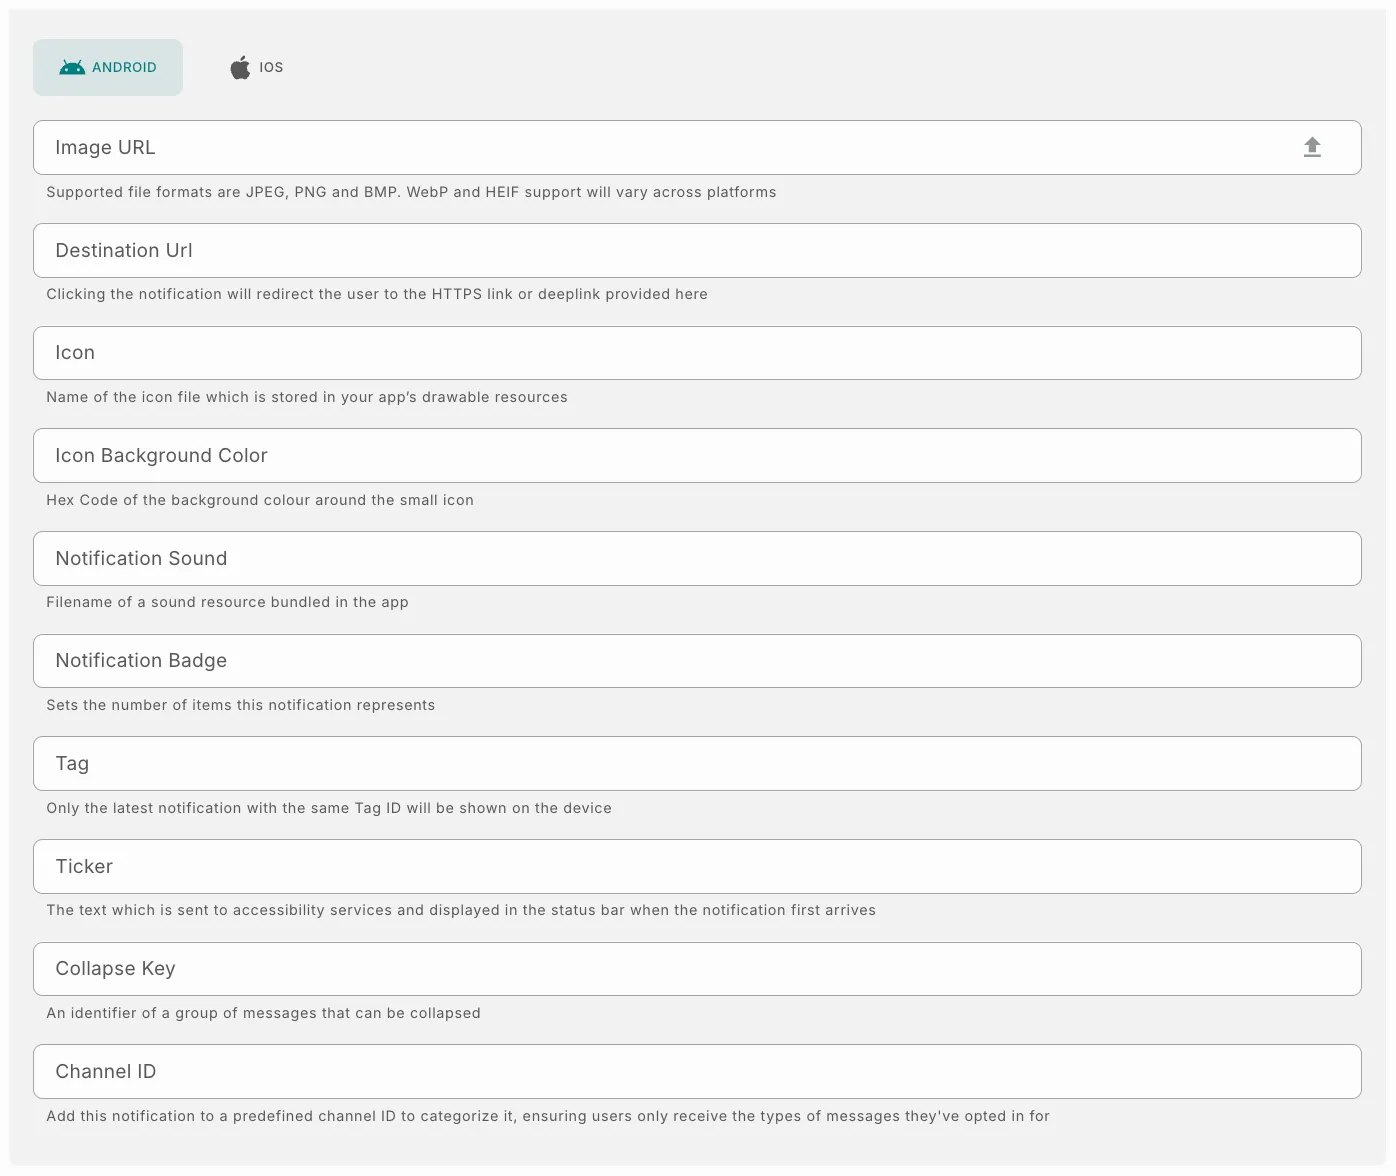
Platform Settings (optional)
Choose the Android or iOS tab to set platform-specific options.
Android
iOS
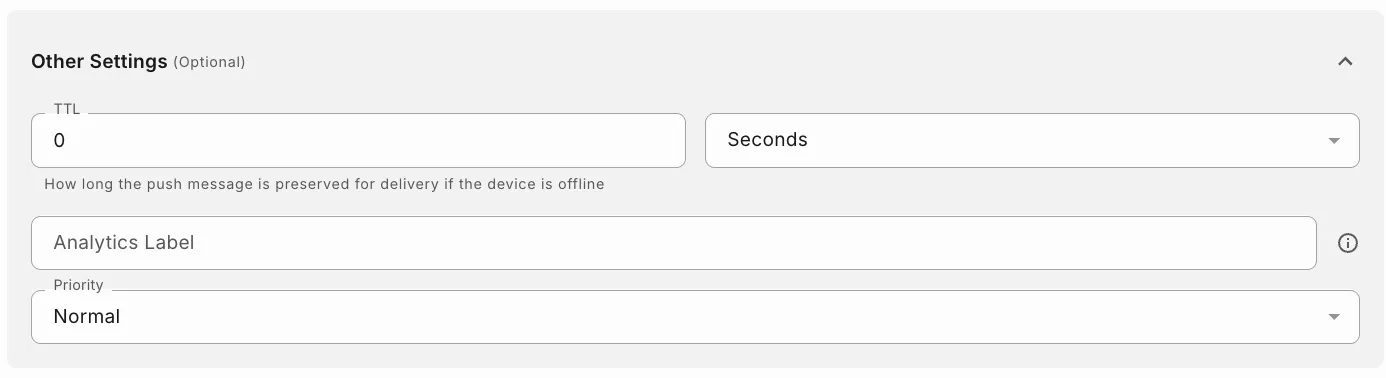
Other Settings (optional)
Additional Data (optional)
Use Additional Data to send extra information with the notification, for example to render something on the device or to send a data (payload) push notification. If you use event listeners instead of deeplinks, add a payload your app can use for redirection.
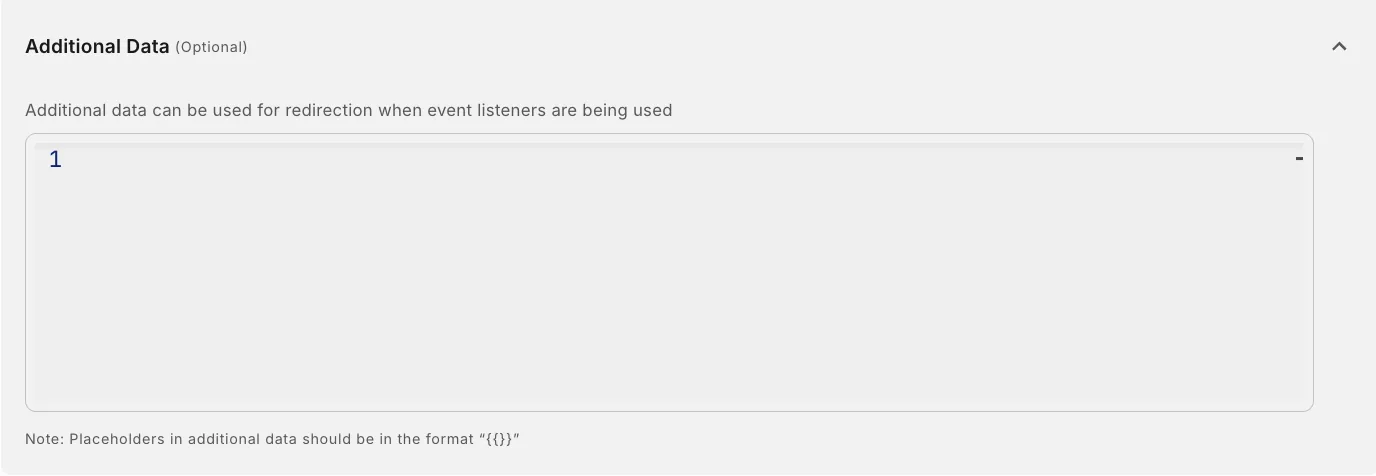
Enter the data as JSON. Placeholders in additional data must be inside double quotes, in the format "{{ }}". For example:
How to add dynamic content
You can add dynamic content to your templates using one of the four options below:
How to test a push template
Use this feature to test a template thoroughly before including it in any Notification Event. This ensures early detection and resolution of any potential issues, for a seamless user experience.
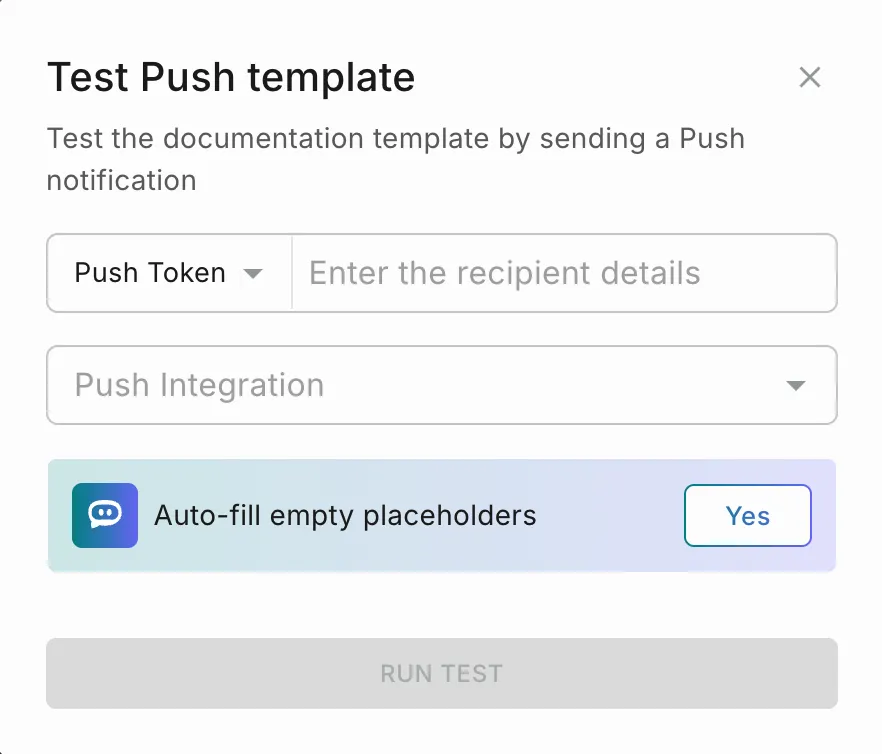
From the dropdown, choose Push Token and enter the recipient’s push token, or choose Distinct ID and enter it. Make sure to enter the distinct_id of a Test User profile.
Save and go live
Click Save to save the template as a Test version. You can save different versions of the template this way. Use Go Live when you are ready to move your template to the Live version.
If template approvals are enabled in your workspace, Go Live needs an additional approval step. Choose from your designated approvers, who review and authorize the template changes. See Approval flow for the steps.